The best roost materials, dimensions, and spacing for a calmer coop and healthier chicken feet. Simple DIY tips that reduce bumblefoot risk and cut nighttime...
The Cluck Loom
Bumblefoot in Chickens: Diagnose, Treat, Prevent
Learn how to spot bumblefoot (pododermatitis) early, safely remove the core at home, bandage a chicken’s foot, and prevent recurring infections with better roosts, bedding, and footing.

Maggie Harper
Maggie Harper is a passionate backyard chicken keeper with over a decade of hands-on experience raising mixed flocks. Through CluckLoom, she shares practical advice on coop building, flock health, and egg production to help beginners and seasoned enthusiasts alike raise happy, healthy chickens.
Published
October 22, 2026
Last updated
October 22, 2026
Bumblefoot is one of those chicken-keeping problems that starts small and suddenly you are holding a grumpy hen like a football, staring at the bottom of her foot, thinking, “How did we get here?” I have been there. The good news is most backyard cases can be managed at home if you catch them early, keep things clean, and know when to call a vet.
This guide walks you through how to identify bumblefoot, decide whether it is safe to treat at home, remove the “kernel” (the infected core), bandage correctly, and prevent repeat infections across your flock.
What bumblefoot is
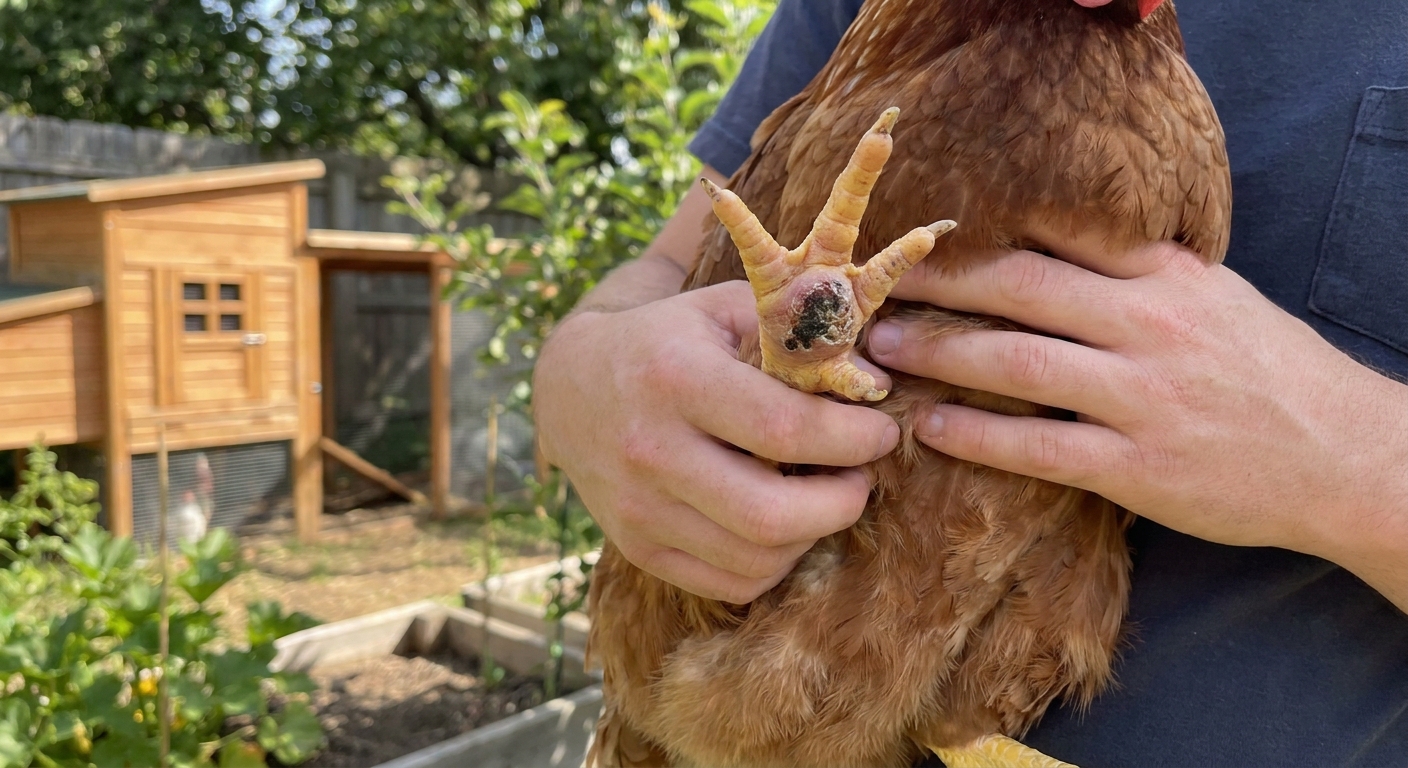
Bumblefoot (pododermatitis) is an infection and inflammation of the foot pad. It usually starts when bacteria enter through a tiny cut, pressure sore, splinter, or puncture. Chickens walk on everything. If the foot pad gets damaged, bacteria can move in and the body walls it off, forming a hard abscess with a scab on the bottom.
Bumblefoot is commonly associated with Staphylococcus species, but other bacteria and mixed infections can be involved too.
Think of it like a “plugged” infection: in birds, abscess material is often thick and caseous (waxy or cheese-like), so it does not drain easily. That is why bumblefoot often needs the core removed and the wound protected while it heals.
Common causes
- High roosts and hard landings (especially heavy breeds like Orpingtons and Wyandottes).
- Rough roost bars or narrow edges that concentrate pressure on the foot pad.
- Wet, dirty litter that softens skin and loads the environment with bacteria.
- Sharp footing in runs (gravel with sharp points, thorny areas, wood chips with splinters).
- Obesity or limited movement, which increases pressure points.
- Mites or scaly leg issues that compromise skin health.
How to tell
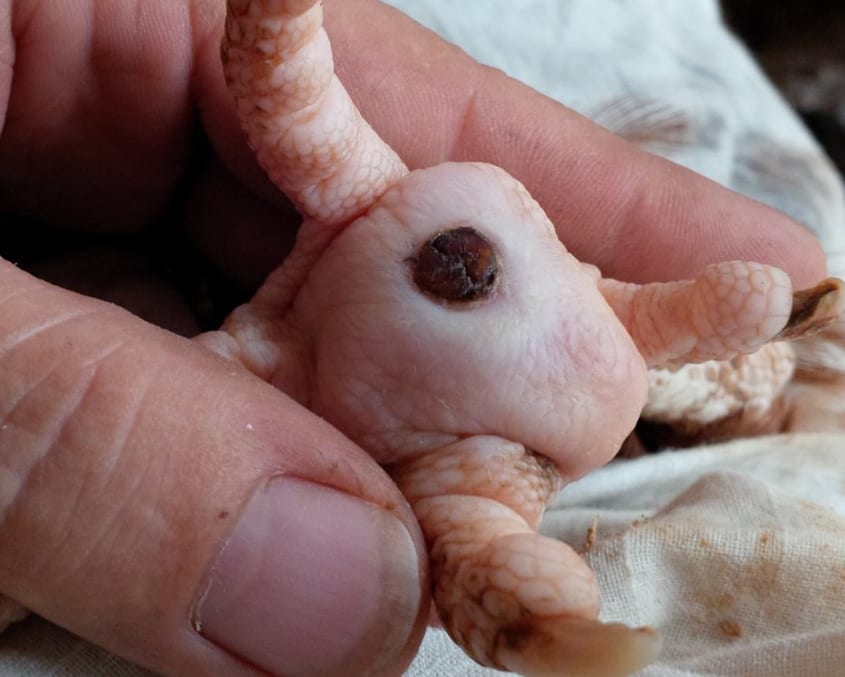
Bumblefoot can look like a “black dot” at first. On darker-skinned feet, it can be sneaky, so check for behavior changes too.
Typical signs
- Limping or favoring one foot
- Reluctance to perch, jump down, or scratch
- Swelling of the foot pad or between toes
- A dark scab or plug on the bottom of the foot
- Heat, redness, or shiny tight skin around the area
Look-alikes
- Bruised pad: no scab, more like a sore spot after a bad landing.
- Splinter or thorn: may see a puncture with minimal swelling if caught quickly.
- Gout: multiple joints can look swollen and chalky, often more than one foot.
- Sprain: limping with no visible scab or pad lesion.
- Scaly leg mites: raised crusty scales on the shanks, not a single pad scab.
Home care or vet?
I am very pro DIY when it is safe, but bumblefoot can move deeper than it looks. Use this as your decision line.
Good for at-home care
- Small scab, mild swelling
- Chicken is bright-eyed, eating, drinking
- No foul odor, no spreading redness up the foot or leg
- You can handle the bird calmly and keep a clean bandage on
Get help if you see this
- Severe swelling, toes splayed, or the foot is hot and very painful
- Infection tracking upward (red streaking, swelling up the leg)
- Multiple abscesses, or the lesion is near joints
- Strong odor, draining fluid, necrotic tissue, or a huge scab
- The chicken is lethargic, not eating, or losing weight
- It keeps coming back despite good care
- You suspect a fracture or a deep puncture wound
- Lameness persists after a couple of weeks of consistent care (this can suggest deeper involvement such as tendon, joint, or bone infection)
Deep bumblefoot can involve tendons, joints, or bone and may need imaging, proper surgical debridement, and prescription antibiotics chosen for the specific infection.
Supplies
The biggest difference between a smooth bumblefoot treatment and a stressful one is having everything laid out first. Once your chicken is wrapped up like a burrito, you do not want to be rummaging in drawers.
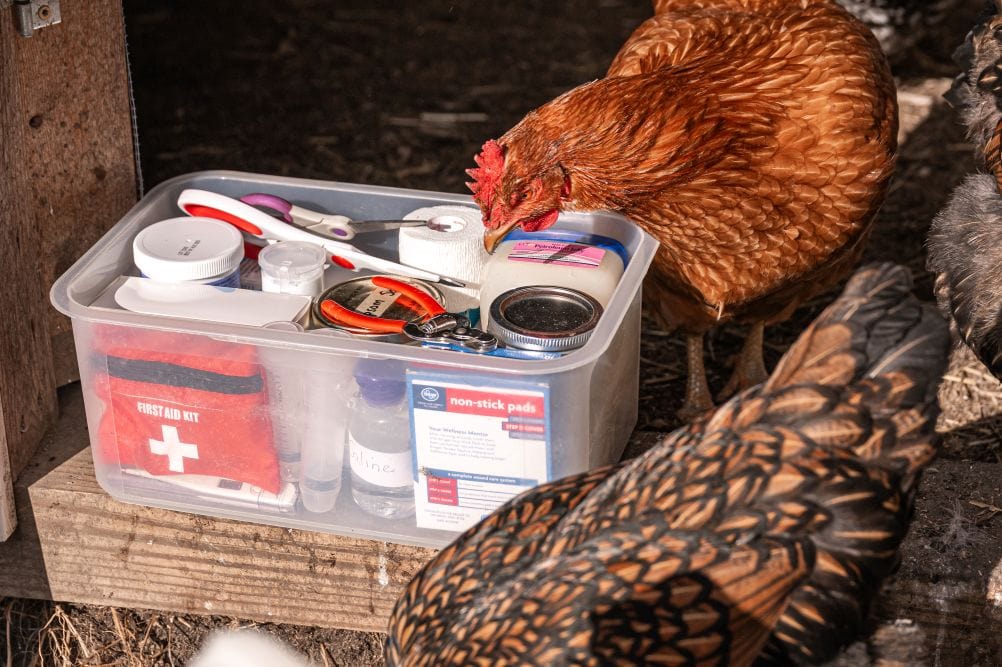
What I keep on my tray
- Warm water and a small tub for soaking
- Epsom salt (optional but helpful for softening)
- Disposable gloves
- Clean towels
- Saline wound wash (or sterile saline)
- Chlorhexidine solution (diluted) or povidone-iodine for rinsing
- Sterile gauze pads
- Non-stick pad (Telfa-style) for the wound surface
- Triple antibiotic ointment without pain relief (no “-caine” ingredients)
- Vet wrap (self-adhering bandage)
- Medical tape
- Small scissors
- Tweezers or hemostats
- A clean, well-lit work surface
Skip: hydrogen peroxide for routine cleaning. It can damage healthy tissue and slow healing when used repeatedly.
Step 1: Restrain and check
Pick a calm time of day, ideally after your chicken has settled a bit. I like to work in a quiet room with a towel on my lap.
My low-stress routine
- Wrap the chicken snugly in a towel, wings tucked.
- Expose only the foot you are working on.
- Check both feet. If one got bumblefoot from a roost issue, the other may be headed that way too.
Take a quick look at the scab size, swelling, and whether the pad feels firm like there is a marble under it. That firm “plug” feeling is a classic bumblefoot clue.
Step 2: Soak
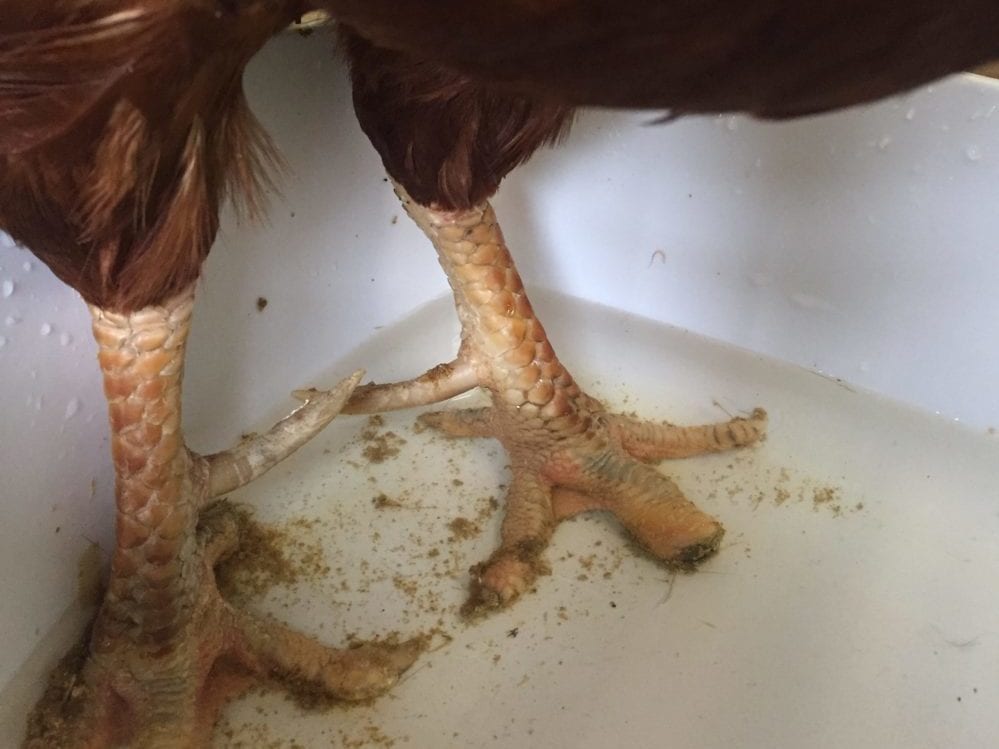
Soaking is not just for comfort. It helps soften the scab and makes removal much cleaner.
Soak method
- Fill a small tub with warm water. Not hot.
- Add Epsom salt if you like (enough to make the water feel slick).
- Soak the foot for 10 to 15 minutes.
If your chicken acts like you are trying to drown her entire lineage, you can hold the foot in a warm, wet compress instead and refresh it a few times.
Step 3: Remove the core
This is the part everyone dreads. Go slow. The goal is to remove the infected core and any dead material while protecting healthy tissue.
What you are looking for
The core is often a firm, pale to yellowish “plug” or a crumbly waxy mass under the scab. Sometimes it comes out in one piece. Sometimes it breaks apart and needs gentle teasing out.
At-home removal
- Clean the area. After soaking, rinse with saline and then lightly disinfect with diluted chlorhexidine or iodine solution.
- Lift the scab. If it is ready, the edges will loosen. Use tweezers or hemostats to lift slowly. Do not rip.
- Ease out the core. Apply gentle pressure around the abscess and use tweezers to pull the core free. If it resists, stop and soak again.
- Remove only loose debris. Gently take out obvious necrotic tissue or caseous material that is already separating. Do not dig aggressively into healthy tissue.
- Flush thoroughly. Irrigate the cavity with sterile saline until the rinse runs clear.
Normal vs not normal
- Some bleeding is common once the core is removed. Apply gauze pressure for a few minutes.
- Active heavy bleeding that will not slow with pressure is not normal. Stop and get veterinary help.
- Strong rotten smell, extensive gray tissue, or a deep crater that seems to track toward a joint is a vet visit.
About cutting: Some keepers use a sterile scalpel to open tough scabs. I only recommend that if you are confident in anatomy, sterility, and restraint. If you are hesitating, that is your answer. Soak more, or involve a vet.
Step 4: Treat and bandage
Bumblefoot fails at the bandage stage more than any other. The foot hits litter, manure, and moisture all day long. Your job is to keep the wound clean and gently compressed while new tissue fills in.
Bandage layers
- Ointment: Apply a thin layer of antibiotic ointment (no pain relief additives).
- Non-stick pad: Place a non-stick pad over the wound.
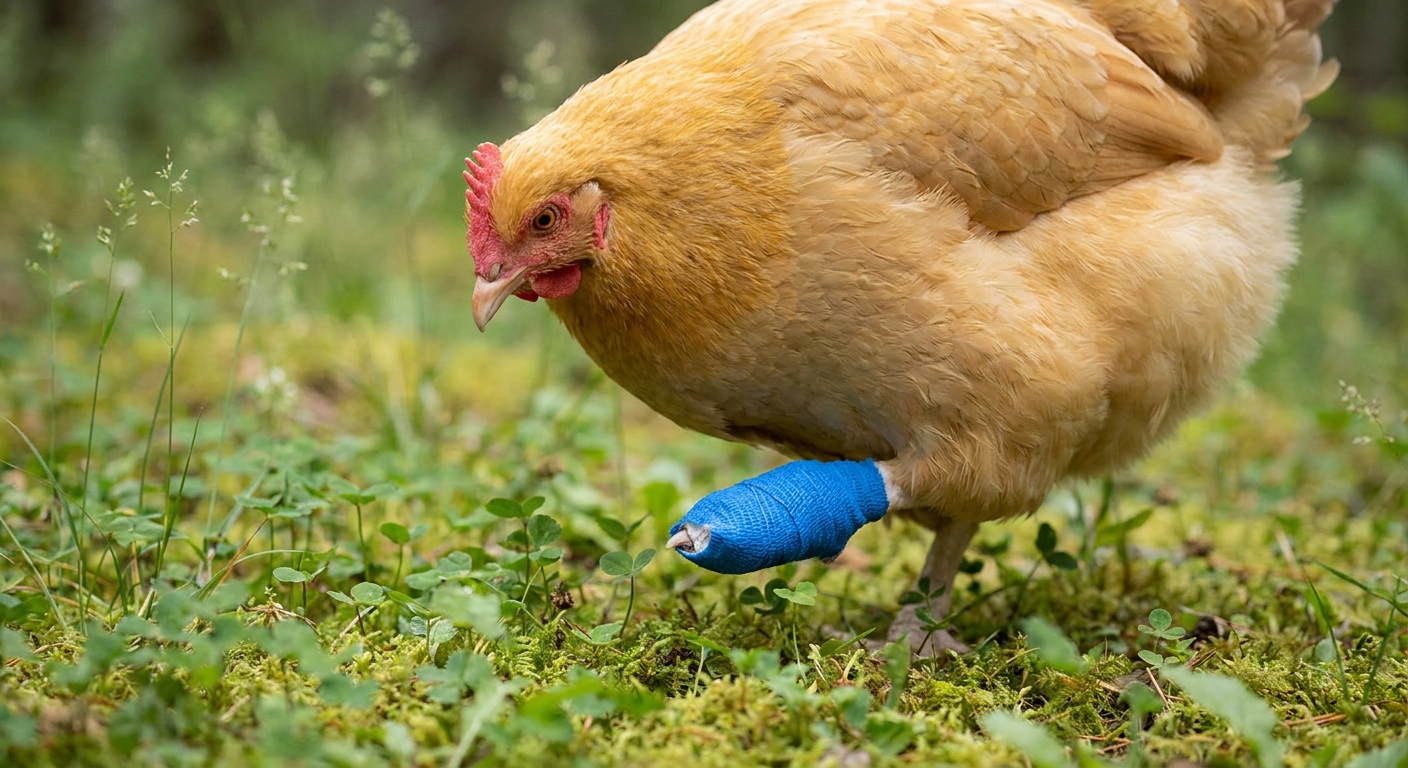
- Gauze cushion: Wrap gauze around the foot to create a soft “boot” and add light pressure.
- Vet wrap: Finish with vet wrap to hold everything in place. Apply with minimal stretch, because vet wrap can tighten as it is applied and as the bird walks on it.
- Tape: Use a small strip of medical tape to secure the end so it does not unravel.
Fit checks
- Toes should stay warm and normal colored.
- Bandage should be snug but not tight. If toes swell or discolor, remove and redo.
- Wrap around the foot and lower shank, but do not bind the leg like a cast.
Step 5: Aftercare
Healing is a process, not a single event. Plan for a week or two of attentive care, and longer for severe cases.
My schedule
- First 3 days: Change the bandage daily. Flush with saline each time and reapply ointment and a clean pad.
- Days 4 to 10: If it looks clean and is closing, change every 48 hours.
- After day 10: Many mild cases can transition to a lighter protective wrap or none at all, depending on how much time the chicken spends on clean ground.
If the bandage gets wet, poopy, or starts sliding, go back to daily changes. A dirty bandage is basically a bacteria delivery service.
Recovery housing
If you can, set up a small “chicken hospital” area:
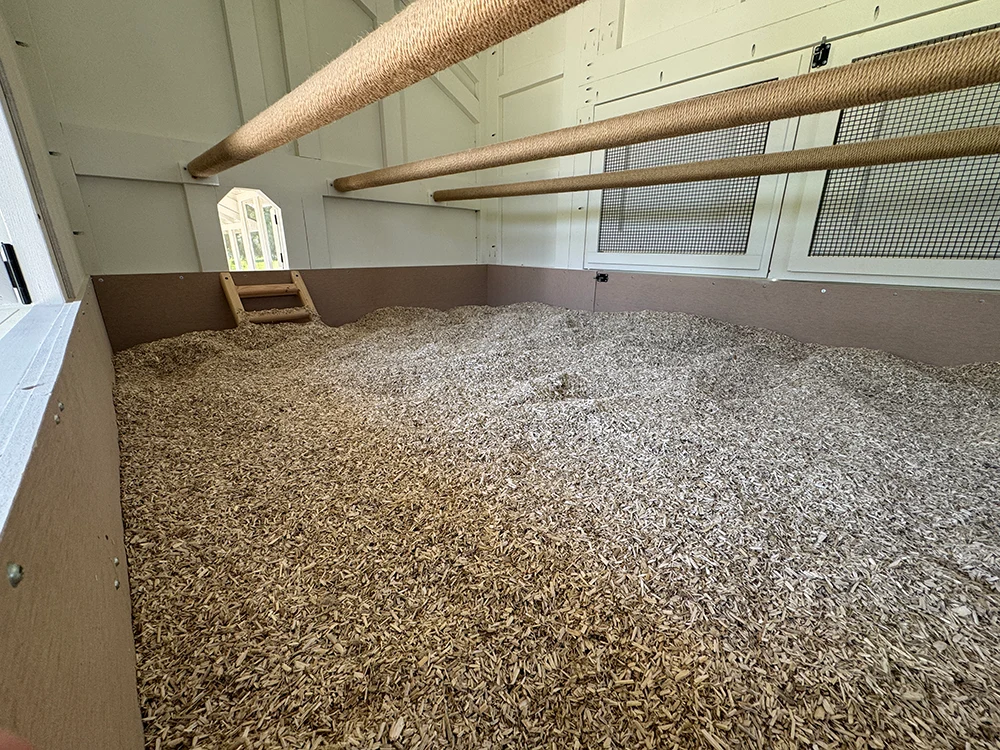
- Clean, dry bedding (large flake shavings or clean straw, changed often)
- Low roost or no roost for a few nights
- Easy access to food and water
- Good ventilation
I usually keep the patient within sight of the flock if possible. If flockmates peck at the bandage or she cannot keep it clean in the run, separate her. Not because bumblefoot is contagious, but because healing goes faster when the bandage stays intact and the wound stays clean.
Antibiotics and pain control
Sometimes yes, sometimes no. A superficial bumblefoot caught early, properly debrided, and kept clean can heal without systemic antibiotics. But if the infection is deep, spreading, or the bird is unwell, antibiotics can be important.
Here is the practical backyard take: if you remove the core and it keeps refilling, swelling increases, or the bird is getting worse, it is time for a vet. They can prescribe the right medication and dose for your bird, and in stubborn cases they may culture the wound to choose the most effective antibiotic.
Please do not use leftover antibiotics from other pets or people. Wrong drug and wrong dose is how we end up with resistant bacteria and a chicken that still limps. Also, many places require a veterinarian-client-patient relationship to prescribe antibiotics for poultry, especially if the birds lay eggs or may be used for meat.
Important pain-med safety note: do not give human pain relievers (including acetaminophen, ibuprofen, aspirin, or naproxen) unless a veterinarian specifically directs you. Dosing errors are easy, and some options are unsafe for birds.
Healing time
It depends on how deep it is and how consistent your bandaging is.
- Mild cases: 1 to 2 weeks to look and feel normal.
- Moderate cases: 2 to 4 weeks, sometimes with extended light wrapping.
- Severe, deep, or joint-involved cases: weeks to months, and some birds may always have a thicker pad or a slight limp.
If your chicken is still noticeably lame after a couple of weeks of proper care, that is a good point to get professional eyes on it. Persistent lameness can mean the infection has moved deeper (including joint or bone involvement), and that is not a situation to tough out at home.
Preventing it
Once you have treated bumblefoot once, you start noticing all the little things that contribute to it. Prevention is mostly about better footing and cleaner conditions.
Coop and run fixes
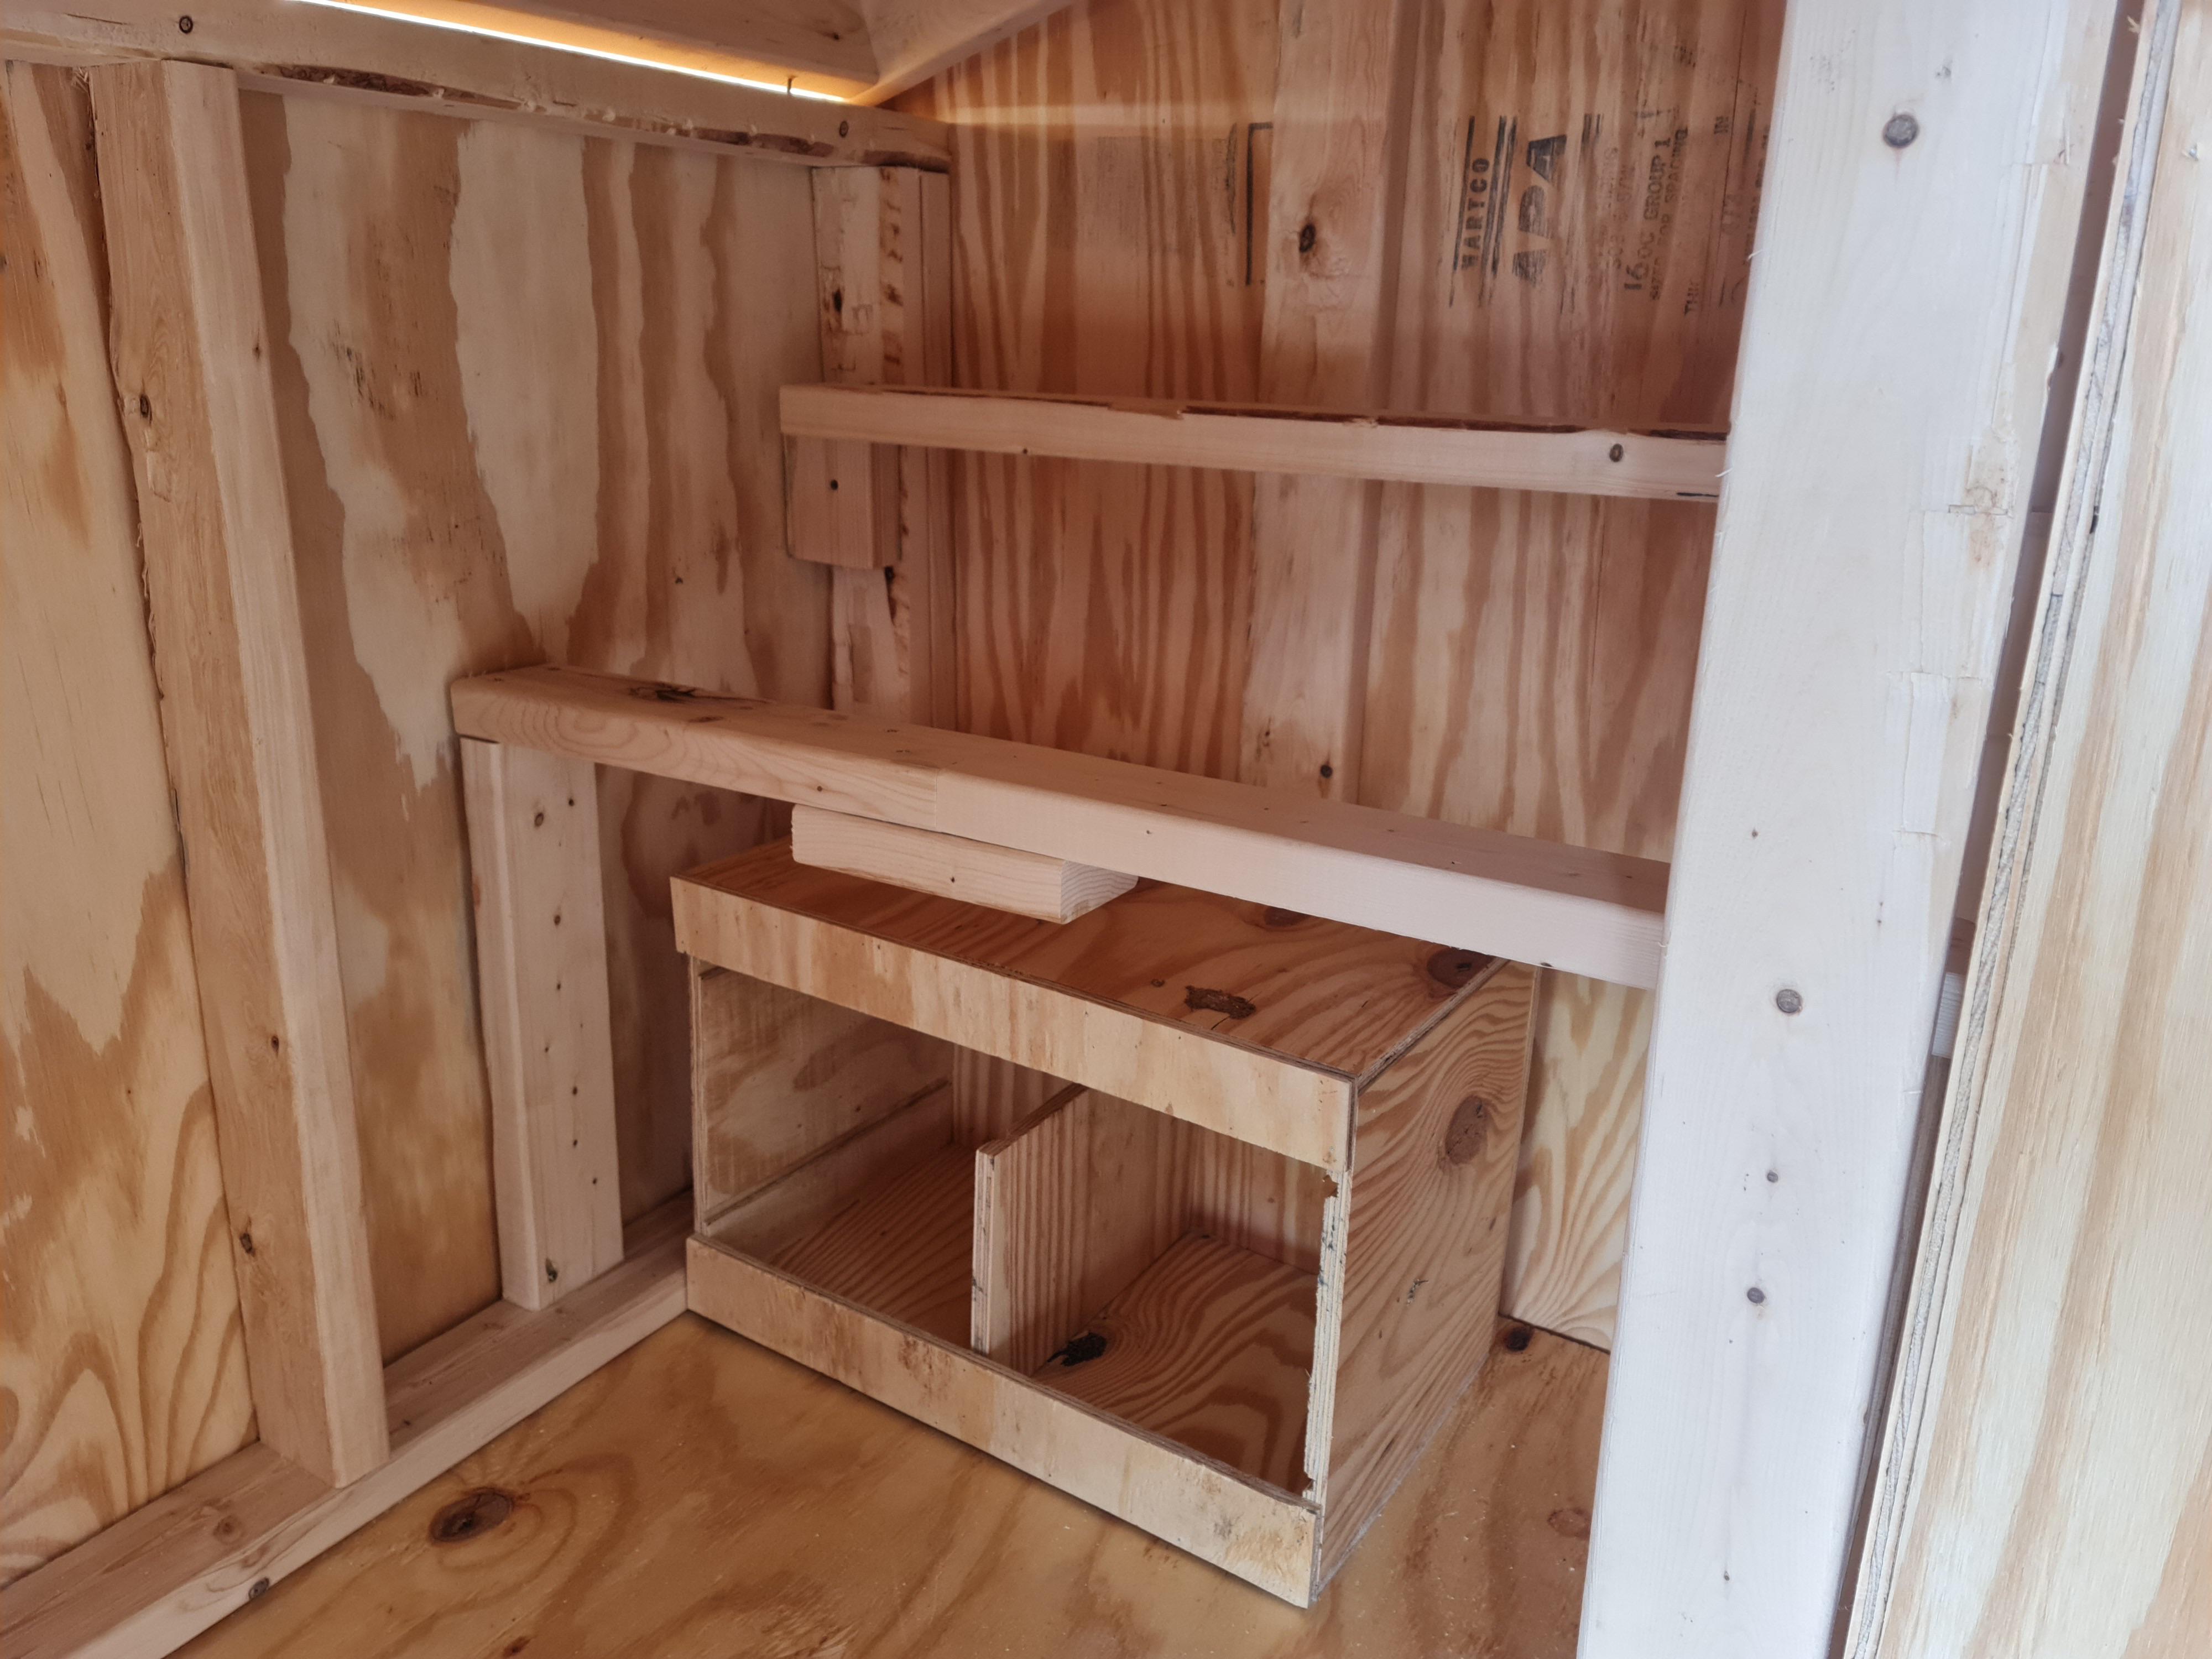
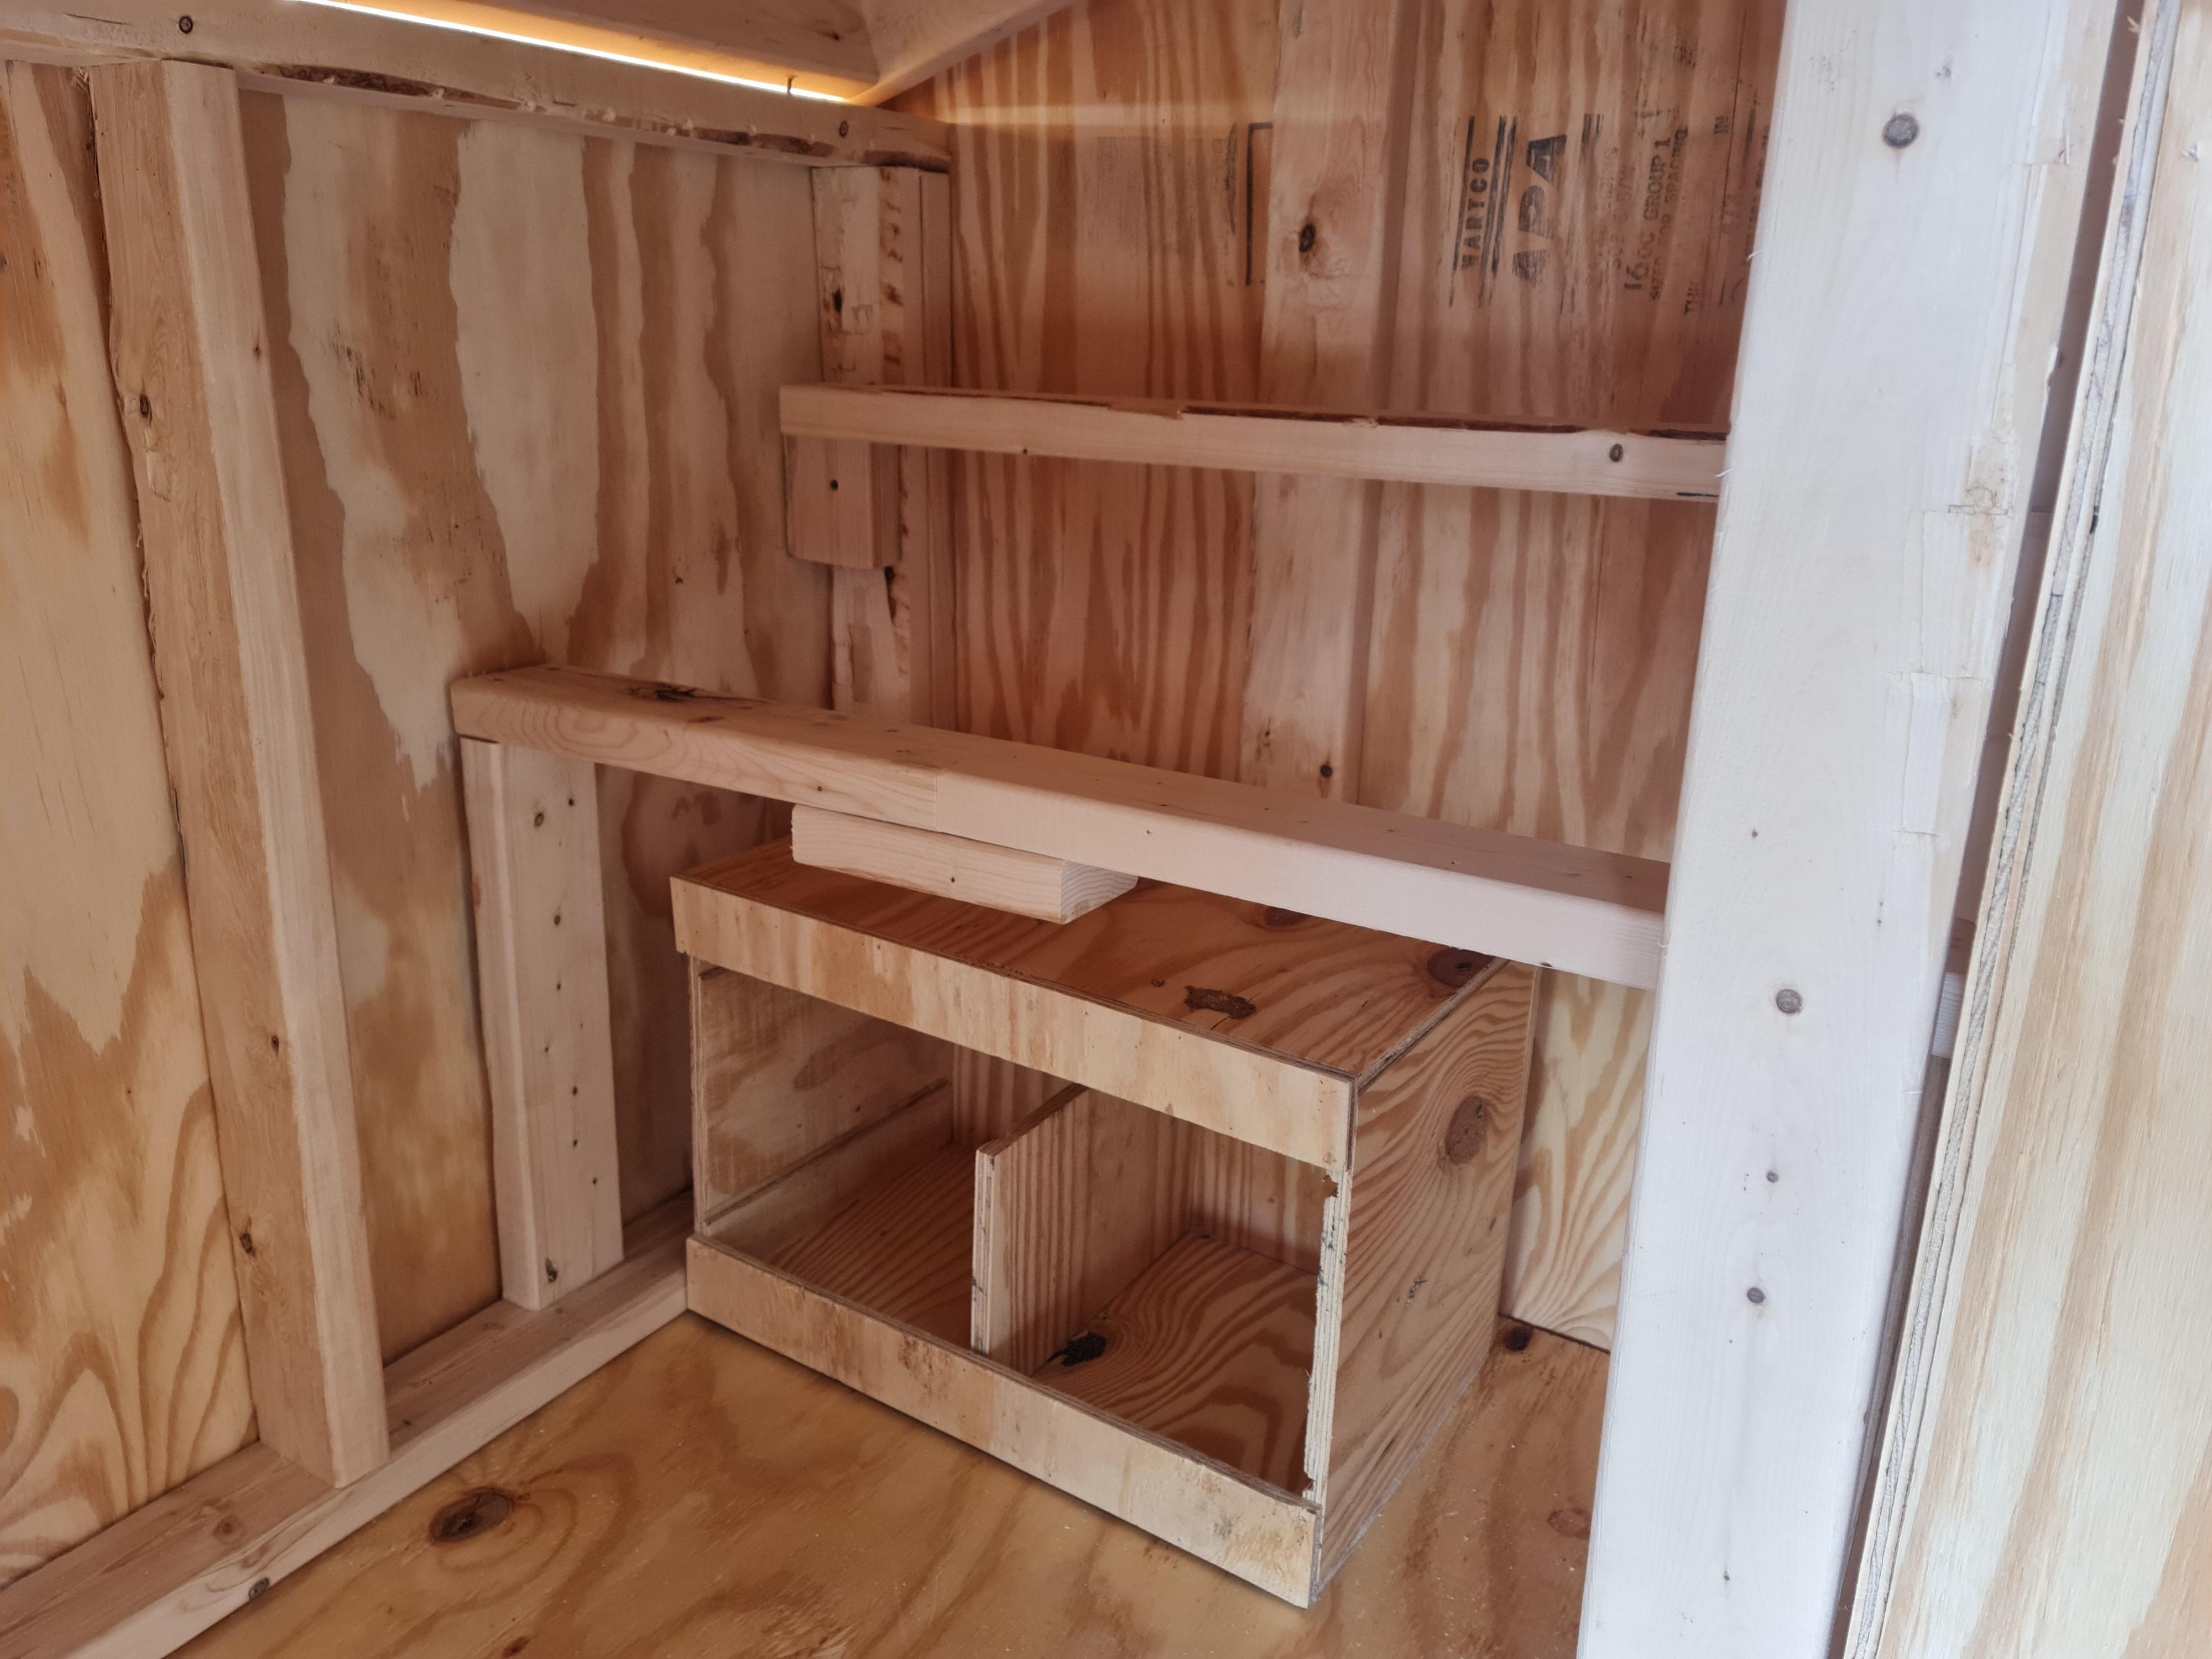
- Fix roosts: Use wide, smooth roost bars (think 2x4 with the wide side up) so weight spreads across the foot.
- Lower high roosts: Especially for heavier breeds. Add a step or ramp if needed.
- Improve landing zones: Put deeper litter under roosts to soften impact.
- Stay ahead of moisture: Address roof leaks, wet corners, and muddy run spots. Wet feet are vulnerable feet.
- Do regular foot checks: I do a quick “toe to toe” look when I handle birds for health checks.
- Manage weight: Too many scratch treats plus too little ranging is a bumblefoot recipe.
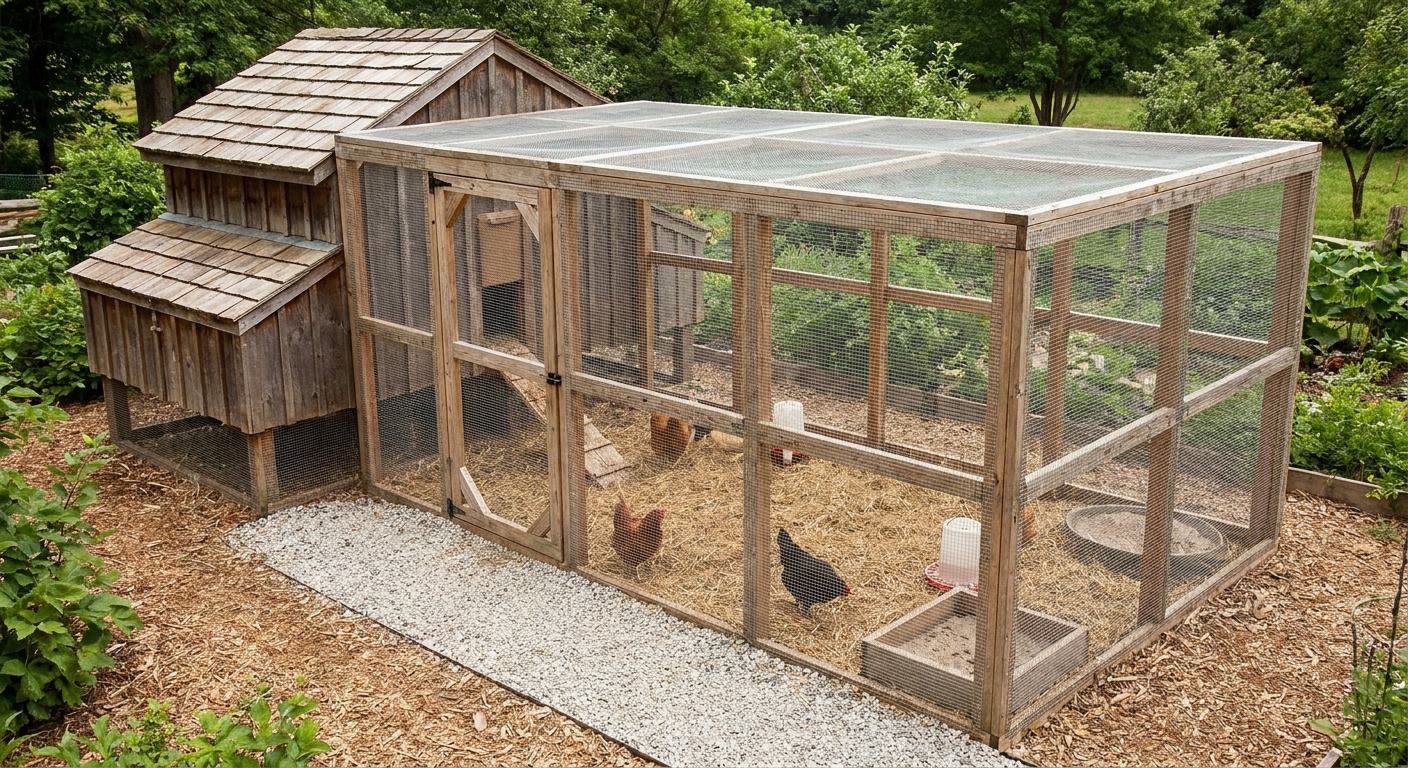
- Remove sharp hazards: Pull thorny weeds, check wood chips for splinters, and watch for hardware cloth ends.
Cleanup and biosecurity
This is minor surgery in miniature, so treat it like it.
- Work on a surface you can disinfect. Clean it before and after.
- Wear gloves, then wash your hands well when you are done.
- Put used gauze, scabs, and gloves into a sealed bag and toss it.
- Keep the recovering bird on clean, dry footing so you are not re-inoculating the wound every time she takes a step.
FAQ
Is bumblefoot contagious?
The infection itself is usually caused by common bacteria already present in the environment. Chickens do not “catch” bumblefoot like a cold, but if your coop conditions are wet or dirty, multiple birds can develop it. Addressing bedding, roosts, and footing prevents repeat cases.
Can I just soak it and wait?
If you truly caught it at the very beginning, soaking and improving conditions can help. But once there is a firm abscess core, it usually will not resolve completely without removing that material. Waiting can allow it to go deeper.
What if the core will not come out?
Stop, soak again, and try later. If it remains firmly attached, or the area seems to tunnel deeper, it is safer to involve a vet than to dig. Overly aggressive picking can create a bigger wound and invite more bacteria.
What bedding is best during recovery?
Clean, dry, low-dust bedding that you can change often. Large flake pine shavings work well for many backyard set-ups. Avoid wet straw mats and anything sharp.
Can my chicken still free-range with a bandage?
Supervised, on dry ground, sometimes yes. But if the bandage gets wet or filthy, you are undoing your work. Early on, I keep them in a clean recovery pen, then gradually return them to normal life as the wound closes.
A quick pep talk
Bumblefoot looks dramatic, and the first time you treat it, your hands will probably shake a little. That is normal. Focus on three things: remove the infected core when it is ready, keep the wound clean, and keep it covered. Do those consistently and most chickens bounce back surprisingly well, then go right back to strutting around like nothing happened.