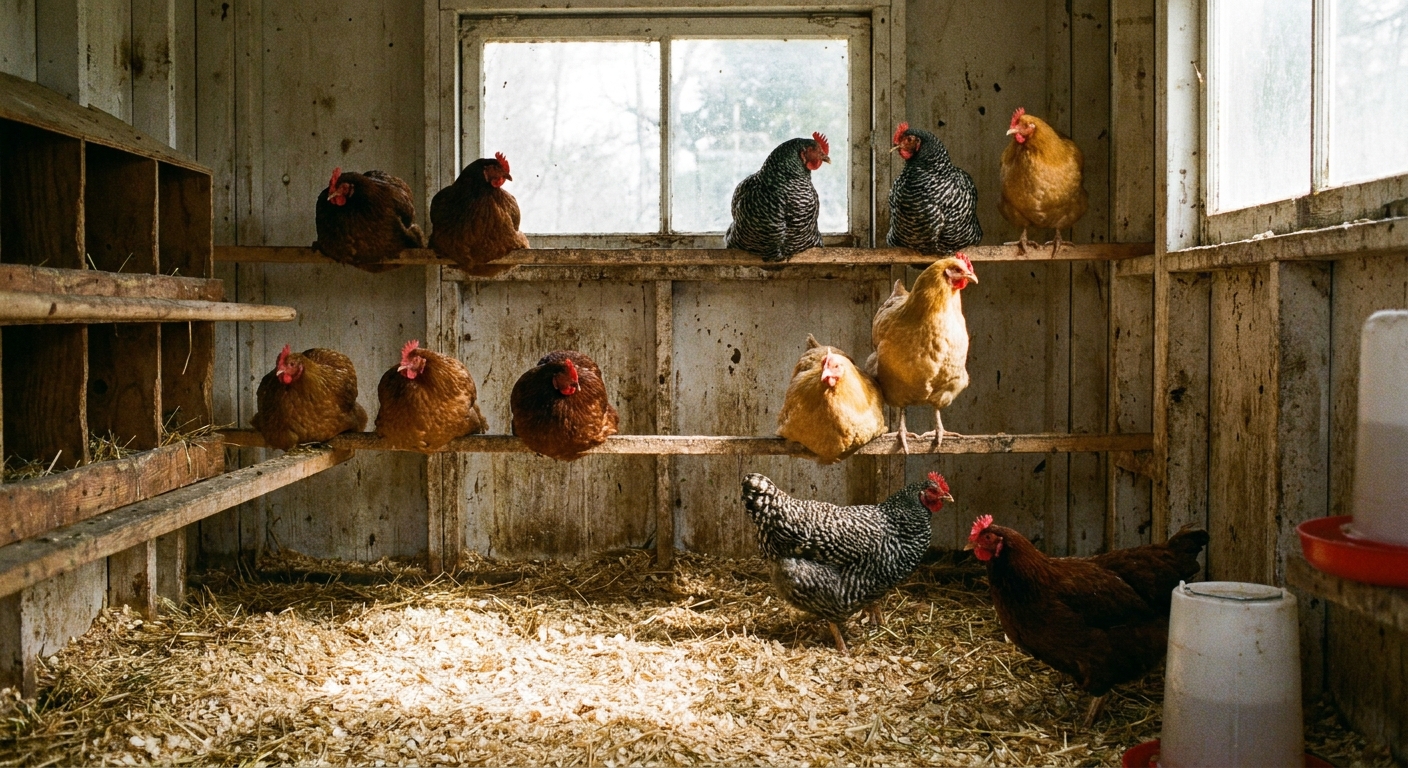
Fresh air matters year-round. Here’s how to vent your coop to prevent ammonia and moisture while keeping roosting chickens out of winter drafts.
The Cluck Loom
Deep Litter Method for Chicken Coops
Learn how to start and maintain the deep litter method in your chicken coop for better odor control, winter comfort, and easier seasonal cleanouts, step by step.

Maggie Harper
Maggie Harper is a passionate backyard chicken keeper with over a decade of hands-on experience raising mixed flocks. Through CluckLoom, she shares practical advice on coop building, flock health, and egg production to help beginners and seasoned enthusiasts alike raise happy, healthy chickens.
Published
October 22, 2026
Last updated
October 22, 2026
The deep litter method sounds a little bit like a chicken keeper dare: “So you are telling me I should not scoop the coop every week?” But when it is set up correctly, deep litter is one of the easiest, least smelly ways to manage bedding in a backyard coop. It relies on a thick, dry carbon layer (your “browns,” like shavings, chopped straw, or dry leaves) that you keep topping off. Your “greens” are the droppings. With just enough stirring and moisture balance, a gentle composting process happens down below.
I started deep litter after one too many winter mornings of frozen poop boards and bedding that smelled like ammonia the second it got damp. Once I got the hang of it, my coop stayed drier, my cleanouts got less frequent, and the birds had something satisfying to scratch through on gloomy days.
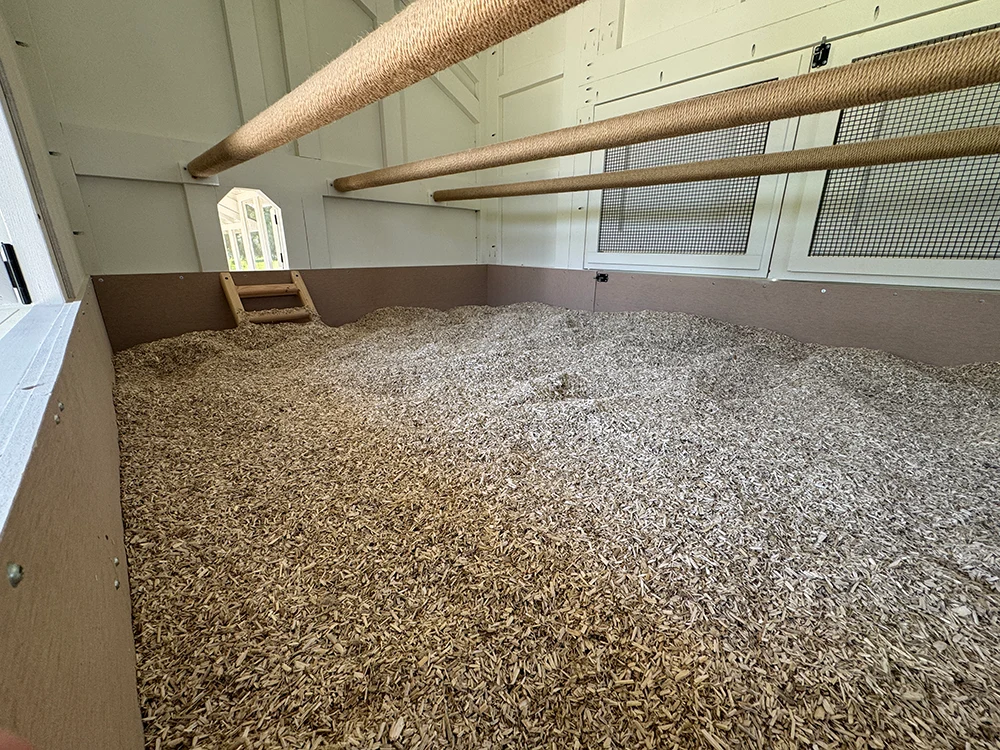
What it is and is not
Deep litter is a bedding system where you build a thick base layer and continue adding fresh dry bedding over time. The lower layers slowly break down as droppings and bedding mix. Most of the “warmth” people notice comes from insulation and a dry floor, not a big blast of compost heat, especially in small backyard coops.
Deep litter is not “never clean your coop.” You still manage moisture, you still remove wet spots, and you still do a full cleanout occasionally. Think of it like a slow-cooker approach instead of a frantic daily scramble.
Why people love it
- Odor control: When the bedding stays dry and carbon-rich, ammonia stays low.
- Winter comfort: A deep, dry layer helps buffer cold floors and drafts.
- Less work over time: You are topping off, not stripping the coop constantly.
- Great compost output: The end product is garden gold after it finishes composting.
When it is a bad fit
- Constant damp conditions: If your coop floor is always wet, deep litter will turn into a soggy mess.
- Severe ventilation issues: No bedding system can fix a poorly ventilated coop.
- Gaps letting rain blow in: Wind-driven rain will soak litter fast.
- Very small coops with high bird density: It can still work, but you will be topping off constantly and fighting moisture.
Set up for success
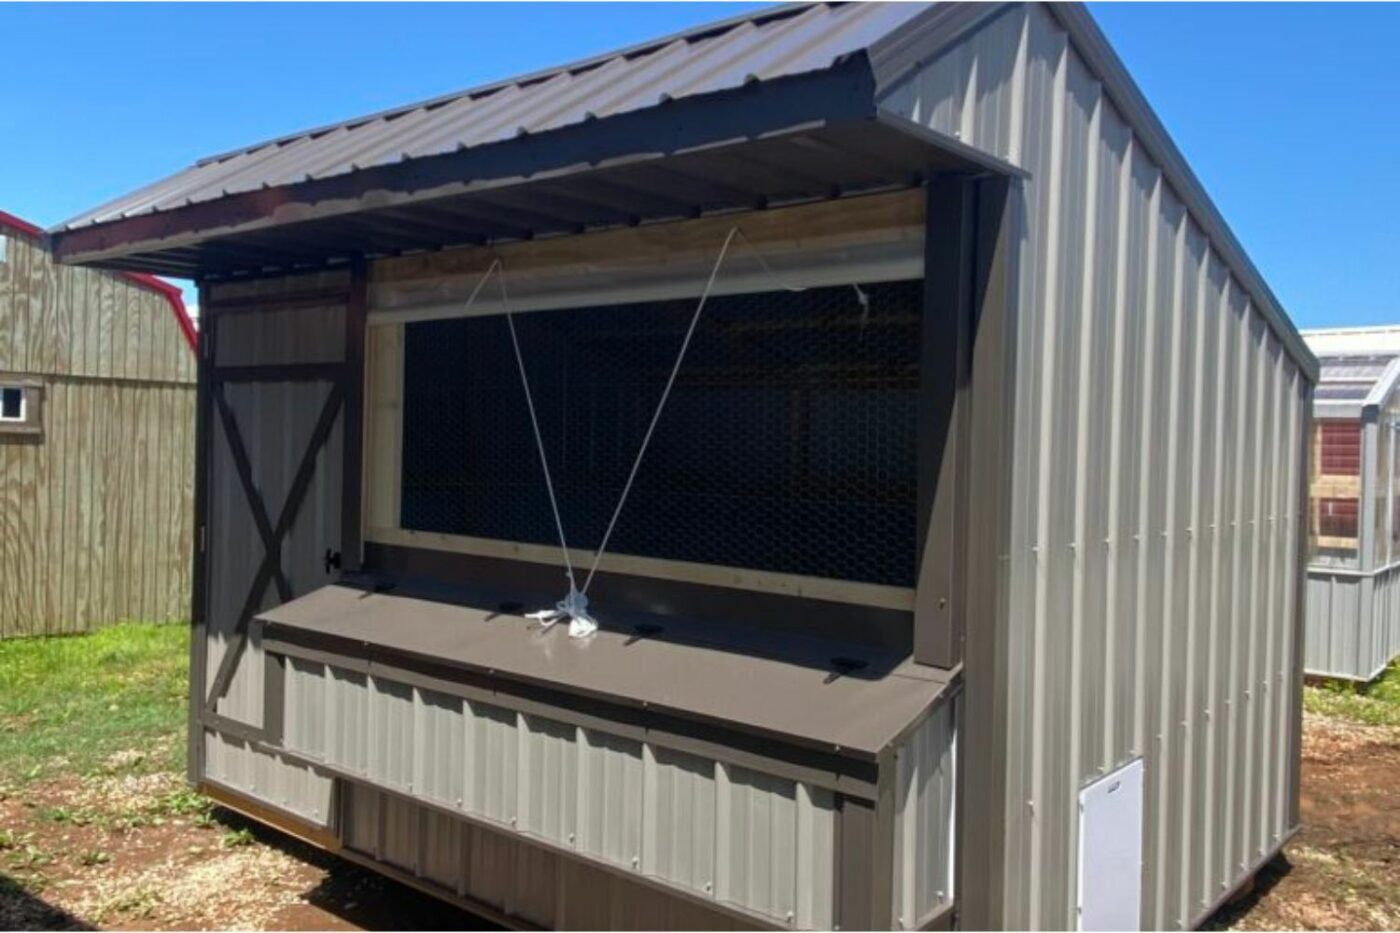
Deep litter works best when your coop is dry, draft-managed, and well ventilated. That sounds contradictory at first, so here is the backyard version: you want fresh air exchange up high, without a cold wind blasting directly across roosting birds.
Checklist
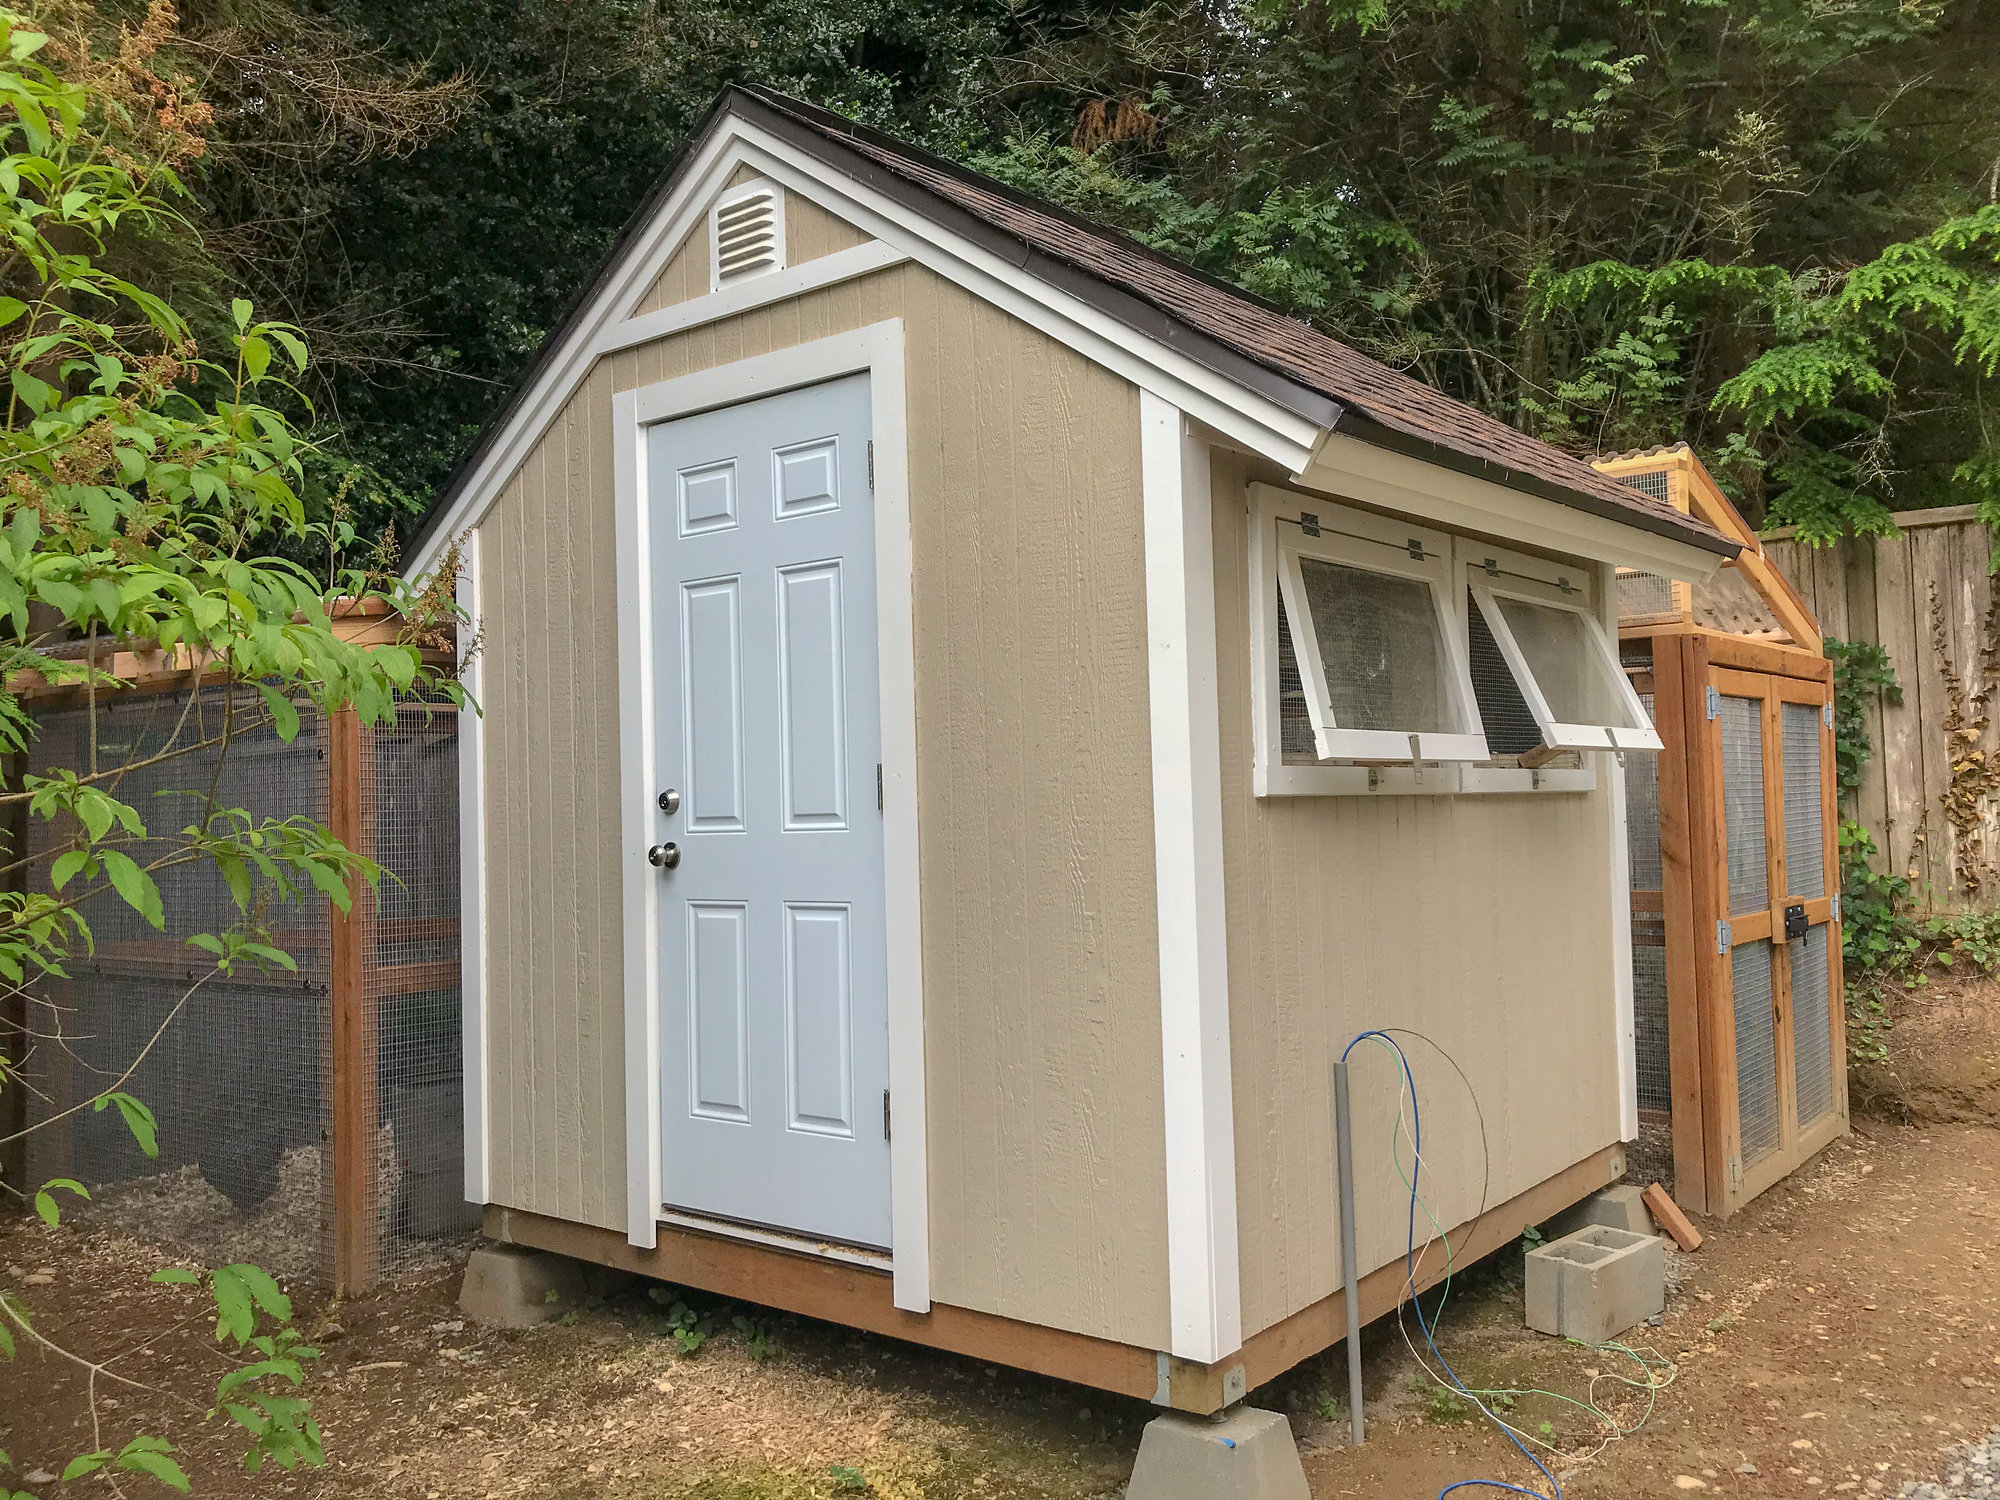
- Ventilation: Open vents near the roofline are your best friend. Stuffy coops trap moisture, and moisture is what turns droppings into ammonia.
- Weatherproofing: Fix roof leaks and wall gaps where rain blows in. Deep litter can handle normal humidity, not puddles.
- Predator-proofing: If you plan to add thicker bedding, make sure your coop floor and edges do not create easy dig spots for rodents or predators. Hardware cloth barriers and tight edges matter.
- Floor type: Wood floors are fine. Dirt floors can work if you have excellent drainage and you accept that you are basically composting on soil. Concrete is also fine, but it can feel cold without a thick bedding layer.
Best bedding options
Your bedding is the “brown” material in the compost equation. The goal is fluffy, absorbent, and easy to stir.
Good choices for most coops
- Pine shavings: The classic choice. Absorbent, easy to fluff, and widely available. Choose larger flake shavings if you can, since fine stuff can get dusty.
- Chopped straw (not long straw): Chopped is easier to mix and less likely to mat. Long straw tends to form soggy pancakes if you are not vigilant.
- Dry leaves: Free and effective when shredded or crumbled. I like mixing leaves with shavings for a springy texture.
Use caution with these
- Sand: Great for droppings removal with a scoop, but it is not really “deep litter composting.” It also does not insulate like carbon bedding does.
- Cedar shavings: Generally avoided due to aromatic oils that can irritate respiratory systems.
- Hay: Hay is for eating, not bedding. It molds easily and invites pests.
How to start
If you are switching from a regularly cleaned coop, pick a dry day and start fresh. The first setup is the only time it feels like a “project.” After that, it is mostly small habits.
Step 1: Clean and dry
Remove old bedding, scrape stuck-on spots, and let the floor dry fully. If you start deep litter on a damp base, you will be chasing moisture from day one.
Step 2: Add a base layer
Start with 4 to 6 inches of pine shavings or your chosen bedding. In colder climates, I often start closer to 6 to 8 inches going into winter.
If your coop is large and your flock is small, deeper is fine. If your coop is small and your flock is big, the key is not depth, it is dryness.
Step 3: Skip the additives
You will sometimes see agricultural lime suggested under litter. Because lime can be dusty and irritating, and because it is easy to misuse, I do not consider it necessary for deep litter success. Focus on ventilation, keeping water off the floor, and adding dry bedding when needed. If you smell ammonia, lime is not the first fix. More on that below.
Step 4: Keep waterers out
The fastest way to ruin deep litter is a leaky waterer. If your setup requires water inside, use a tray to catch splashes and be ready to remove wet litter immediately.
Week to week care
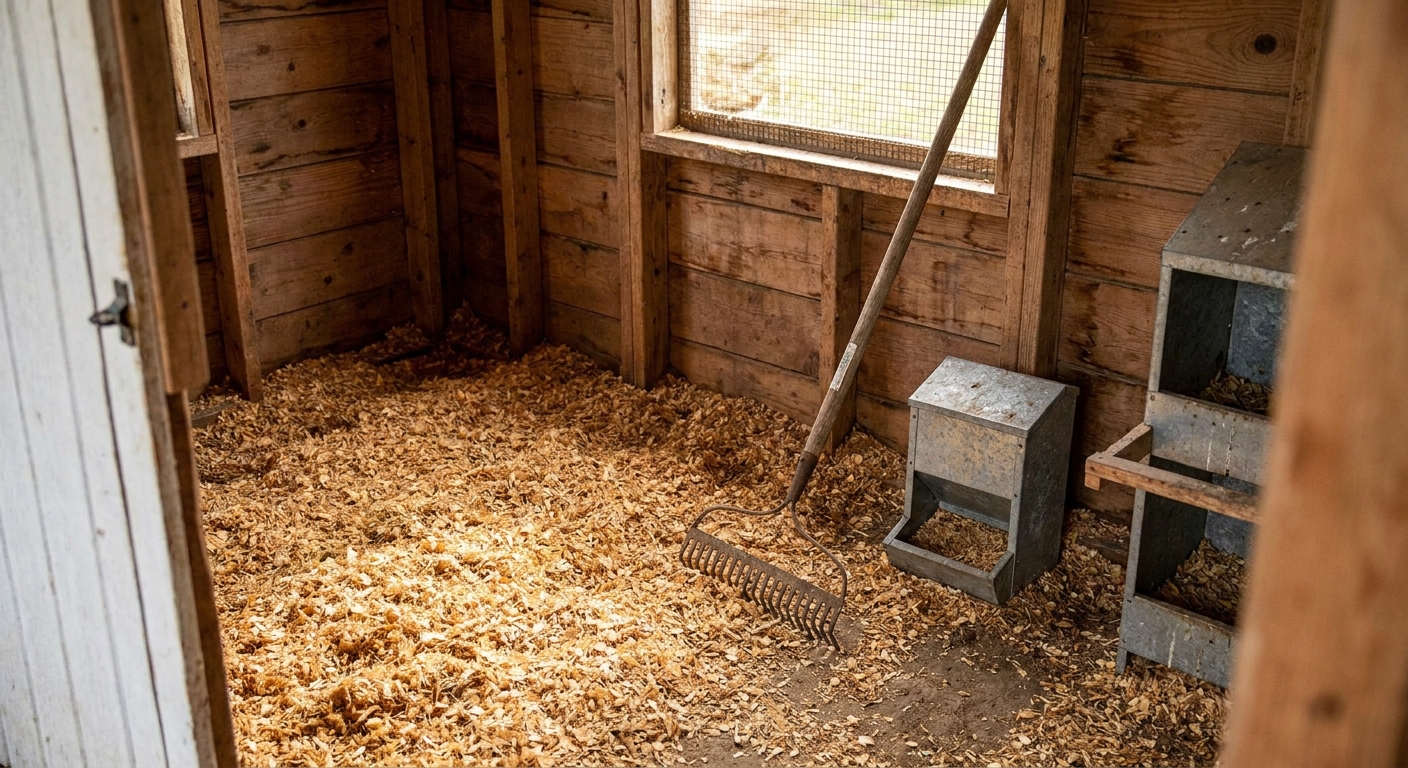
Maintenance is where deep litter shines. Instead of dumping everything, you manage the top layer like you are tidying a garden bed.
A simple routine
- Daily or every few days: Quick glance and sniff test. Remove any wet clumps near waterers or pop doors.
- Weekly: Add a thin “top dress” layer of fresh bedding in high-traffic zones, especially under roosts.
- Every 1 to 2 weeks: Lightly stir or fluff the top layer where droppings concentrate. For most coops, that means raking about 1 to 3 inches, not digging to the floor.
My rule: stir enough to prevent caking, but do not churn the whole bottom layer constantly. You want a stable, slowly working base, not a dusty blender.
Where to focus
- Under the roost: This is ground zero. If you have droppings boards, deep litter becomes even easier because most manure is caught up top.
- Near entrances: Rain and snow get tracked in here.
- In corners: Bedding compacts where chickens do not scratch as much.
Ammonia and odor
The deep litter method should smell like dry earth, wood, or a faint barnyard. It should not make your eyes water.
If you smell ammonia
- Add dry bedding immediately. Do not be shy. You are feeding the carbon side of the equation.
- Fix the moisture source. Look for leaks, spilled water, condensation, or rain blow-in.
- Increase ventilation up high. Moisture trapped in the coop is a bigger issue than “too much poop.”
- Remove wet pockets. If a section is soggy, scoop it out and replace with dry bedding.
Ammonia can irritate your flock’s respiratory system quickly, especially in winter when coops are more closed up. If the coop smells sharp to you, assume it is worse at chicken height.
Winter tips
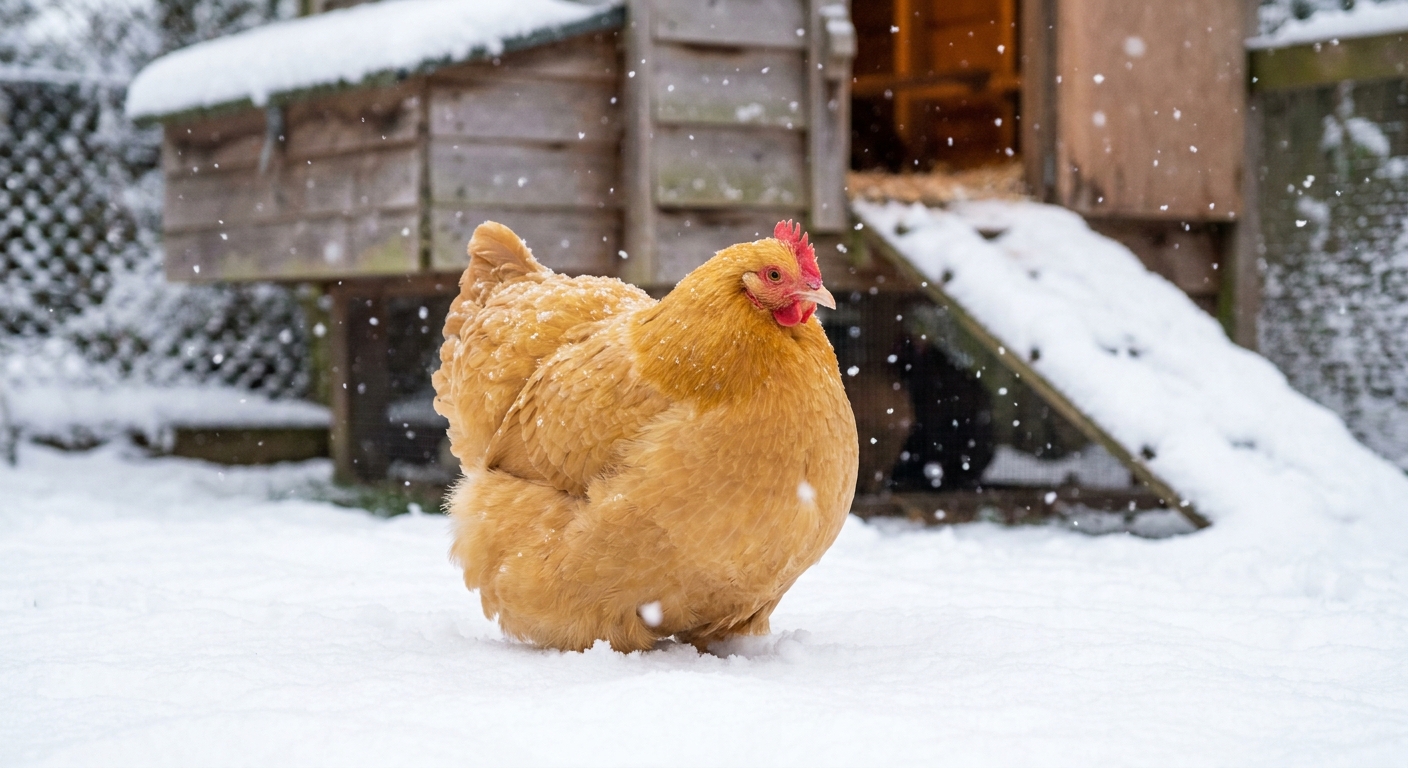
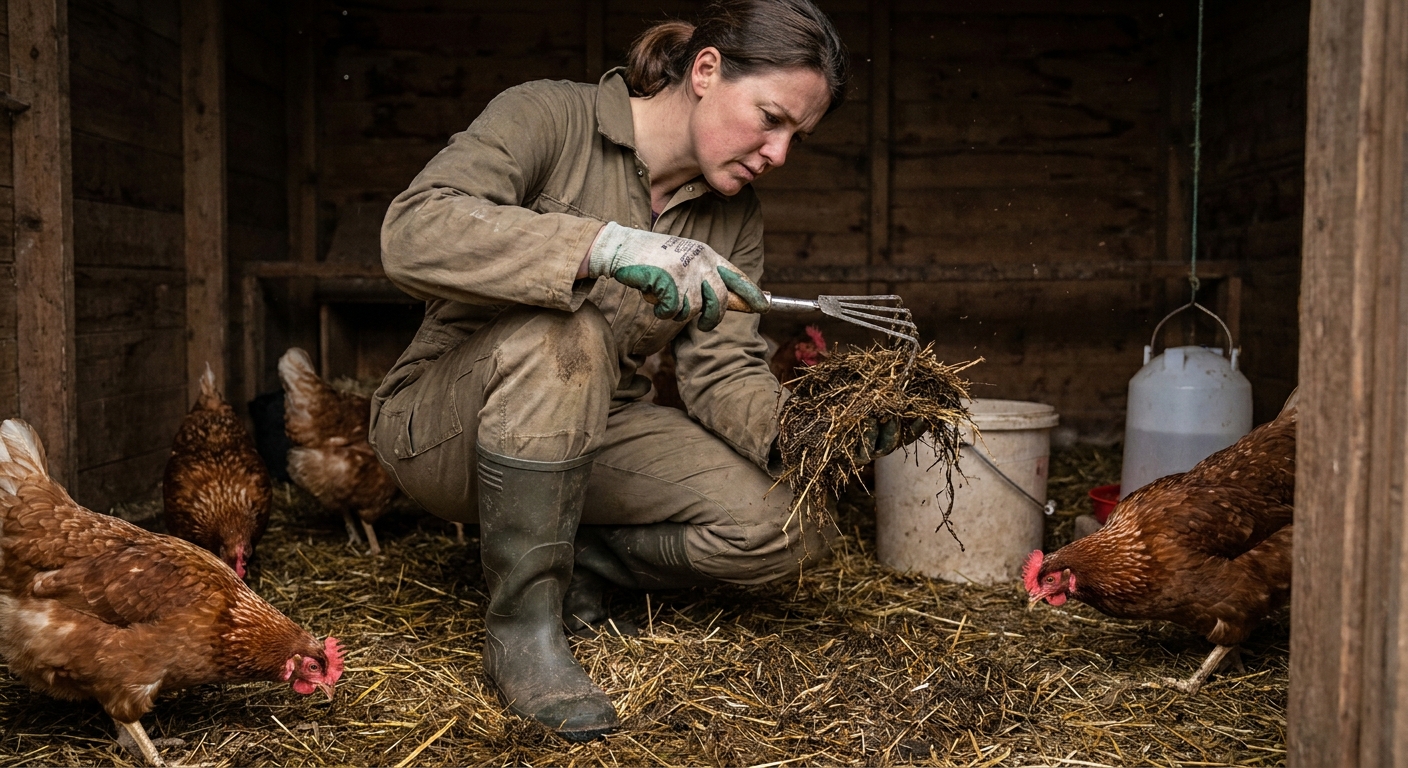
Deep litter is not a magic heater, but a thick, dry bedding layer helps stabilize temperature swings and keeps feet off cold flooring. It also gives bored winter birds something to do besides arguing over who owns the corner.
My winter approach
- Start with extra depth: Aim for 6 to 10 inches depending on your coop size and climate.
- Top off more often: Cold weather means less evaporation, so fresh dry bedding matters.
- Keep ventilation open: Moisture from breathing builds up fast in winter. I would rather have a cool, dry coop than a warm, damp one.
- Use scratch as a stirrer: Toss a handful of scratch grains into the litter in late afternoon so they dig around and mix the top layer.
Summer tips
In hot, humid weather, deep litter can turn from “earthy” to “what died in here” if airflow is poor. Summer is when I pay extra attention to dryness.
Hot weather habits
- Stir a little more often to prevent compacted, moist layers.
- Keep bedding fluffy so moisture can escape.
- Shade and airflow reduce humidity inside the coop.
- Consider a partial cleanout if your climate is extremely humid and the litter never dries.
Full cleanouts
Most backyard coops using deep litter do best with a 1 to 2 times per year full cleanout. Some folks stretch longer. Some need more frequent cleanouts due to climate, coop size, or flock density.
Signs it is time
- The litter is heavily compacted and no longer fluffs.
- It stays damp even after topping off.
- You see moldy spots or persistent ammonia.
- The coop floor level is creeping up to the pop door threshold. Ask me how I know.
My timing
I like a spring cleanout when I am itching to get in the garden and a fall reset if the summer was humid or my flock was extra messy. If your winters are harsh, doing a fall refresh and then topping off through winter works beautifully.
What to do with old litter
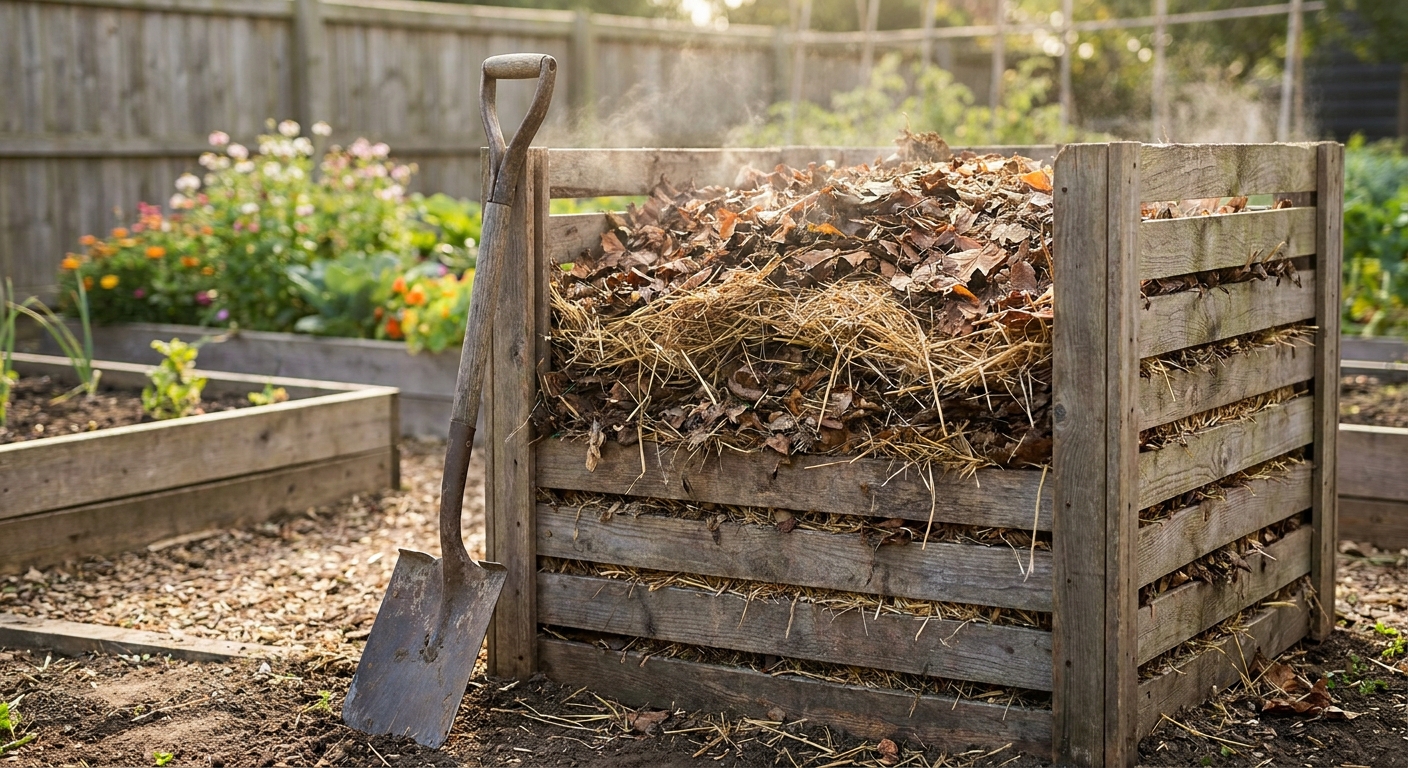
Used coop litter is a fantastic compost ingredient, but fresh chicken manure is high in nitrogen and can burn plants. It can also carry pathogens, which is why composting or aging is especially important before using it around food crops.
Easy composting
- Build a pile with the litter and add yard waste like leaves if it is very manure-heavy.
- Keep it slightly moist like a wrung-out sponge, not soggy.
- Turn it sometimes to speed things up, or leave it to age if you are not in a rush.
- Wait until it looks and smells finished like dark, crumbly compost before using in vegetable beds.
If you garden, deep litter is one of those rare chicken chores that turns into a gift.
Problems and fixes
“It is getting wet and clumpy.”
- Fix: Remove wet sections, add lots of dry bedding, and address the water source or rain blow-in. Check that airflow is not blocked.
“It smells worse when I stir it.”
- Fix: Stir only the top 1 to 3 inches and top dress afterward. If the bottom layer is anaerobic and swampy, it is cleanout time.
“My coop is dusty.”
- Fix: Switch to larger flake shavings, avoid over-stirring, and make sure ventilation is good. Fine bedding plus dry air can get dusty fast.
“I am seeing flies.”
- Fix: Keep litter dry, remove wet manure pockets, and consider droppings boards under roosts. Flies love moisture and exposed manure.
“Are rodents attracted to deep litter?”
Rodents are primarily attracted to feed, especially spills. That said, deep litter can offer warmth, cover, and nesting material, so if you already have a mouse problem, it can make them feel a little too at home.
Prevention is a combo of feed control and exclusion: keep feed in rodent-proof containers, clean up spills, use treadle feeders if needed, and seal gaps where mice can squeeze in.
FAQ
Can I use deep litter in the run?
You can, but it is trickier because rain and snow will soak it. Covered runs do great with a deep bedding approach. Uncovered runs usually turn into mud unless you have excellent drainage and are willing to refresh bedding often.
Do I still need droppings boards?
No, but I love them. Droppings boards make any coop easier to manage. With deep litter, they reduce how much manure hits the bedding overnight, which helps odor control and stretches the time between full cleanouts.
How deep is “deep”?
For most backyard coops, 4 to 6 inches to start is plenty. In winter, 6 to 10 inches can be wonderful if your coop has the space and stays dry.
Is deep litter safe for chicks?
For very young chicks, I prefer a simpler setup: clean bedding changed frequently, especially if they are in a brooder. Once they are older and in the main coop, deep litter is fine as long as it stays dry and you are not using dusty materials.
When should I skip deep litter for health reasons?
If you are dealing with persistent diarrhea, a suspected coccidiosis issue, or a respiratory outbreak, it can be smarter to do a cleanout and run a simpler, frequently changed bedding setup for a while. Deep litter works best when droppings are normal and the coop can stay consistently dry.
Should I add diatomaceous earth?
I do not rely on it for deep litter management. If you choose to use food-grade diatomaceous earth, use it cautiously because airborne dust is not great for lungs, yours or theirs. Dryness, cleanliness, and appropriate parasite control matter more.
Starter plan
If you want the shortest path to success, here is what I would do in a typical backyard coop:
- Start with a dry, clean coop and 6 inches of pine shavings.
- Keep waterers out of the coop or remove wet bedding immediately.
- Top dress weekly under roosts and near entrances.
- Fluff the top 1 to 3 inches every week or two.
- When you smell ammonia, add bedding and increase airflow.
- Plan a spring cleanout, and compost what you remove.
Once you have it dialed in, deep litter feels like the coop is taking care of itself. Not completely, of course. Chickens will never allow that. But close.