A step-by-step, backyard-tested guide to securing your flock from foxes, raccoons, hawks, and digging predators using hardware cloth, aprons, and foolproof l...
The Cluck Loom
How to Build a Predator-Proof and Mud-Free Chicken Run
Build a chicken run that stays dry and keeps predators out. Learn smart layout, hardware cloth, dig barriers, roofing, drainage, and ground cover options.

Maggie Harper
Maggie Harper is a passionate backyard chicken keeper with over a decade of hands-on experience raising mixed flocks. Through CluckLoom, she shares practical advice on coop building, flock health, and egg production to help beginners and seasoned enthusiasts alike raise happy, healthy chickens.
Published
October 22, 2026
Last updated
October 22, 2026
The first run I ever built was basically a fenced rectangle of hope. It looked fine until the first hard rain turned it into chocolate pudding, and the first curious raccoon treated my “secure” latch like a toddler with a puzzle toy. If you want a run that actually works, you have to design for two things at once: predators and water.
This is the CluckLoom method I use now. It is not fancy, but it is dependable. Your hens get fresh air and sunshine without you standing at the window all night like a nervous lifeguard.
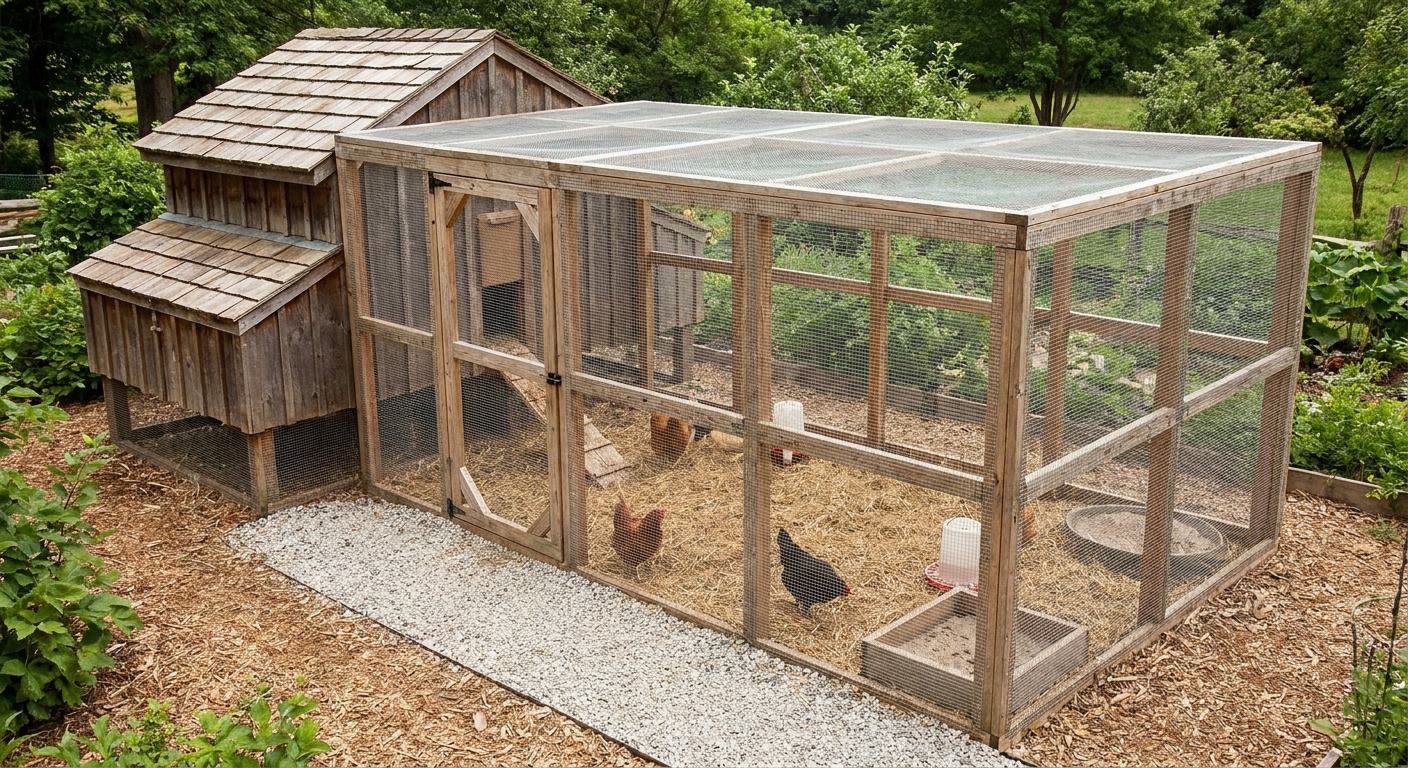
Start with a smart layout
A predator-proof, mud-light run begins before you buy a single roll of wire. Where you place it matters as much as how you build it.
Pick the driest spot you have
- Avoid low spots where water naturally collects.
- Look for a gentle slope (even a small one helps water move away).
- Stay out from under roof drip lines unless you are adding gutters. Constant runoff will defeat even good ground cover.
Size it for behavior, not just headcount
Yes, you can calculate square footage, but watch your flock. Active breeds and mixed flocks appreciate room to move and get out of each other’s personal space.
- Minimum run space: aim for about 10 square feet per chicken if they spend most of the day in the run.
- Bigger is calmer: more space usually means less squabbling and fewer bare patches that turn into mud.
Think in zones
I like to plan three “zones” inside the run:
- Dry zone: under a roofed section for winter storms and summer shade.
- Scratch zone: where you can toss leaves, straw, or a little flock-safe compost.
- Service zone: a human walkway so you are not stepping into the wettest part every time you refill water.
Materials that matter
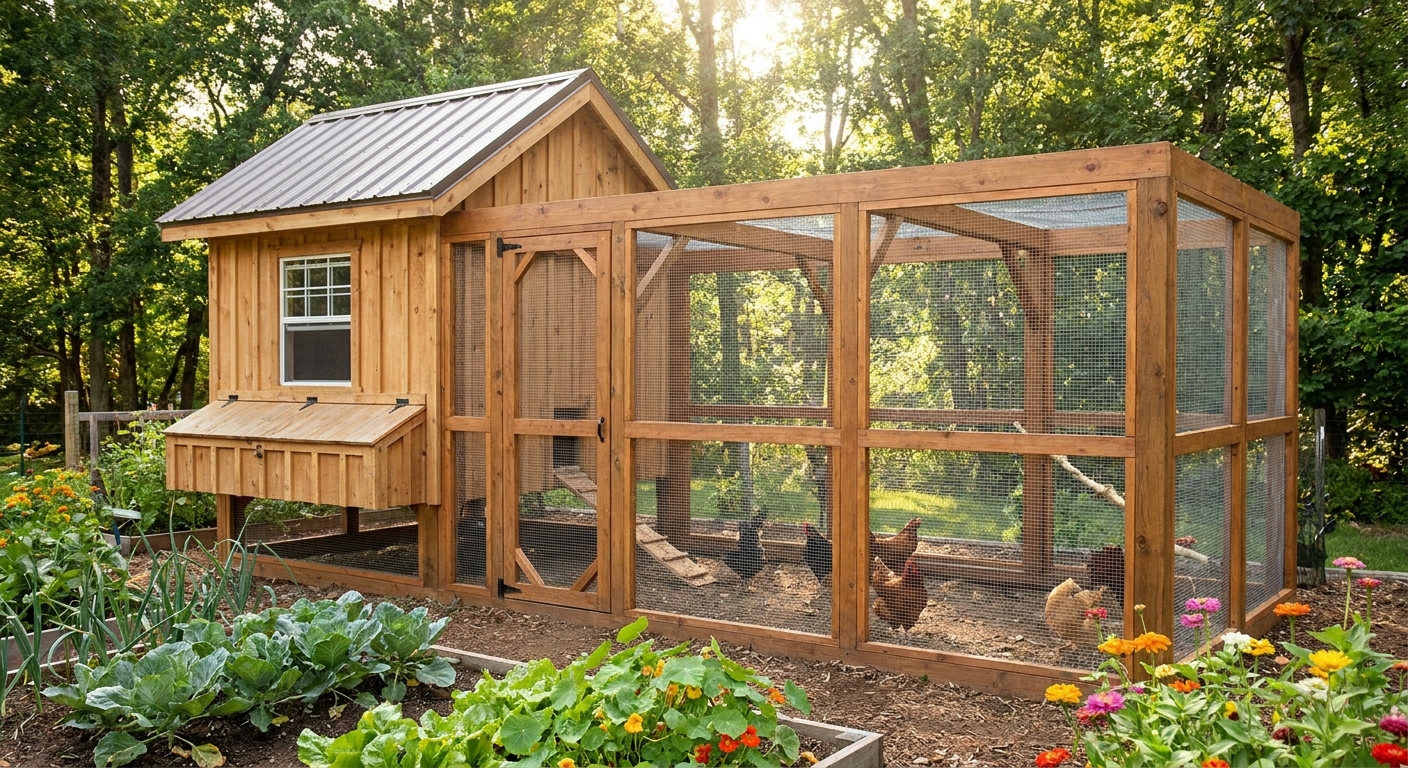
If you only remember one rule, make it this: chicken wire is for keeping chickens in, not predators out. It is too flimsy against raccoons, dogs, coyotes, and determined weasels.
Use hardware cloth for security
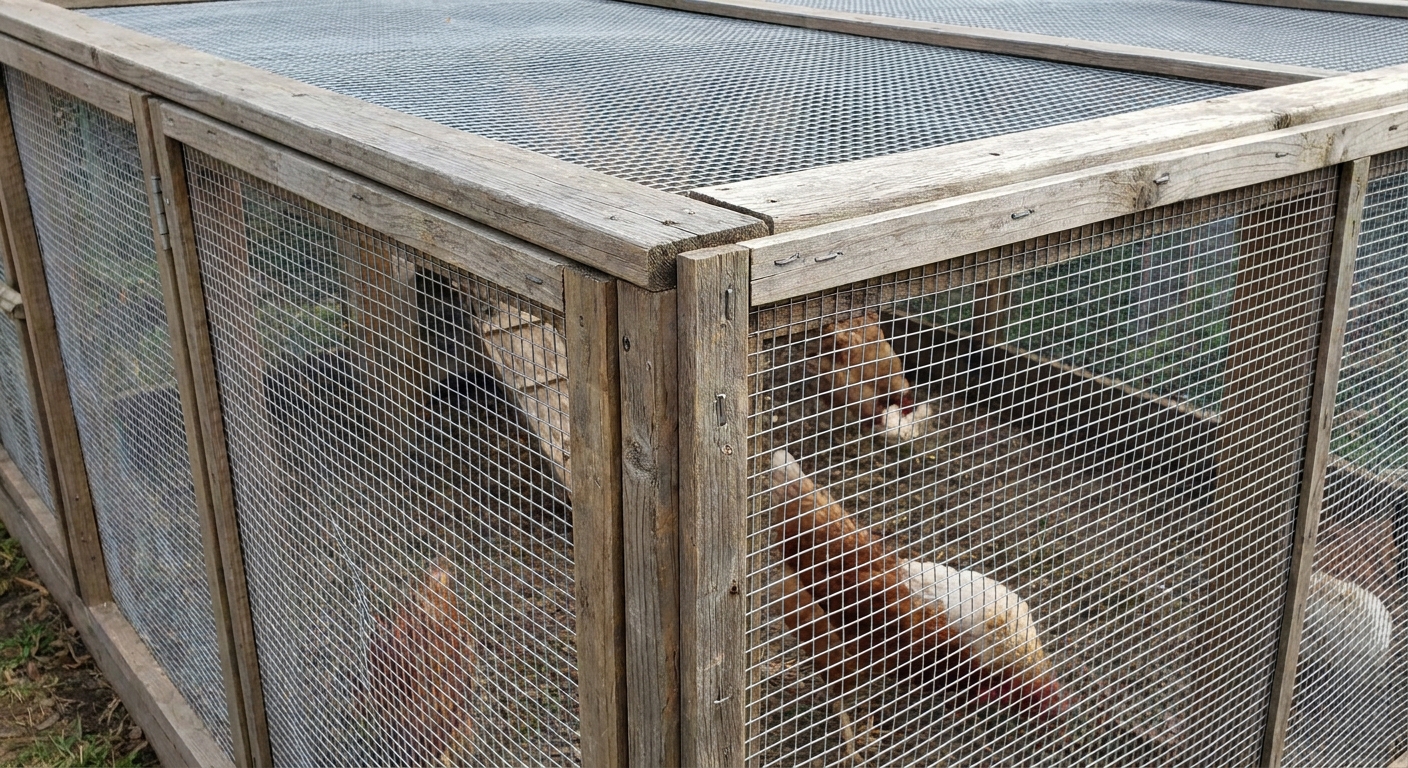
- Best all-around: 1/2 inch galvanized hardware cloth. 19 gauge is common in many stores, and heavier wire is stronger if you have serious predator pressure.
- For high-risk areas: 1/4 inch hardware cloth near the bottom 2 feet helps exclude smaller predators and rodents and reduces “reach-through.” (Rats can still chew weak spots, so attachments matter.)
Choose posts like you mean it
Your wire is only as strong as what it is fastened to.
- Wood posts: pressure-treated 4x4 corners with 2x4 framing works well for DIY builds.
- Metal posts: T-posts can work for larger runs, but you still need solid framing at doors and corners.
Fasteners that do not fail at 2 a.m.
- Fencing screws with washers are my favorite for attaching hardware cloth to wood. Heavy-duty fencing staples can work, but washers are harder for raccoons to pry loose.
- Hog rings for joining panels and seam overlaps.
- Predator-resistant latches: two-step latches or a latch plus a carabiner.
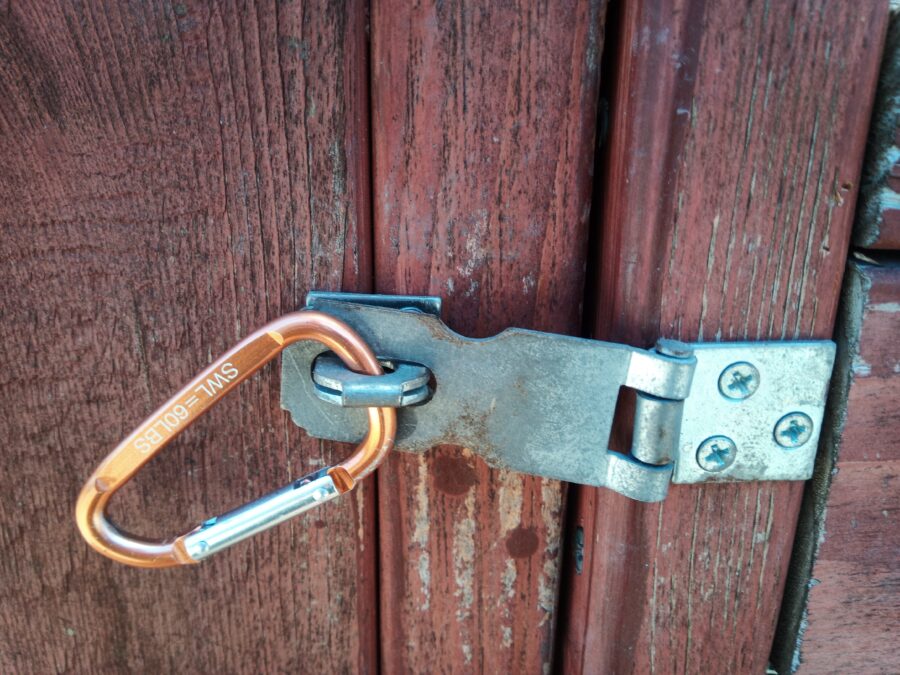
Predator-proofing
Because something wants in. Predators usually try one of three routes: digging under, climbing over, or reaching through.
Step 1: Stop digging
You have two solid options. Pick the one that matches your soil and your patience level. These are typical ranges, and going bigger is smart in loose or sandy soil, or if you know you have committed diggers.
Option A: Buried apron (my go-to for most backyards)
An apron is hardware cloth that extends outward from the base of the run like an underground “skirt.” When a predator digs at the fence line, they hit wire.
- Use 1/2 inch hardware cloth.
- Lay it 12 to 24 inches outward from the run walls (more if you have room).
- Bury it a few inches down or pin it to the ground and cover with soil, mulch, or gravel.
- Overlap seams by at least 6 inches and fasten with hog rings or wire.
- Safety tip: do not leave sharp cut ends exposed. Fold the edge over on itself (a quick hem) or cap the edge with a thin board so nobody, chicken or human, gets sliced.
Option B: Vertical dig barrier (best for tight spaces)
- Dig a trench 12 to 18 inches deep along the perimeter (deeper is fine if you can stand it).
- Drop hardware cloth down the trench and attach it to the wall framing.
- Backfill and tamp firmly.
Step 2: Roof it
An open-top run is an invitation to hawks and climbing predators. A roof also does wonders for mud control.
- Best for dry runs: solid roof panels over at least one section (corrugated metal or polycarbonate).
- Simple and effective: hardware cloth across the entire top, as long as the framing is strong. Hardware cloth roofs need close rafter spacing so they do not sag, especially in snow country.
- Avoid flimsy netting if raccoons can access it. Use netting only as extra bird protection, not predator security.
If snow load is a concern where you live, plan for rafters spaced close enough to prevent sagging and use solid framing.
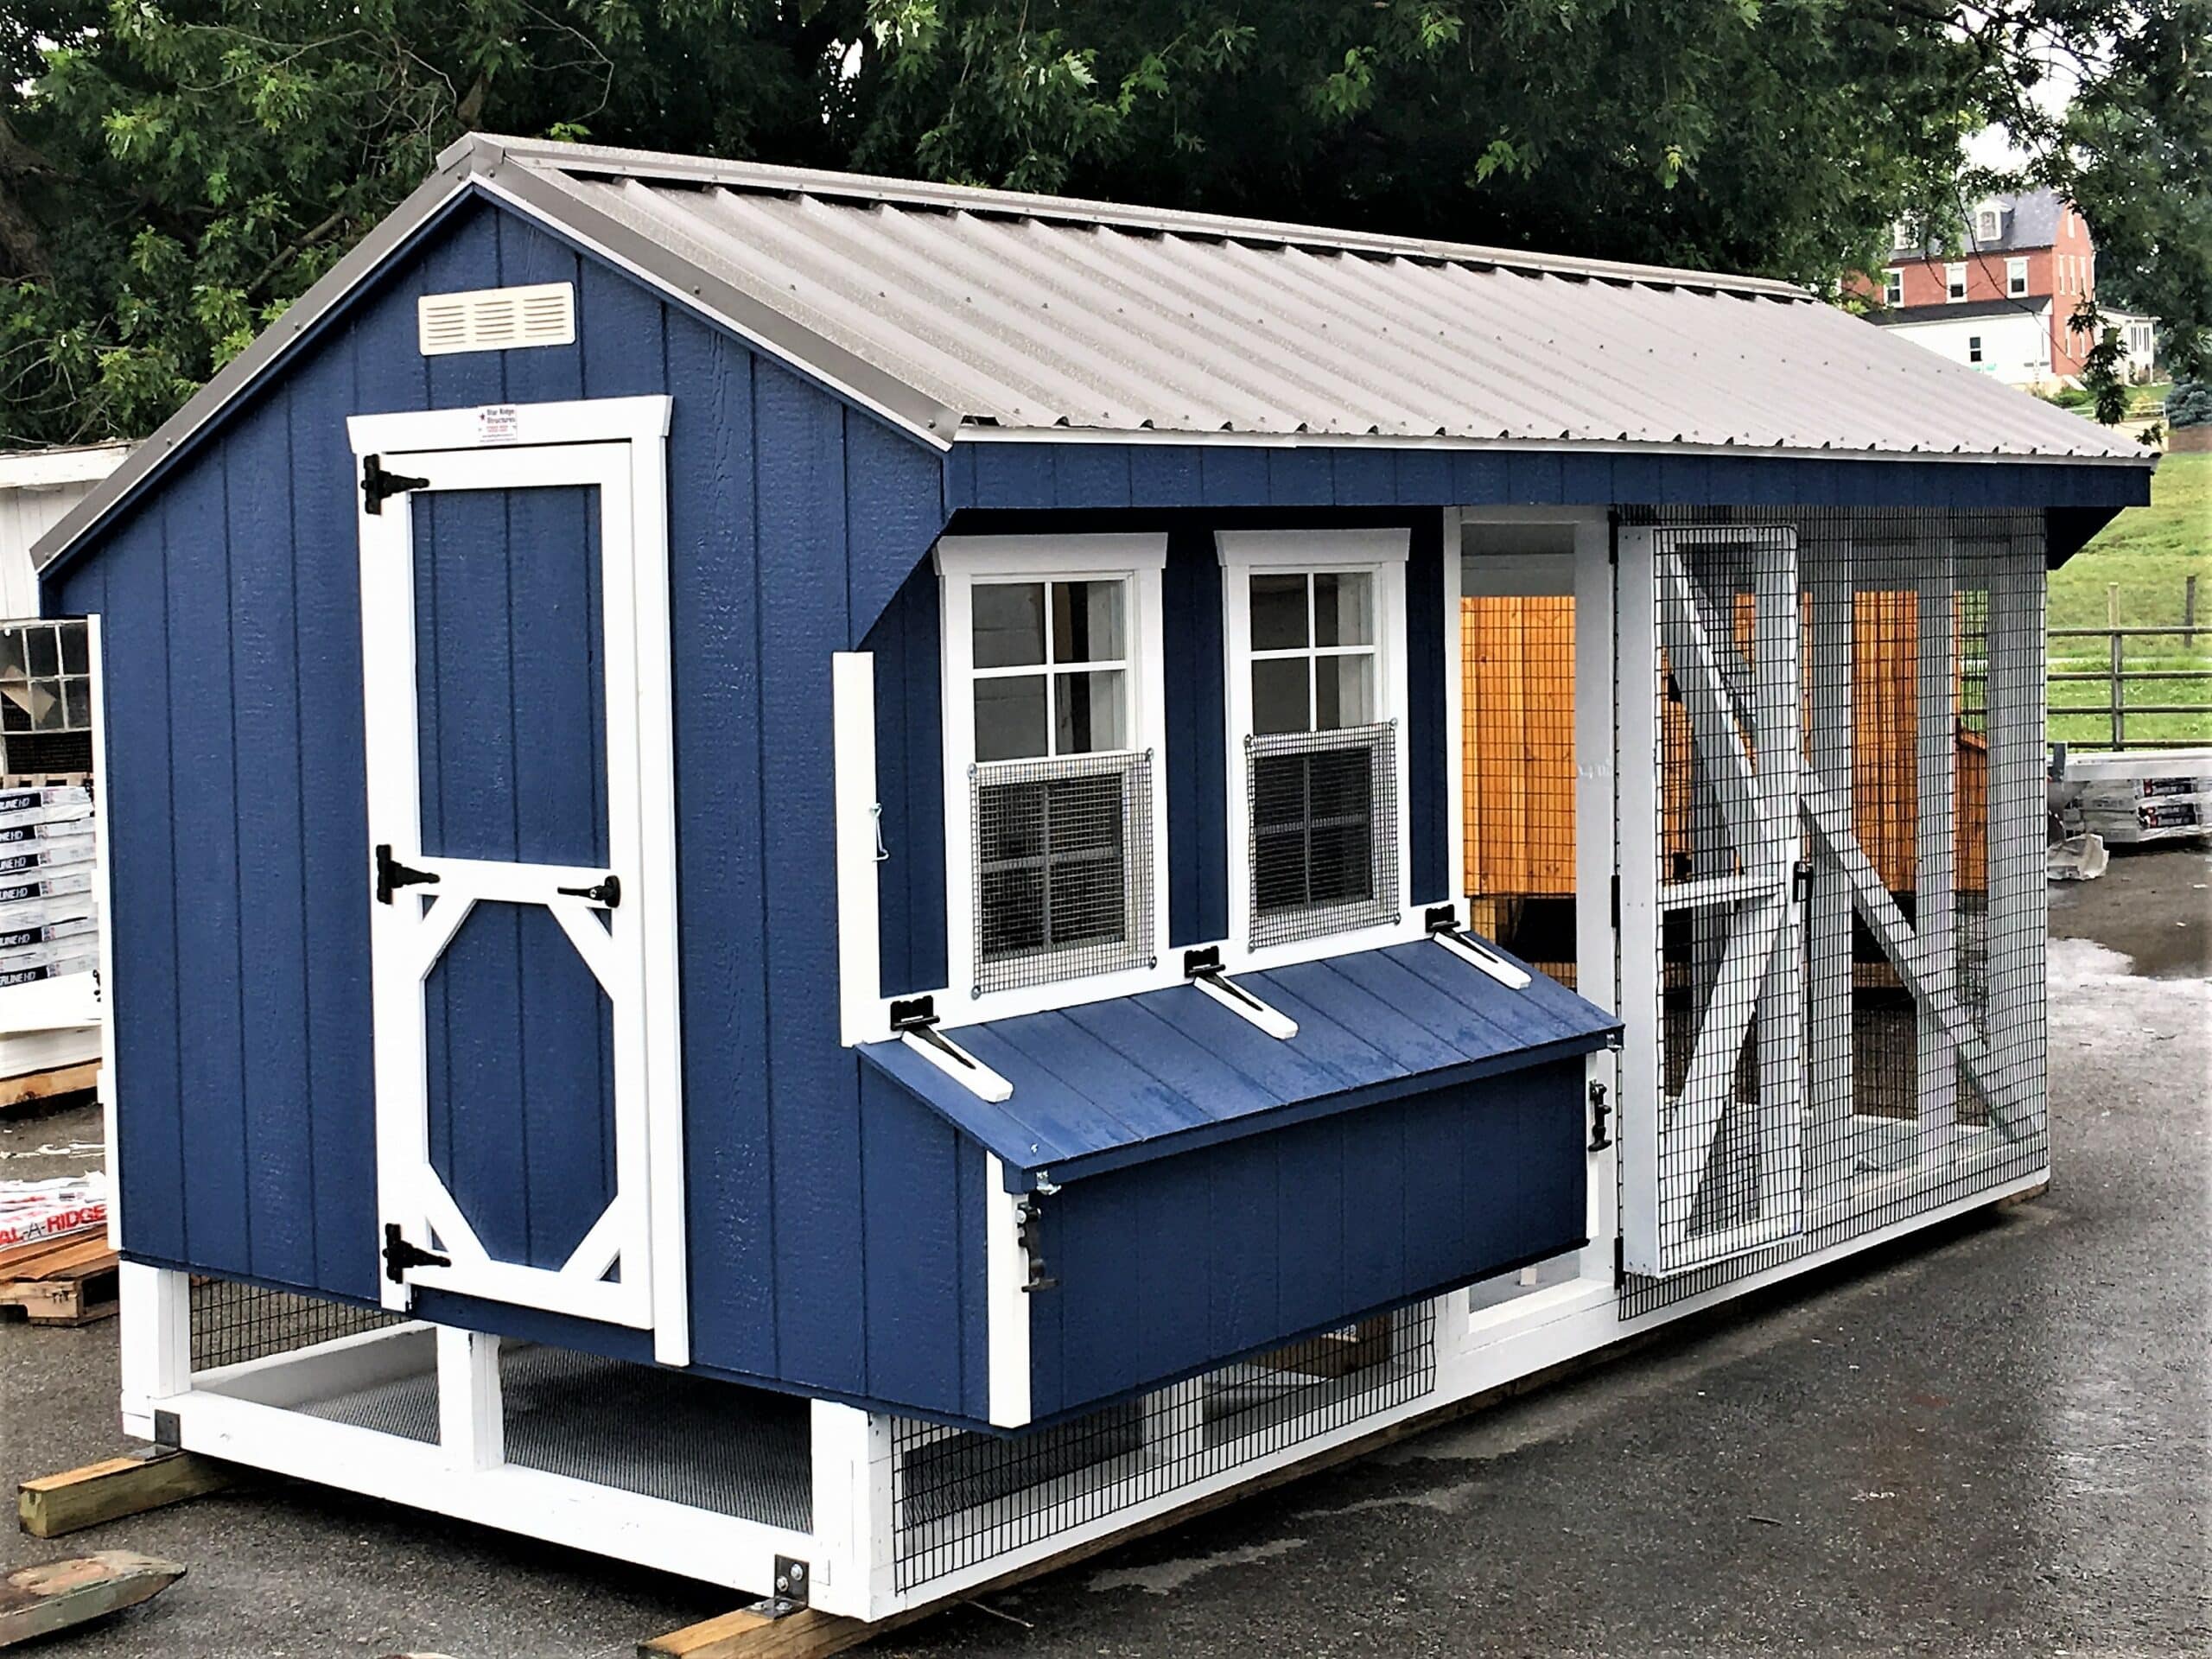
Drainage
Mud is often less about “bad ground cover” and more about water with nowhere to go. Fix the water path and everything else gets easier.
Send roof runoff away
- Add gutters to the coop roof and any solid run roof sections.
- Use a downspout extender to send water away from the run footprint.
- Make sure the surrounding yard does not slope toward the run.
Build the base like a draining patio
If you are starting from scratch, this layered approach keeps feet drier and odors down:
- Grade and level the run area with a slight slope away from the coop.
- Lay down non-woven geotextile fabric (landscape fabric) to separate soil from your drainage layer. Avoid plastic sheeting. It traps water and turns your run into a swampy bowl.
- Add 3 to 6 inches of crushed stone (often sold as 3/4 inch minus, crusher run, or road base) and compact it.
- Top with your chosen chicken-safe surface layer (more on that below).
On heavy clay soil, go closer to 6 inches of stone. Clay holds water like a grudge.
Consider a simple French drain
If water consistently sits in one area, a basic French drain can save your sanity.
- Dig a trench along the wet side of the run (outside the fence is easiest).
- Line with fabric, add perforated pipe, then fill with gravel.
- Route it to daylight downhill or to a dry well where allowed. Quick reality check: discharge rules vary, so check local regulations before you send runoff anywhere that could annoy a neighbor or violate a code.
Ground cover choices
Chickens scratch. That is their job. So any run surface has to handle constant digging, manure, and wet weather without turning into a stink factory.
Option 1: Coarse sand
Coarse, washed construction sand drains well and can be scooped like a litter box. It is my favorite for smaller runs or high-traffic zones.
- Pros: drains well, easy to rake, dries quickly.
- Cons: can track into the coop, may need periodic top-ups.
- Tip: avoid play sand. It compacts and holds water.
Option 2: Pea gravel
Gravel is tough to turn into mud. It can be harder to clean, but it is excellent for drainage.
- Pros: excellent drainage, durable.
- Cons: manure sifts down, harder to fully clean, not ideal for deep scratching.
- Tip: use it under a roofed section or along a human walkway.
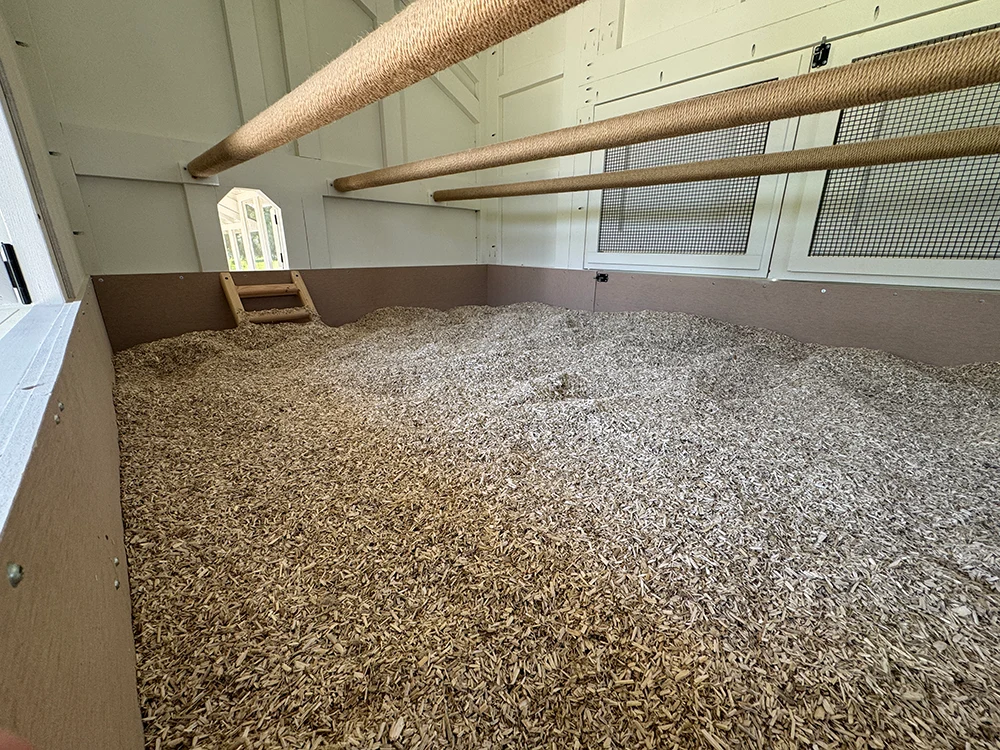
Option 3: Wood chips
Arborist wood chips can be wonderful if you accept that they are a “replace over time” surface.
- Pros: comfortable, encourages natural scratching, reduces smell when kept dry.
- Cons: breaks down, can get soggy if runoff is not controlled.
- Tip: keep chips deeper under cover and thinner in open rain zones. If a patch gets saturated and funky, do not “stir and pray.” Shovel it out and replace it.
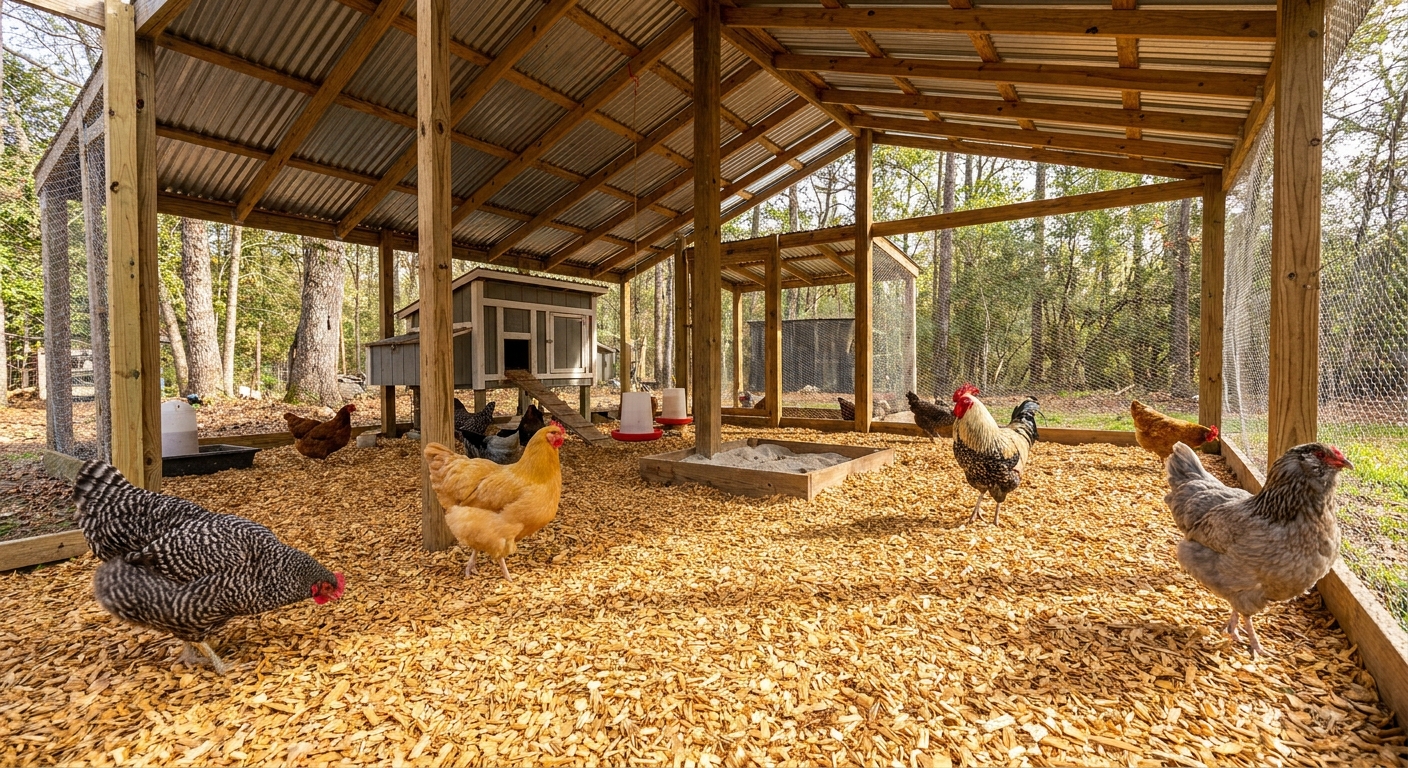
Build steps
If you want the build to go smoothly, do it in this order. It prevents the “why did I fence this in before I leveled it?” moment. Ask me how I know.
- Mark the footprint and check the slope.
- Set corner posts and frame walls and door openings.
- Plan the roof framing and decide where the solid roof section will go.
- Install your dig protection (apron or trench barrier).
- Add geotextile fabric and drainage stone if you are doing a layered base.
- Attach hardware cloth to walls, then to roof.
- Install the door with a tight fit and predator-proof latch.
- Add ground cover (sand, chips, gravel, or a combo by zone).
- Finish the inside with roosts, shade cloth where needed, a dust bath area, and a water station on a paver.
Roofing and shade
Chickens that are stressed by heat, wind, and nonstop rain are more likely to squabble and more likely to get sick. A good run gives them places to choose from.
Cover at least 1/3 of the run
- A solid roof section creates a reliable dry zone for winter and muddy seasons.
- In summer, that same roof can be your shade anchor.
Add windbreaks carefully
Clear polycarbonate panels or exterior-grade tarp panels can help, as long as they are secured tightly and you keep ventilation in mind. Leave an upper gap or a breathable section so you do not trap heat and humidity in warm weather.
Weak points predators love
The door gap
Doors sag. Chickens do not care. Raccoons care a lot.
- Build a solid wood frame door.
- Skin it with hardware cloth.
- Use two hinges minimum, three for tall doors.
- Add a threshold board at the bottom to eliminate gaps.
Weak attachments
Raccoons can pull at wire, and rats will test anything that flexes. If you are using wood framing, screws with washers are far more secure than light staples alone.
Roof edges and seams
Any place two pieces meet is a place something can pry.
- Overlap hardware cloth seams.
- Fasten every 2 to 4 inches along seams and edges.
- On solid roof panels, use appropriate roofing screws with rubber washers.
Feed and cleanup
A secure, dry run is easier to keep clean if you set it up like you plan to live with it.
- Keep feeders under cover to avoid soggy feed and to make your run less attractive to rodents.
- Elevate waterers on a paver or low platform so they do not become a mud sprinkler.
- Remove saturated organic bedding instead of trying to “dry it out” in place. Wet chips and straw turn into ammonia factories.
If you are using pressure-treated lumber, let it weather a bit before your birds have constant access, and cover fresh-cut ends where you can. Most chickens ignore lumber, but there is always one bird that wants to peck the world just to see what happens.
Maintenance
A great run stays great because you do small upkeep instead of one giant disgusting rescue mission in April.
- Rake high-traffic spots weekly to keep manure from matting.
- Top up sand or chips as they thin out.
- Clear gutters and downspouts before big rainy seasons.
- Do a perimeter walk once a month: look for digging attempts, loose fasteners, or bent wire.
- Refresh the dust bath in a covered corner so it does not turn into soup.
Quick FAQ
Is chicken wire ever okay?
For temporary interior partitions or keeping birds from slipping through a gap, sure. For predator protection on a run wall, roof, or skirt, no. Hardware cloth is the right tool.
How deep should I bury hardware cloth?
If you bury vertically, 12 to 18 inches is a common target, and going deeper can help in loose soil. If you do an apron, you usually only need a few inches of cover, but the apron should extend about 12 to 24 inches outward.
What is the easiest mud fix if my run is already built?
Add a roof section over the wettest area, redirect runoff with a gutter or downspout extender, then lay down geotextile fabric and a few inches of crushed stone in the worst spots before topping with coarse sand.
Can I put the run directly on grass?
Grass disappears fast under chicken traffic. If you want green, do it with rotation: two runs or a movable setup. For a permanent run, plan for a non-grass surface and drainage.
Final tip
If you are deciding where to spend your money, spend it on hardware cloth and roofing. Those two upgrades solve most heartbreak stories, and they make day-to-day chicken keeping calmer, cleaner, and frankly more fun.
Your future self, the one not power-washing mud off boots in January, will be very grateful.