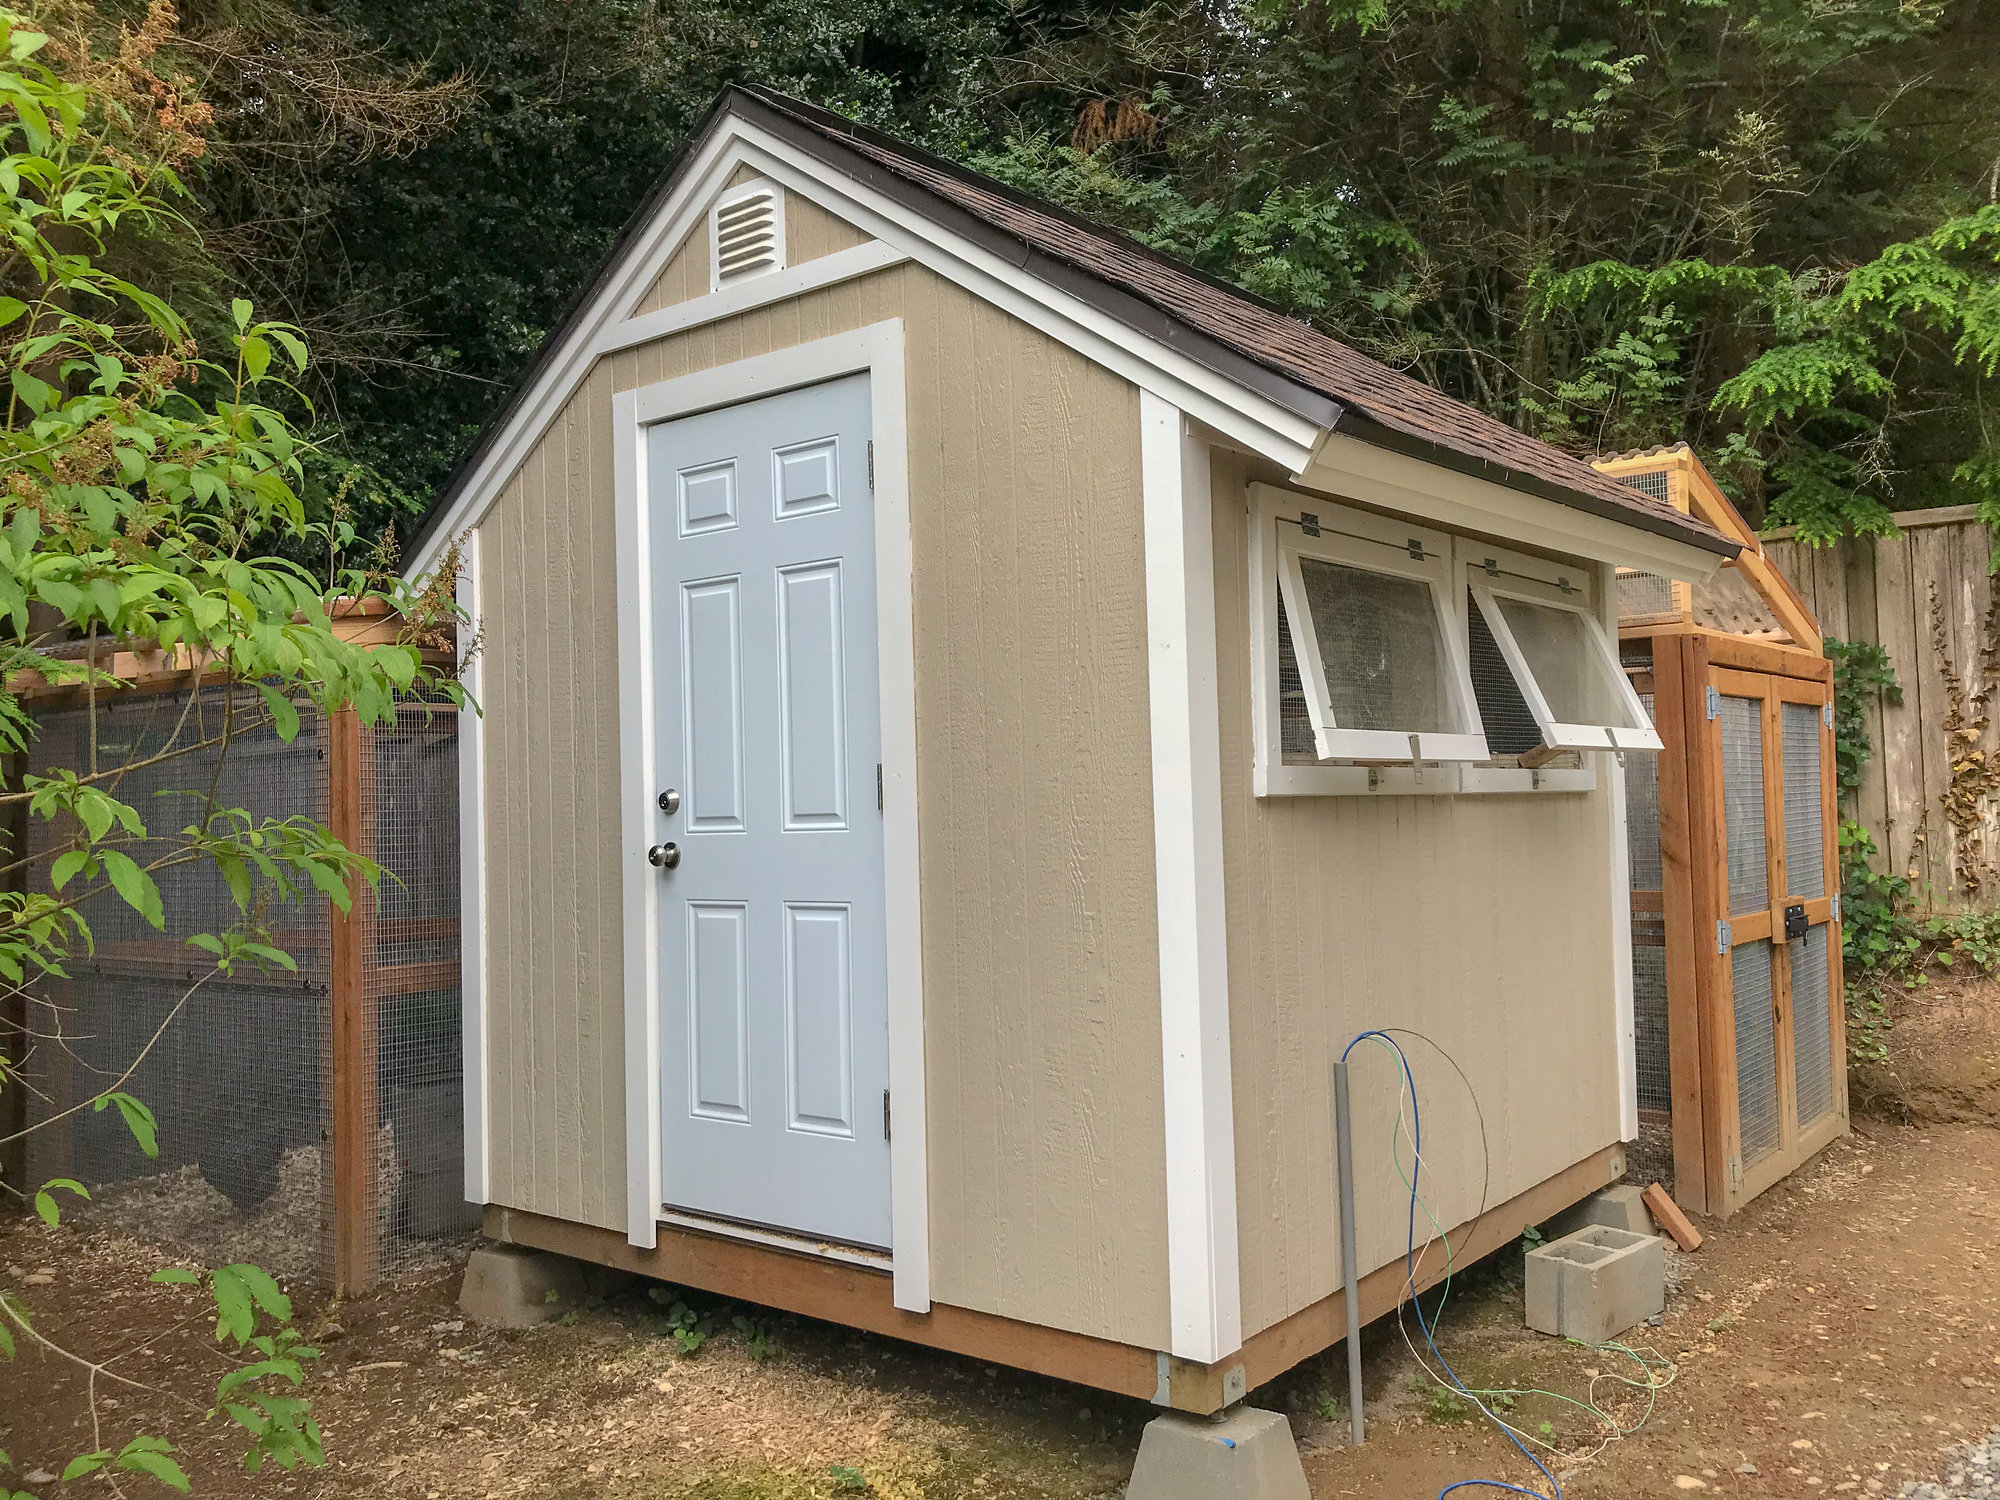
Fresh air matters year-round. Here’s how to vent your coop to prevent ammonia and moisture while keeping roosting chickens out of winter drafts.
The Cluck Loom
DIY Roosting Bars for Chickens
Build chicken roosts that are comfortable, easy to clean, and safer for feet. Learn the best materials, bar sizes, height, and spacing to reduce bumblefoot risk and bedtime squabbles.

Maggie Harper
Maggie Harper is a passionate backyard chicken keeper with over a decade of hands-on experience raising mixed flocks. Through CluckLoom, she shares practical advice on coop building, flock health, and egg production to help beginners and seasoned enthusiasts alike raise happy, healthy chickens.
Published
October 22, 2026
Last updated
October 22, 2026
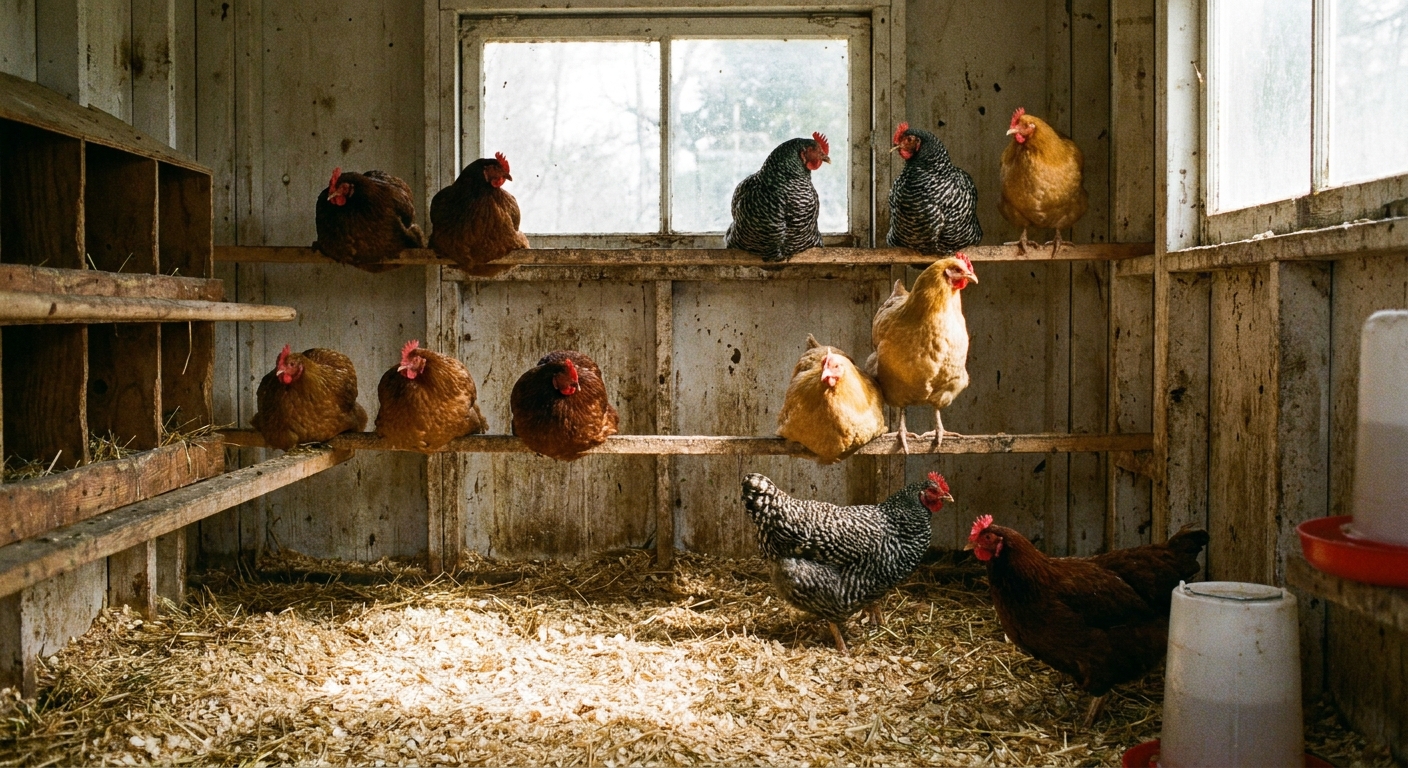
If there is one coop upgrade that pays you back every single night, it is a good roosting setup. Chickens want to sleep up off the floor, tucked in with their flock, and they will absolutely judge your carpentry while they do it. A well-built roost helps keep feathers clean, reduces stress at bedtime, and, importantly, supports feet in a way that can reduce pressure points that sometimes lead to problems like bumblefoot.
I started with a skinny round pole years ago because it was cheap and sitting in my garage. My birds used it, sure, but I saw more dirty bellies, more shuffling for “the good spot,” and a couple of early foot issues that made me rethink everything. Once I swapped to wide, flat roosts with sane spacing, bedtime got quieter and feet got happier.
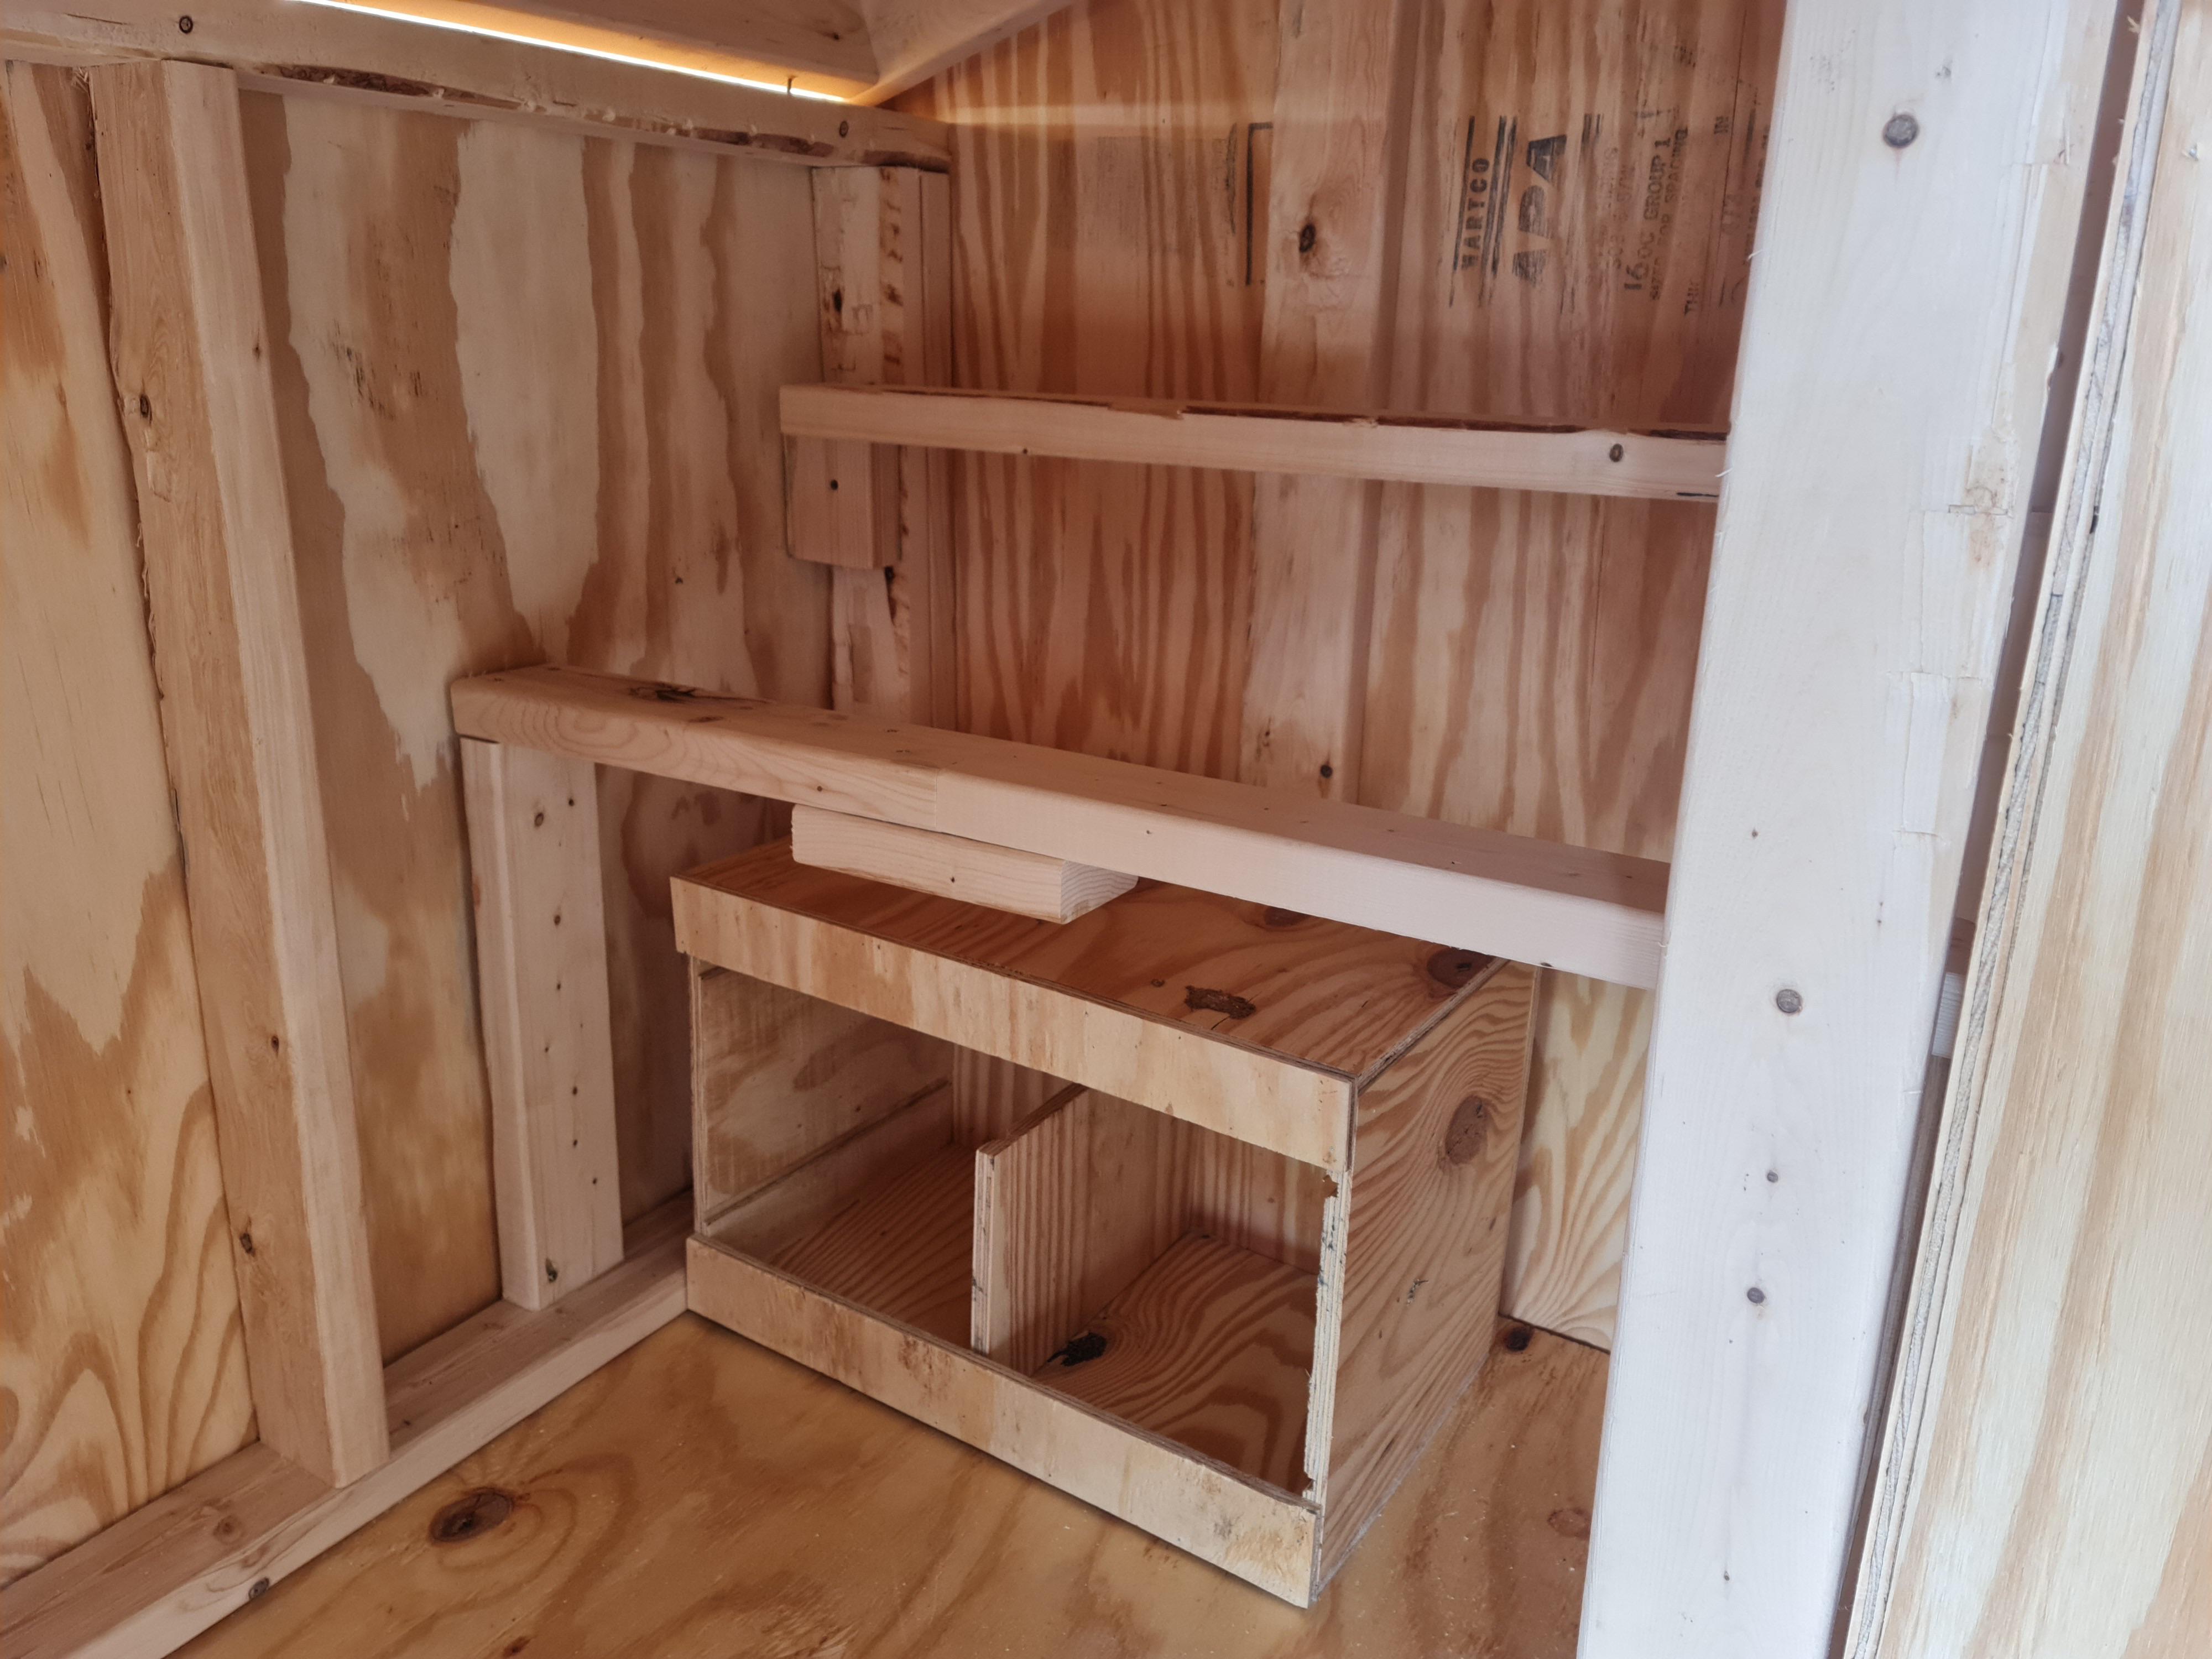
What makes a roost good
A chicken roost should do four things well:
- Support the whole foot so the bird can rest without putting all its weight on a narrow ridge.
- Give enough personal space to minimize pecking and shoving once the lights go down.
- Help chickens feel safe with a sensible height and a stable, non-wobbly mount.
- Stay cleanable because poop happens. A lot of it. Every night.
Roost trouble usually shows up as scabby foot pads, birds refusing to roost, or a nightly game of musical chairs that ends in squawks and wing slaps.
Best materials for DIY roosts
You do not need fancy lumber, but you do want something that stays smooth, solid, and easy to sanitize.
Best overall: kiln-dried pine 2x4 (installed flat)
A standard 2x4, mounted with the wide face up, is my go-to. It gives most backyard breeds enough surface area to rest their feet and cover toes with feathers in winter.
- Pros: inexpensive, easy to replace, simple to mount, straightforward to scrape clean
- Cons: will absorb moisture if the coop is damp, so keep ventilation decent
Great upgrade: hardwood boards
If you have heavy breeds, very wet weather, or you just want a roost that lasts forever, a hardwood board is wonderful. Use a thickness that will not flex and mount it like you would a 2x4.
- Pros: durable, resists dents, holds up to years of scraping
- Cons: pricier, heavier, harder to drill
Works well: wide branches (if prepared correctly)
Natural branches can work if they are thick enough and properly cleaned. The common mistake is using a small, round branch that forces chickens to grip all night. That is great for a songbird and not so great for a Wyandotte.
- Choose: a branch that lets the foot sit mostly flat. For many standard hens, that often lands in the about 2.5 to 4 inch diameter range.
- Prep: scrub, dry fully, remove loose bark, and sand any rough spots
Avoid: metal pipe, skinny dowels, and slippery PVC
Metal can be cold, hard, and slick. Narrow dowels concentrate pressure on the foot pad. PVC is easy to wipe down but can be slippery and encourages a constant grip. All three tend to raise your odds of sore feet and nighttime wobbling.
Wood safety notes
Skip pressure-treated lumber for the roosting surface. If you paint or seal a roost, use a fully cured, non-toxic finish, keep it from getting slick, and avoid anything that can flake where birds will peck and rub.
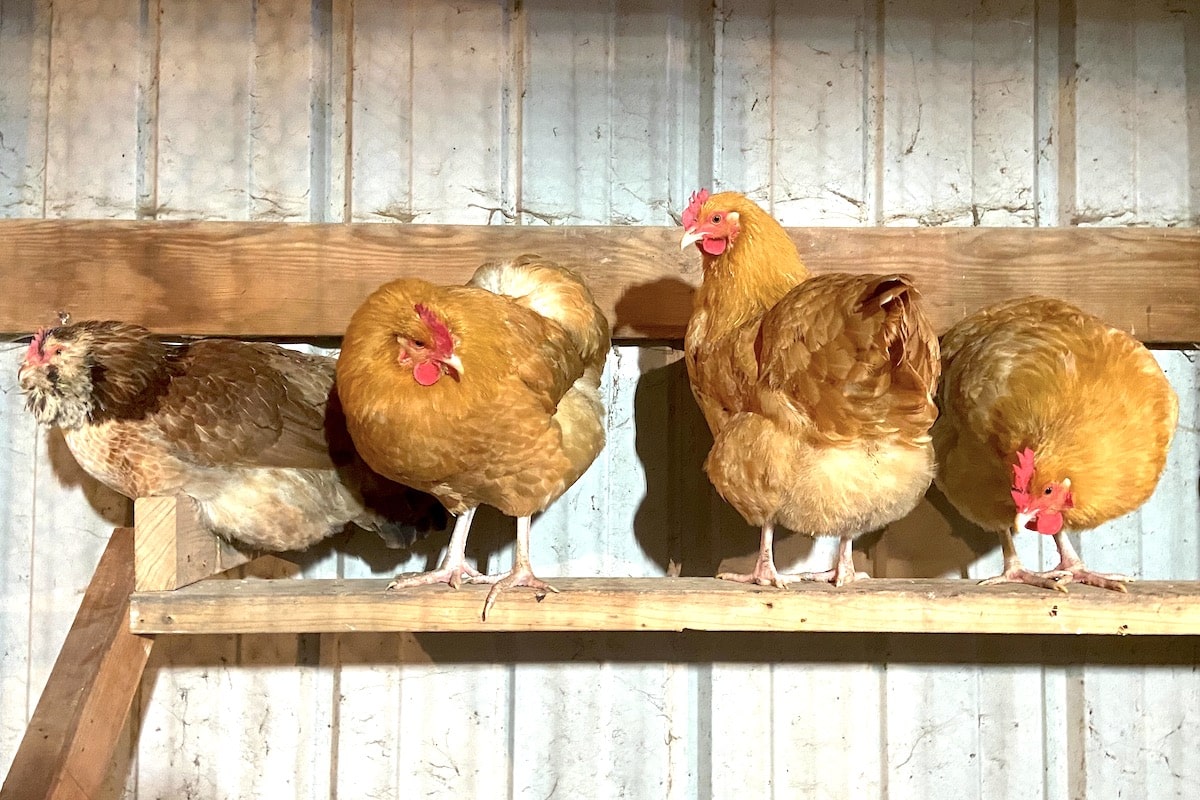
Dimensions that reduce bumblefoot risk
Bumblefoot is a bacterial infection that usually starts with a small cut or pressure sore on the foot pad. Roost design is a big factor because chickens spend hours with their weight on that surface, but it is not the only one.
Other common risk factors include wet litter, poor sanitation, sharp edges or splinters, heavy body weight, and any little injury that lets bacteria in. Think of the roost as one part of a bigger “dry, smooth, clean” strategy.
Width and shape
- Standard breeds: aim for 3.5 inches wide (a 2x4 laid flat is perfect).
- Large, heavy breeds (Orpingtons, Brahmas, Jersey Giants): consider a 2x6 laid flat for extra surface area.
- Bantams: a flat 2x3 or a 2x4 still works well. Bantams rarely complain about “too wide.”
Edges matter more than people think
Square corners create pressure points. Sand or plane the top edges so they are rounded, not sharp. You are not trying to make it into a dowel. You are just taking off the bite of the corners.
Surface finish
Keep the roost smooth but not glossy. Sand it well enough that there are no splinters, then leave it bare wood or seal it lightly only if you are sure it will not become slick. In my coops, bare sanded wood is easiest to maintain.
Spacing for calmer bedtimes
Most nighttime drama is not personal. It is logistical. The roost is too short, too crowded, too close to a wall, or stacked in a way that forces birds to hop over each other.
How much roost space per chicken
- Standard hens: 8 to 12 inches per bird (I lean toward 10 to 12 if you can spare it).
- Large breeds: 12 to 15 inches per bird.
- Bantams: 6 to 8 inches per bird.
Distance from the wall
Mount the roost so there is 8 to 12 inches between the roost and the wall behind it. That gives tail feathers room and helps keep the wall from becoming a poop mural.
Spacing between parallel roosts
- Minimum: 12 inches between roost bars
- Better: 14 to 18 inches, especially for fluffy or large birds
Height
Chickens like to sleep up high, but high is only helpful if the jump down is not punishing.
- Typical backyard sweet spot: 18 to 36 inches off the floor
- Heavy breeds or older hens: keep it closer to 18 to 24 inches
- Higher roosts can work: in roomy coops with safe ramps, steps, or platforms that prevent hard landings
Avoid drafts at roost level
Ventilation is great. A cold breeze aimed directly at sleeping birds is not. Place roosts so they get fresh air without sitting in the direct line of an open vent or window.
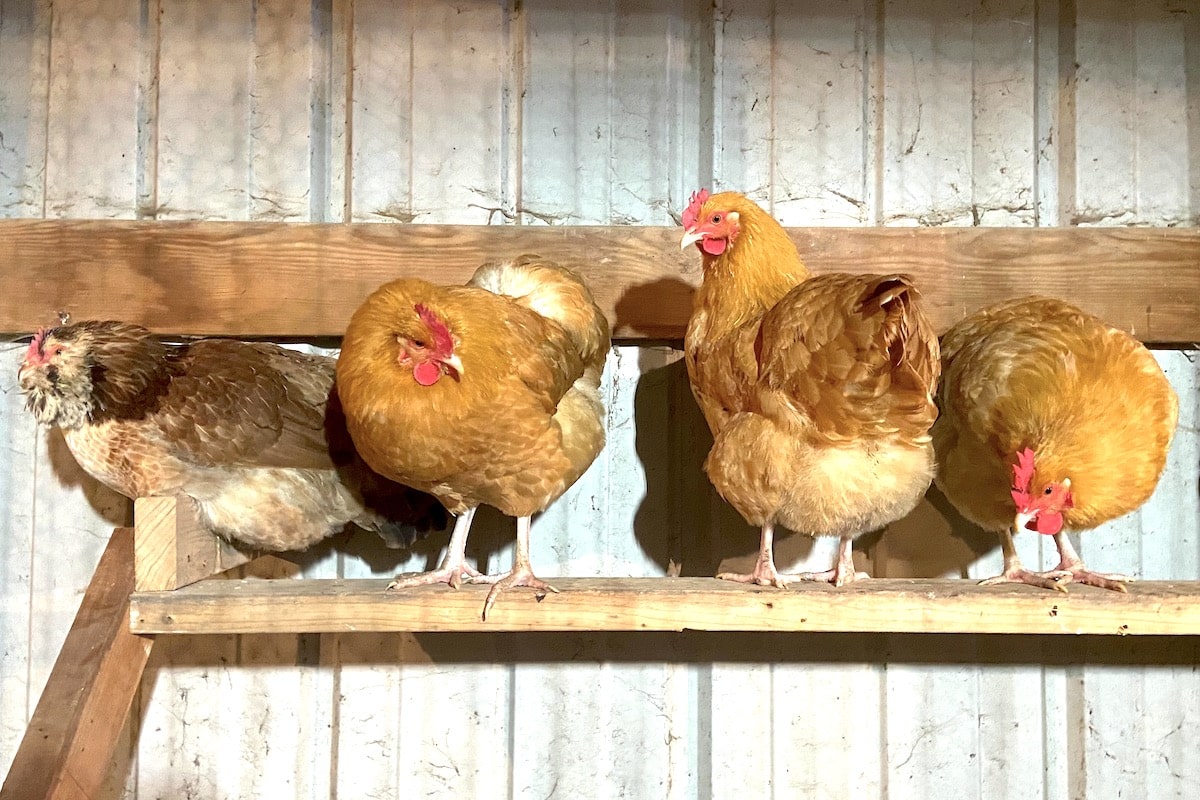
Roost layout basics
Chickens are little creatures of habit. If the roost setup forces them to compete for one premium spot, they will. Your job is to make the “best seat in the house” less of a bottleneck.
Keep roosts at the same height when possible
If you install multiple bars at different heights, most birds will fight for the top bar. Two bars at the same height often creates a more even spread of bodies and fewer bedtime arguments.
Do not place roosts over feeders or waterers
This is a rookie mistake I have made, regretted, and then cleaned up at 6 a.m. Roost poop will land exactly where you do not want it.
Avoid ladder-style stacking unless you need it
“Stairs” of roosts can work in tight coops, but the lower bar gets pooped on by the upper bar unless you design carefully. If you must stack, offset them so droppings do not rain straight down on the birds below.
Offer an easy on-ramp for timid birds
New pullets and low-ranking hens often get bumped. A simple step, stump, or wide board leading up to the roost can reduce flapping chaos and make it easier for everyone to settle.
How to build a sturdy roost
This is the basic build I recommend for most backyard coops. It is strong, cheap, and easy to remove for deep cleaning.
What you need
- One straight 2x4 (or 2x6 for large breeds), cut to length
- Sandpaper or a sanding block
- Two wall cleats or heavy-duty brackets
- Screws appropriate for your coop framing
- Drill and level
Step-by-step
- Measure your roost length based on your flock size and inches per bird.
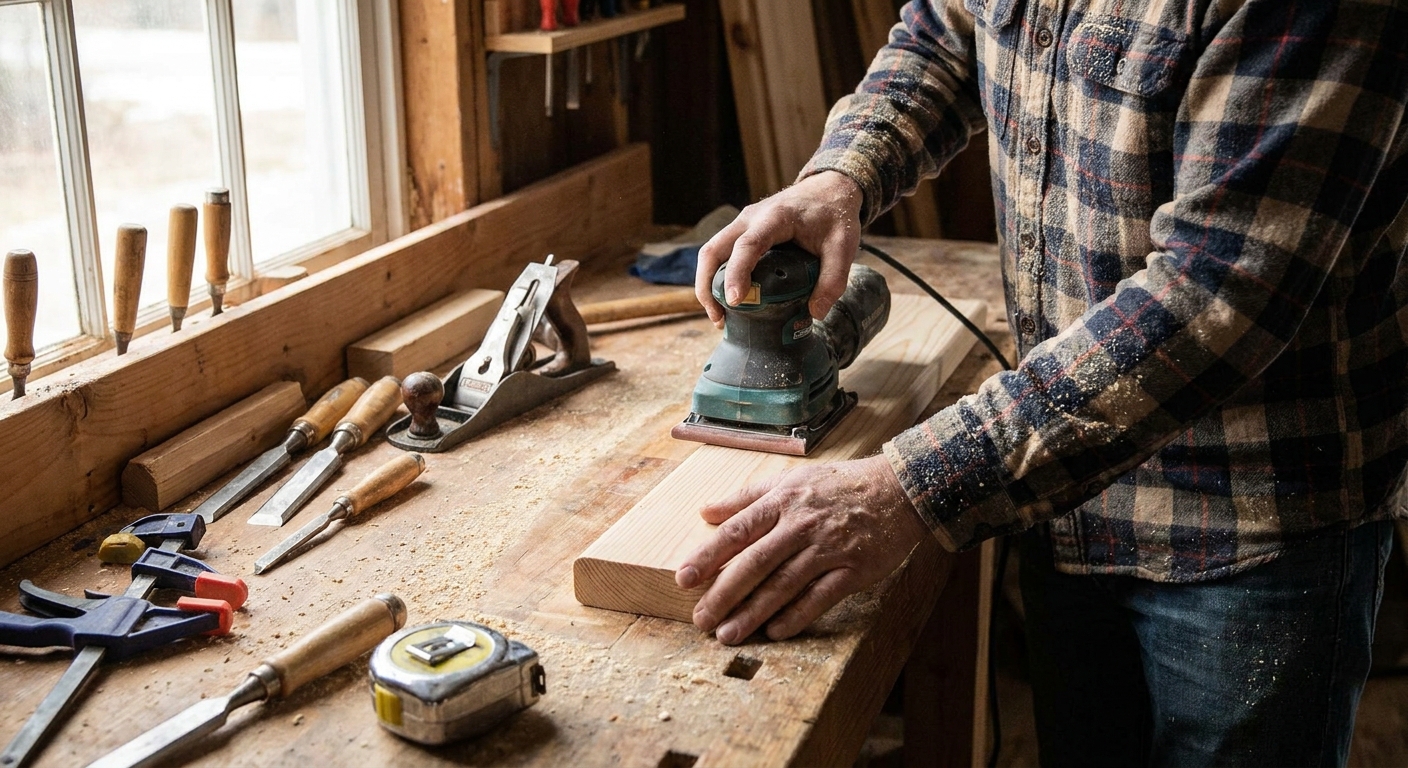
- Cut and sand the board, rounding the two long top edges until they feel comfortable to your palm.
- Mount supports into studs or solid framing, not just thin wall boards.
- Install the roost flat-side up and check for wobble. Many chickens will avoid an unstable roost.
- Test the height by watching your heaviest hen hop up and down. If she lands like a dropped watermelon, lower it or add a step.
Removable roost tip
If you can, design it so the bar lifts out. A removable roost makes pest checks, deep cleaning, and rearranging for flock dynamics much easier.
Keep the roost area clean
The cleanest coops usually have one thing in common: they control where the poop lands.
Use a droppings board
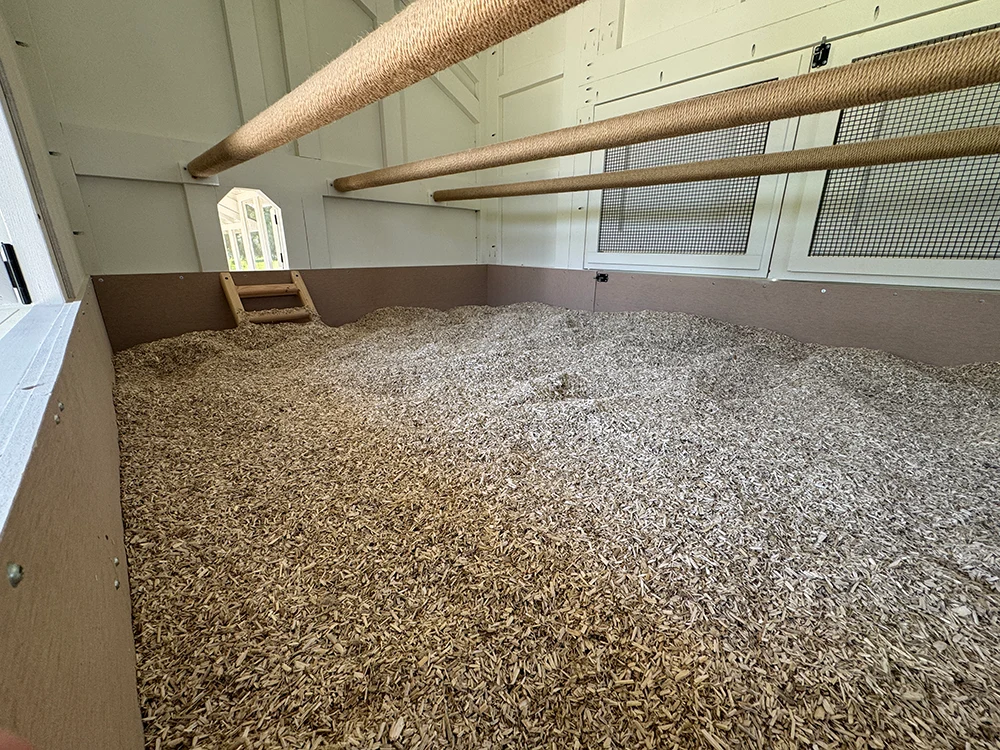
A droppings board is a flat surface under the roost that you scrape daily or every few days. You can top it with a thin layer of sand or a drying agent (such as Stall Dry) to make scraping easier. If you use a drying agent, go light and avoid kicking up dust.
Give roosts enough headroom
Make sure birds can stand upright on the roost without hitting the ceiling or rafters. Cramped headroom encourages awkward perching and messy feather wear.
Ventilation matters
Moisture and ammonia make everything worse, including foot health. Good ventilation helps roosts stay dry and reduces the “coop stink” that lingers in winter.
Simple maintenance
Do a quick scrape routine, then run your hand along the roost now and then. If you feel a rough spot, hit it with sandpaper. Splinters are small problems that love turning into big ones.
Common mistakes and fixes
- Too narrow: Swap to a 2x4 flat or add a wider board. Narrow perches increase pressure points.
- Sharp edges or splinters: Sand and round edges. Re-sand as needed.
- Too high for heavy birds: Lower the roost or add a step platform.
- Not enough linear space: Add another bar at the same height, or lengthen the existing one.
- Roost placed over nest boxes: Expect poop in nests. Move the roost or block access to nest box tops.
- Wobbly installation: Reinforce brackets and screw into solid framing. Stability is non-negotiable.
Quick FAQ
Should chickens grip the roost with their toes?
A little grip is normal, but you do not want them clamped around a skinny pole all night. A flat roost supports the foot pad and helps reduce pressure sores.
Is a round branch better because it is natural?
Not automatically. Nature has variety. Many branches are too narrow for domestic breeds. If you use branches, go thick, stable, and smooth, and prioritize comfort over aesthetics.
Can I use painted wood?
Inside a coop, I prefer bare sanded wood for grip and easy touch-ups. If you do paint or seal, let it cure fully, make sure it is non-toxic once cured, and keep the surface from getting slick or flaky.
Why do my chickens sleep in the nest boxes instead of the roost?
Usually the roost is too high, too narrow, too unstable, or there is not enough room for everyone. Fix the roost first, then block nest boxes at dusk for a few nights to retrain habits.
How do I know if a roost is contributing to foot issues?
Check feet weekly. Early warning signs include redness, shiny spots on the pads, scabs, swelling, or limping. Roost width, dryness, and cleanliness all matter, but so do wet bedding and sharp surfaces elsewhere in the coop or run.
The best bet setup
If you want a safe, low-drama default that works for most backyard flocks, do this:
- Use a 2x4 mounted flat (2x6 for big breeds)
- Round the top edges and sand smooth
- Provide 10 to 12 inches per standard hen
- Mount roosts 18 to 36 inches high with a stable step for heavier birds, and do not be afraid of higher roosts if you provide safe access
- Keep 14 to 18 inches between parallel roosts if you have the space
- Add a droppings board for easy cleaning
Your chickens will still have opinions, because chickens always do. But with comfortable roosts and enough elbow room, bedtime turns into what it should be: quiet, cozy, and wonderfully boring.