Choosing the right breed makes winter chicken keeping so much easier. Meet the cold-hardy, small-combed chickens that handle deep cold and keep laying.
The Cluck Loom
Chicken Coop Ventilation Without Drafts
Learn where to place vents, how much ventilation your coop needs, and how to control moisture in winter without blasting your flock with drafts.

Maggie Harper
Maggie Harper is a passionate backyard chicken keeper with over a decade of hands-on experience raising mixed flocks. Through CluckLoom, she shares practical advice on coop building, flock health, and egg production to help beginners and seasoned enthusiasts alike raise happy, healthy chickens.
Published
October 22, 2026
Last updated
October 22, 2026
Coop ventilation is one of those topics that sounds boring right up until you smell the inside of a closed-up winter coop. If your eyes sting when you open the door, or you see condensation on the walls and windows, your chickens are breathing air that is way too wet and way too dirty.
Here is the tricky part: ventilation is not the same thing as a draft. Ventilation is fresh air exchanging up high, above the birds. A draft is cold air blowing across chickens while they sleep, which can stress them and set the stage for respiratory issues and frostbite.
Let’s set your coop up so moisture can escape, ammonia cannot build up, and your flock can roost in calm, dry air even when it is freezing outside.
Why winter ventilation matters
Most of us worry about cold temperatures, but moisture is often the bigger enemy. Chickens breathe out water vapor all night. Their droppings add even more moisture plus ammonia. In a tightly sealed coop, that humidity has nowhere to go.
- Cold + damp air increases frostbite risk because combs and wattles are more likely to freeze when they are exposed to moisture. Add wind or a direct draft, and the risk goes up even more.
- Humidity + ammonia irritates airways, which can lead to coughing, sneezing, bubbly eyes, and birds that just look “off.”
- Moist bedding grows problems, from stronger odors to mold and a higher pathogen load.
A well-vented coop can feel a little cooler to you when you step in, but it feels drier. Dry is what your chickens need.
Ventilation vs drafts
I teach this like a backyard rhyme: Air in and out above the heads, calm air where the chickens roost and rest.
That means:
- Vents belong high, close to the roofline, where warm moist air collects.
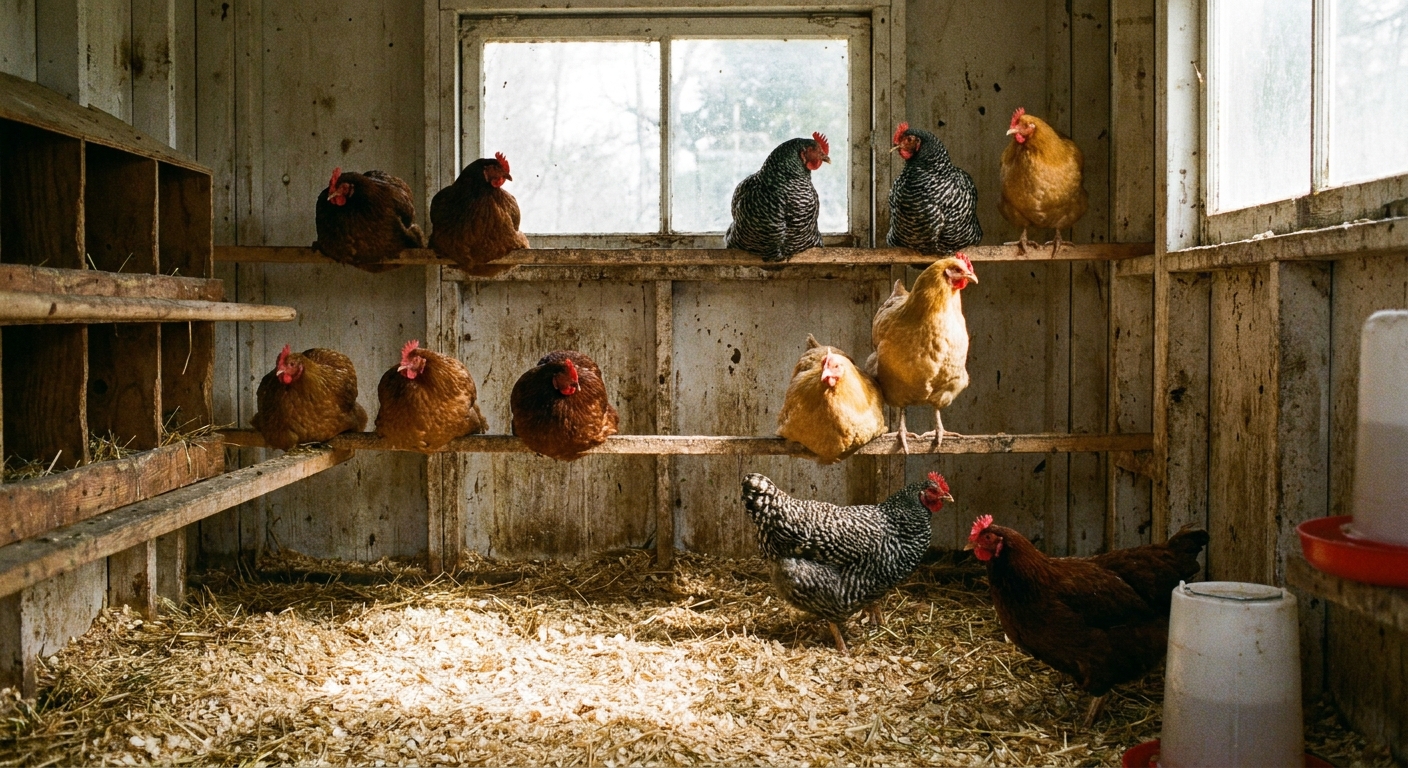
- Roosts belong out of the airflow path so your birds are not sleeping in the direct line of moving air.
- Openings at chicken level (cracks, gaps, low vents) are the usual draft culprits.
If you only remember one thing, remember this: never aim a vent at the roost. If you cannot move the vent, add a simple baffle to redirect airflow up toward the ceiling instead of across sleeping birds.
How much ventilation?
Backyard coops come in every shape imaginable, so there is no single magic number that fits every build or climate. That said, there is a widely used rule of thumb that works as a starting point for many typical backyard setups:
Aim for about 1 square foot of ventilation opening per 10 square feet of coop floor space, with most of that ventilation placed high on the walls or in the gables.
Use that ratio as a starting line, not the finish line. The real goal is simple: no condensation, no sharp ammonia smell, and bedding that stays reasonably dry.
Two important clarifiers:
- This is “net free area.” Hardware cloth, louvers, and vent covers reduce airflow. If your vents are heavily screened or covered, a little extra area helps.
- More birds need more air exchange. A coop stocked heavily for its size will need more ventilation than the same coop with fewer hens. Climate matters too. Wet coastal winters and long snow seasons often need more airflow than a dry, cold interior climate.
Quick examples
- 4 ft x 6 ft coop (24 sq ft floor): target about 2.4 sq ft total vent opening.
- 4 ft x 8 ft coop (32 sq ft floor): target about 3.2 sq ft total vent opening.
If those numbers sound bigger than what you have, you are not alone. Many prebuilt coops are under-vented.
Best vent placement
My favorite setups all do the same thing: they let warm, wet air rise and leave up high while bringing in replacement air in a way that does not hit the roost. Sometimes that intake is high, sometimes it is mid-wall through a baffled vent, and sometimes it is through an open pop door into a covered run. The point is controlled airflow, not a wind tunnel.
1) High vents on two sides
Place screened openings near the roofline on two different walls. This encourages air exchange without blasting air directly onto the roost.
- Good for: shed-roof coops, box coops, converted sheds
- Goal: one side can act as intake, the other as exhaust depending on wind
2) Gable vents
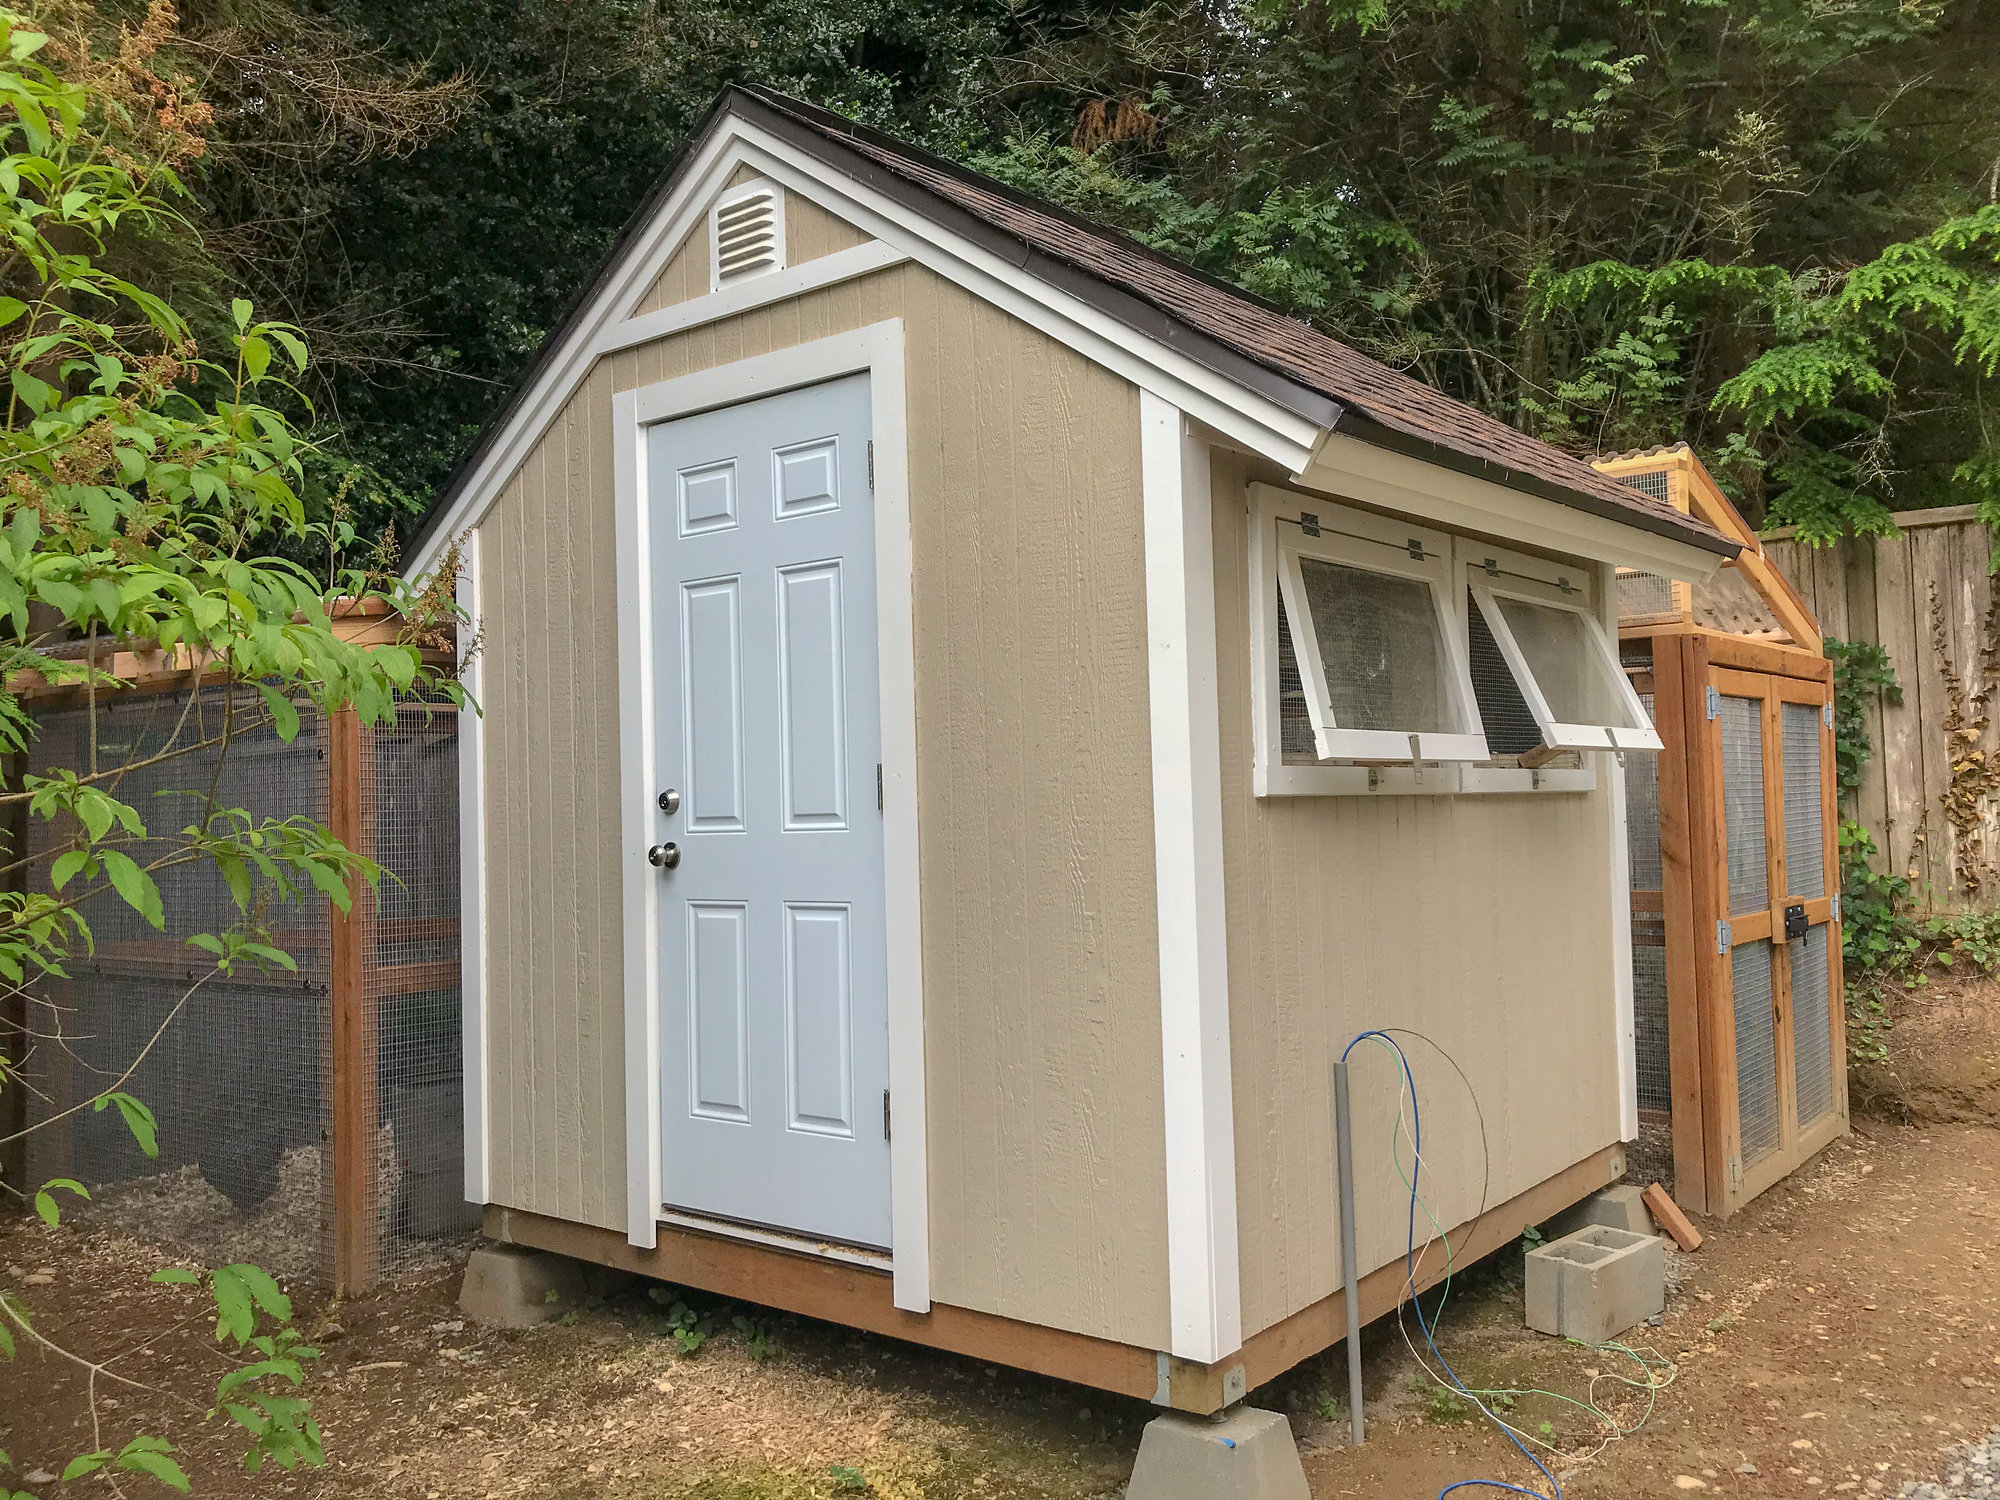
Gable vents sit up in the triangle area under a peaked roof. They work beautifully because they are naturally above the birds and help release heat and moisture that collect at the top.
- Good for: A-frame and gable-roof coops
- Tip: use two gable vents, one on each end, and cover with hardware cloth
Where drafts come from
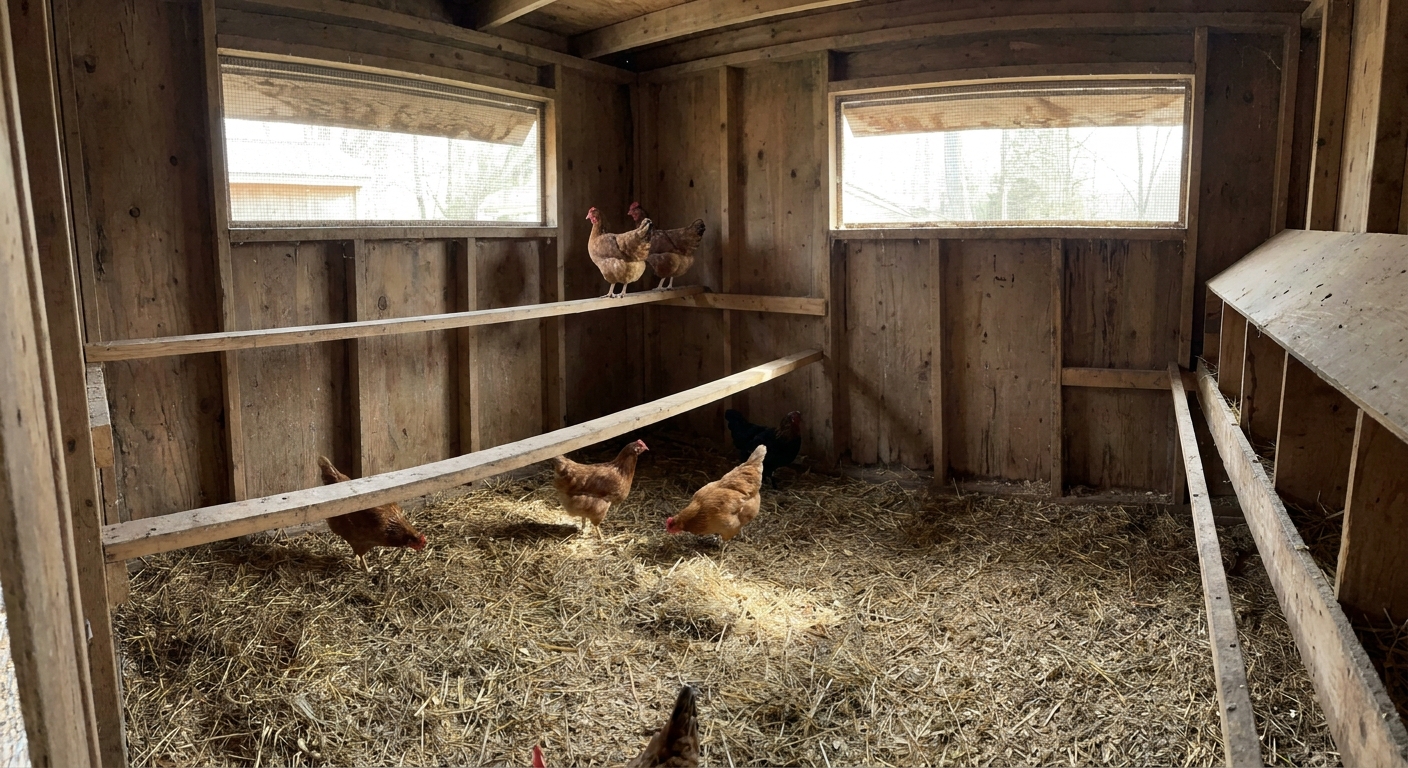
If your coop feels “breezy,” it is usually not the high vents. It is the sneaky stuff down low or at roost height.
Common draft sources
- Gaps around doors that line up with the roost
- Unsealed pop door tracks that leak air directly across birds at night
- Cracks at floor level in raised coops
- Low windows left open in winter
Draft-proofing without sealing
- Add weather stripping around human doors and pop doors.
- Patch random cracks with wood strips or exterior-grade caulk where appropriate.
- If your coop is raised, staple hardware cloth to block critter access, but use solid skirting (wood) where you need to stop wind that hits the roost area.
Think of it like a good winter jacket: you want it windproof at body level, but you still need to breathe.
Moisture control checklist
Ventilation is the foundation, but moisture control is a full routine. When a coop stays damp, I look at these items in order.
1) Fix water spills
- Use nipple waterers or a hanging waterer when possible.
- Keep the waterer in the run, not the coop, if your setup allows.
- Put a boot tray or paver under it to catch slosh.
2) Keep bedding dry
Wet bedding is a moisture factory. If you use pine shavings:
- Stir damp spots out daily if you can.
- Top off regularly.
- Remove and replace any bedding that smells sharp or feels clumpy.
If you use deep litter, it can work wonderfully, but it still needs oxygen and the right carbon-to-manure balance. If it turns sour or slimy, it is not composting. It is just wet.
3) Manage manure under roosts
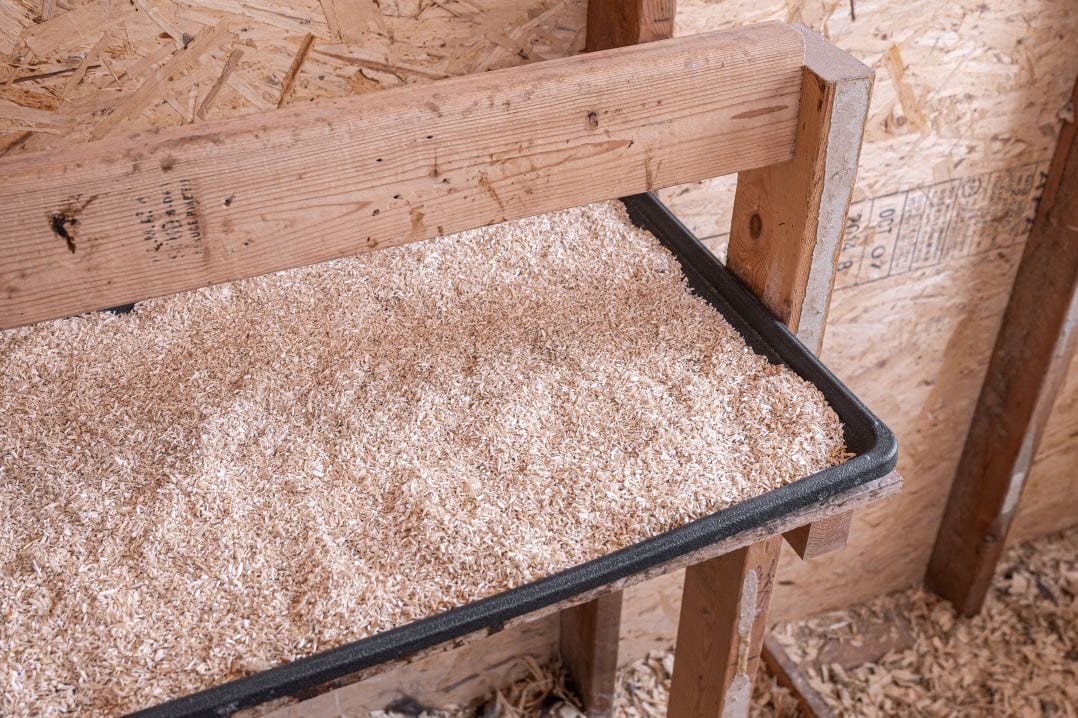
Droppings boards or a removable tray under the roost can drastically reduce humidity and ammonia if you scrape it often.
What to cover in winter
This is where people panic and start stapling plastic over every opening. I get it. I have done the same thing during my early Rhode Island Red years, then wondered why the coop smelled like a locker room.
What should stay open
- High vents near the roofline, as long as they do not blow directly onto the roost
- Gable vents secured with hardware cloth
What to adjust in bad weather
- If you have unusually large vents and you are getting wind-driven drafts, cover a portion on the windward side while keeping some opening available.
- Use a solid, removable cover (plywood or a hinged flap) rather than plastic sheeting that flaps and funnels wind.
- In very cold, very windy climates, baffles are your friend. They let you keep ventilation while breaking the direct line of airflow.
What not to do
- Do not seal the coop airtight.
- Do not close vents just because temperatures drop below freezing.
- Do not rely on a heat lamp instead of ventilation. Heat lamps are a fire risk and they do not remove moisture.
Extra-cold setups
If you live where winter regularly hits brutal lows, you can still ventilate safely. The trick is to keep airflow controlled and high while watching outcomes.
- Prioritize adjustable venting with sliding covers or hinged flaps so you can cut wind without trapping moisture.
- Use a covered run if you can. Many keepers leave the pop door open into a covered run for extra air exchange while keeping the birds out of wind and precipitation.
- Let the coop tell you what it needs. If you see condensation or smell ammonia, you need more air exchange even if it is bitterly cold.
Signs you need more air
- Condensation on windows, walls, or ceiling
- Ammonia smell when you open the door (if you smell it, their lungs are taking the hit)
- Wet bedding even when you are not spilling water
- Frost on the inside of the coop roof
- Respiratory symptoms like sneezing, wheezing, or bubbly eyes (rule out illness too, but fix air quality immediately)
A simple vent plan
If you want a straightforward setup that works for lots of suburban backyard builds, here is my practical default plan:
- Two high vents on opposite walls, each about 6 to 10 inches tall and 18 to 36 inches long depending on coop size
- Hardware cloth securely fastened with screws and washers, not just staples
- Roost placed so the birds’ heads are at least 12 to 18 inches below the vent openings
- Optional adjustable cover for the windward vent during storms, leaving the leeward vent open
You do not need a fancy powered fan for a backyard coop. You need smart openings in the right places and fewer random gaps in the wrong places.
Frequently asked questions
Should I close vents at night?
Usually, no. Nighttime is when moisture and ammonia build fastest because everyone is inside breathing and pooping. Keep high vents open. If you are seeing birds ruffled and shivering from a direct breeze on the roost, fix the draft path or add a baffle rather than closing all ventilation.
Can cold air make chickens sick?
Cold air alone is not usually the main issue for healthy, acclimated adult birds. Damp, dirty air is the bigger problem. That said, extreme cold can be hard on young birds, sick birds, and breeds with poor feathering, and a draft blowing directly on roosting chickens can stress any flock. Aim for dry air, clean air, and no wind hitting the roost.
Is a window enough?
Sometimes, but many coop windows are too low and create drafts. If you use a window for airflow, treat it like a vent: keep it above roost height if possible, and screen it securely.
What screen should I use?
Hardware cloth. 1/2 inch is a solid all-around choice for predator resistance, and 1/4 inch can be a better option if you deal with weasels, mice, or other small intruders. Either way, attach it securely with screws and washers for real strength.
My coop still smells. Now what?
Check for wet bedding, spilled water, and manure buildup under roosts. Ventilation removes moisture, but it cannot keep up if the coop floor is consistently damp. Also confirm your coop is not overcrowded and that your “intake” airflow is not accidentally coming from roost-height gaps.
My bottom line
A healthy coop is not the warmest coop. It is the driest coop with fresh air moving above the birds and no wind hitting the roost. If you build for that, you will notice it fast: less smell, drier bedding, cleaner nostrils, and chickens that wake up looking like they slept in a calm, clean space.
Use your coop size and roost location to sanity-check vent placement. That small tweak pays you back every single winter morning.