Calculate the right coop size, roost space, nesting boxes, and run area for backyard chickens with simple formulas, examples, and practical tips that help pr...
The Cluck Loom
DIY Custom Coop vs. Prefab Kits: What Actually Works
Trying to choose between building your own chicken coop or buying a prefab kit? Here is a practical breakdown of cost, durability, predator resistance, space guidelines, and the real time commitment for backyard flocks.

Maggie Harper
Maggie Harper is a passionate backyard chicken keeper with over a decade of hands-on experience raising mixed flocks. Through CluckLoom, she shares practical advice on coop building, flock health, and egg production to help beginners and seasoned enthusiasts alike raise happy, healthy chickens.
Published
October 22, 2026
Last updated
October 22, 2026
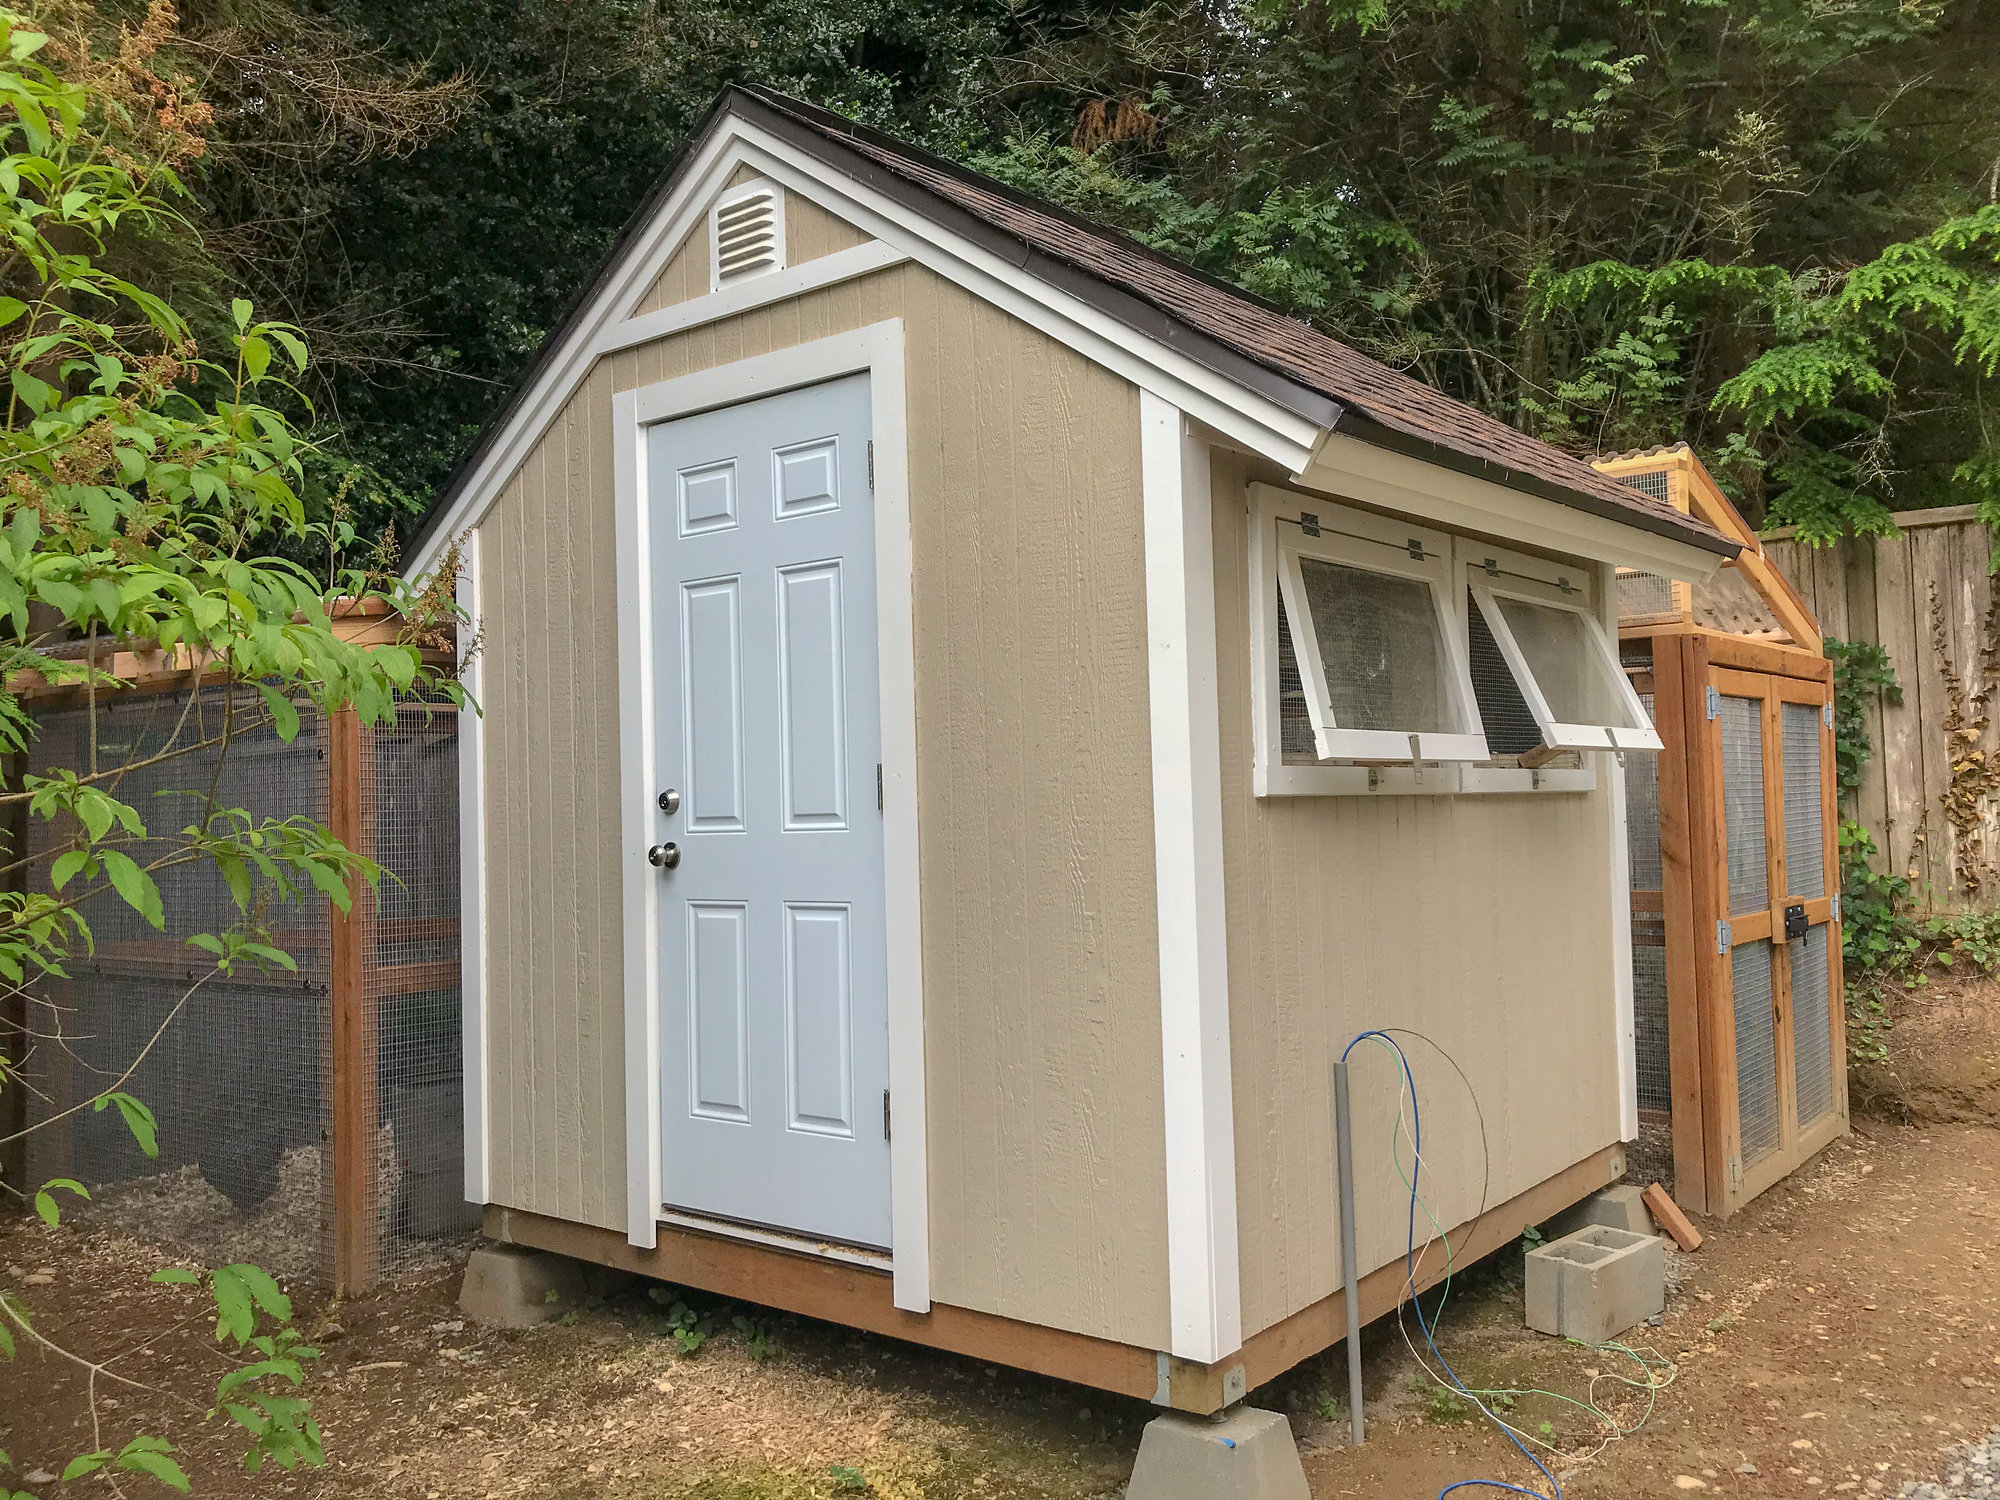
I started chicken keeping with three Rhode Island Reds and a coop that could generously be described as “optimistic.” It kept the rain off (mostly). It did not keep the raccoons interested in other hobbies. That early lesson shaped how I look at coops now: the best coop is the one that fits your yard, your climate, your predators, your budget, and your patience level.
So if you are stuck between building a DIY custom coop and buying a store-bought prefab kit, let’s break it down objectively: dollars, durability, predator resistance, and time. No brand-bashing, no lumberyard heroics required.
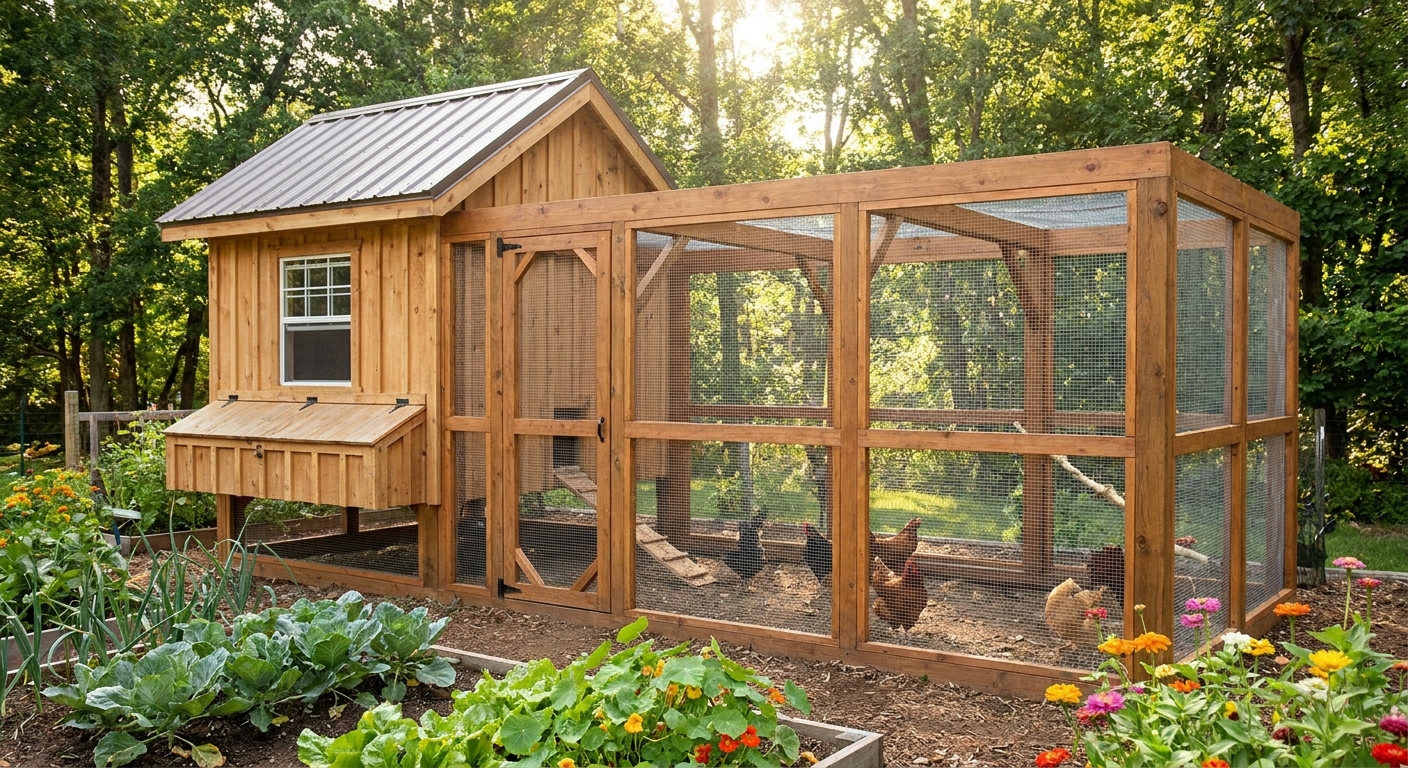
Quick reality check: what both must do
Before we compare DIY vs. prefab, here are the non-negotiables I look for in any coop. If a kit (or your DIY plan) misses these, it will cost you later in repairs, stress, or vet bills.
- Space: comfortable indoor space plus a run that is not a phone booth. Many kits tend to overpromise capacity.
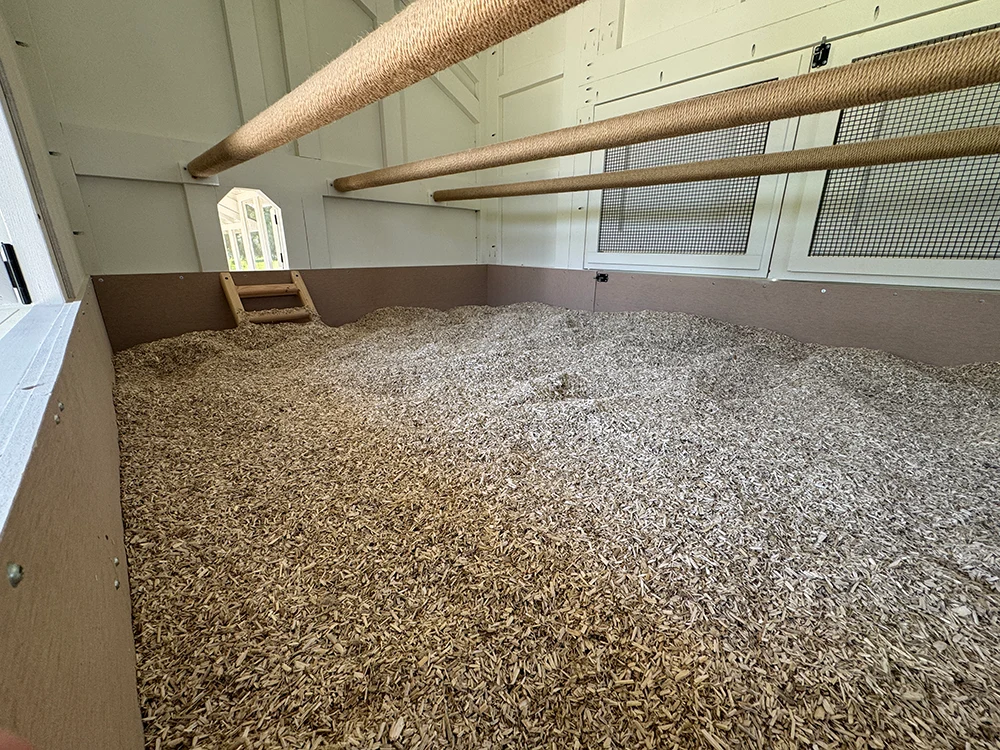
- Ventilation: high vents above roost level to move moist air out without creating a draft on sleeping birds.
- Predator protection: solid latches, tight construction, and proper wire in the run (hardware cloth, not chicken wire).
- Weather protection: roof that sheds water, dry floor, and materials that can handle your summers and winters.
- Cleanability: access doors that let you actually reach corners, not just admire them.
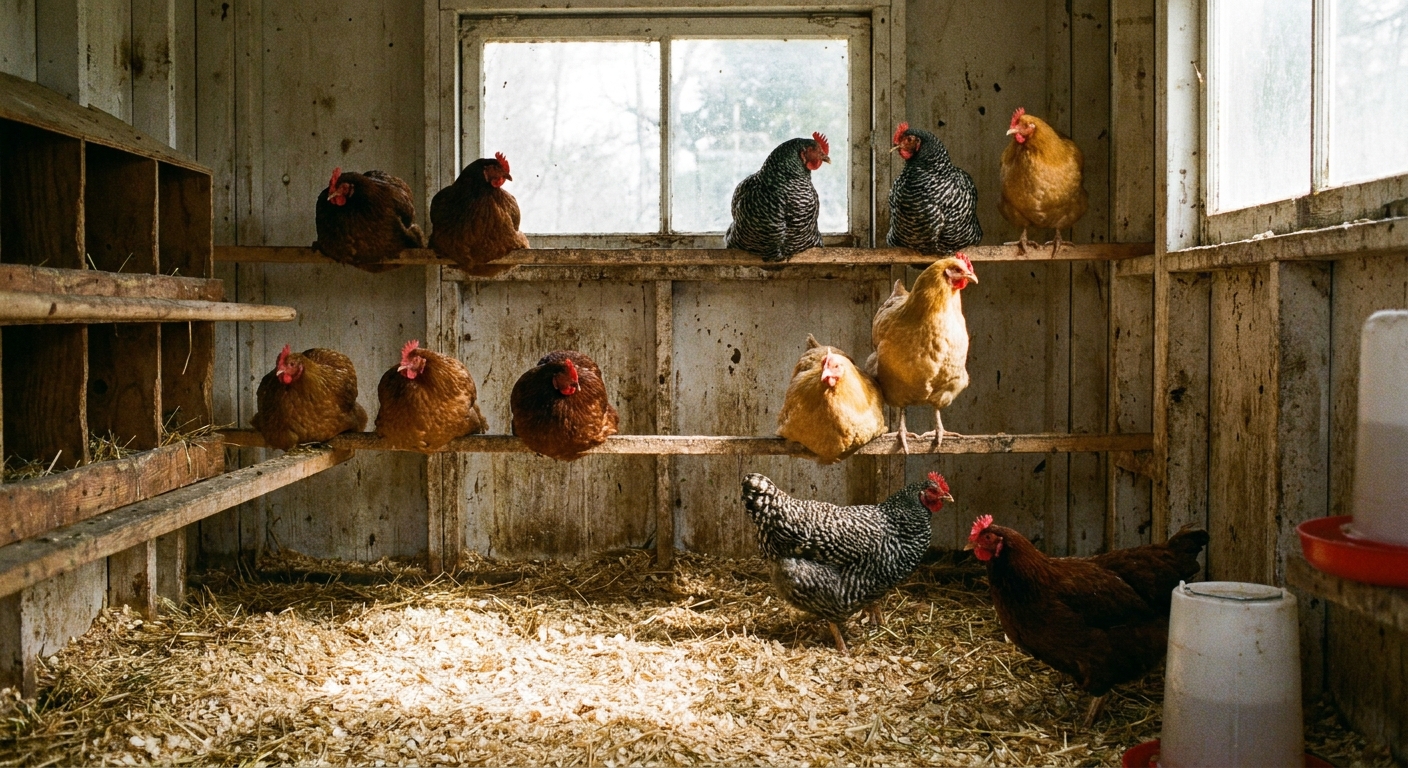
If you want a quick benchmark for “capacity,” a common rule of thumb is about 3 to 4 square feet per standard chicken inside the coop, plus about 8 to 10 square feet per bird in the run. Bigger is usually better, especially in wet winters or hot summers when birds spend more time sheltering. (Local extension offices and breed groups may recommend different numbers depending on climate and management style.)
Costs: sticker price vs. real costs
Prefab kit costs
Most prefab coops feel like a bargain at first glance, especially the smaller wood coops with a cute run attached. In the real world, the cost often comes in layers:
- Base price: usually reasonable for small footprints.
- Shipping: can be surprisingly high due to size and weight.
- Upgrades you end up buying anyway: better latches, extra sealant, additional roofing, stronger wire, a larger run, or replacement panels after a season of warping.
If you are buying a heavier-duty prefab (thicker lumber, better roof, sturdier framing), you can absolutely get a solid coop, but the price climbs quickly. Those higher-end prefab coops can be great if you want speed and you are willing to pay for structure.
DIY custom coop costs
DIY is often cheaper only if you plan carefully and build to a practical design. The costs usually include:
- Lumber and fasteners: framing, siding, trim, screws, exterior-rated hardware.
- Roofing: metal panels or shingles plus underlayment.
- Wire: hardware cloth is not cheap, but it is one of the best investments you can make.
- Doors and windows: you can DIY these too, but purchased hinges, locks, and handles add up.
- Paint or sealant: weatherproofing matters.
DIY can get expensive if you are buying all new materials at retail prices or if you keep changing the design mid-build (ask me how I know). On the flip side, DIY shines when you can:
- Use reclaimed materials safely (and avoid pressure-treated wood where birds can directly peck or roost on it, especially on interior surfaces; if you must use treated lumber for ground contact, cap or cover it so it is not a chewable perch).
- Build exactly the size you need, once.
- Skip “cute” features and prioritize function.
A simple rule of thumb
Prefab wins on predictable upfront cost. DIY wins on cost per square foot when you are building a coop and run sized for a real flock, not a marketing photo.
Durability: what lasts seasons
Prefab durability
Durability varies wildly. The biggest weak points I see in many common kits are:
- Thin, soft wood that swells, splits, or warps with moisture.
- Lightweight roofing that bubbles, lifts, or leaks after temperature swings.
- Stapled wire that pulls loose when a predator tests it.
- Small doors and weak hinges that loosen after repeated clean-outs.
That said, a higher-quality prefab made with thicker lumber, better joinery, and a solid roof can last, especially if you seal it, keep it off wet ground, and stay on top of maintenance. Small kits can also make sense for bantams, temporary housing, a broody hen setup, or a quarantine space, as long as you keep predator-proofing and ventilation in mind.
DIY durability
DIY coops can be extremely durable because you control the build choices:
- Use exterior-grade screws instead of nails in key areas.
- Add roof overhangs to keep siding drier.
- Raise the coop off the ground to prevent rot.
- Overbuild corners and doors, which take the most abuse.
The caveat: DIY durability depends on your build quality. A coop can be custom and still be flimsy if framing is undersized or weatherproofing is skipped.
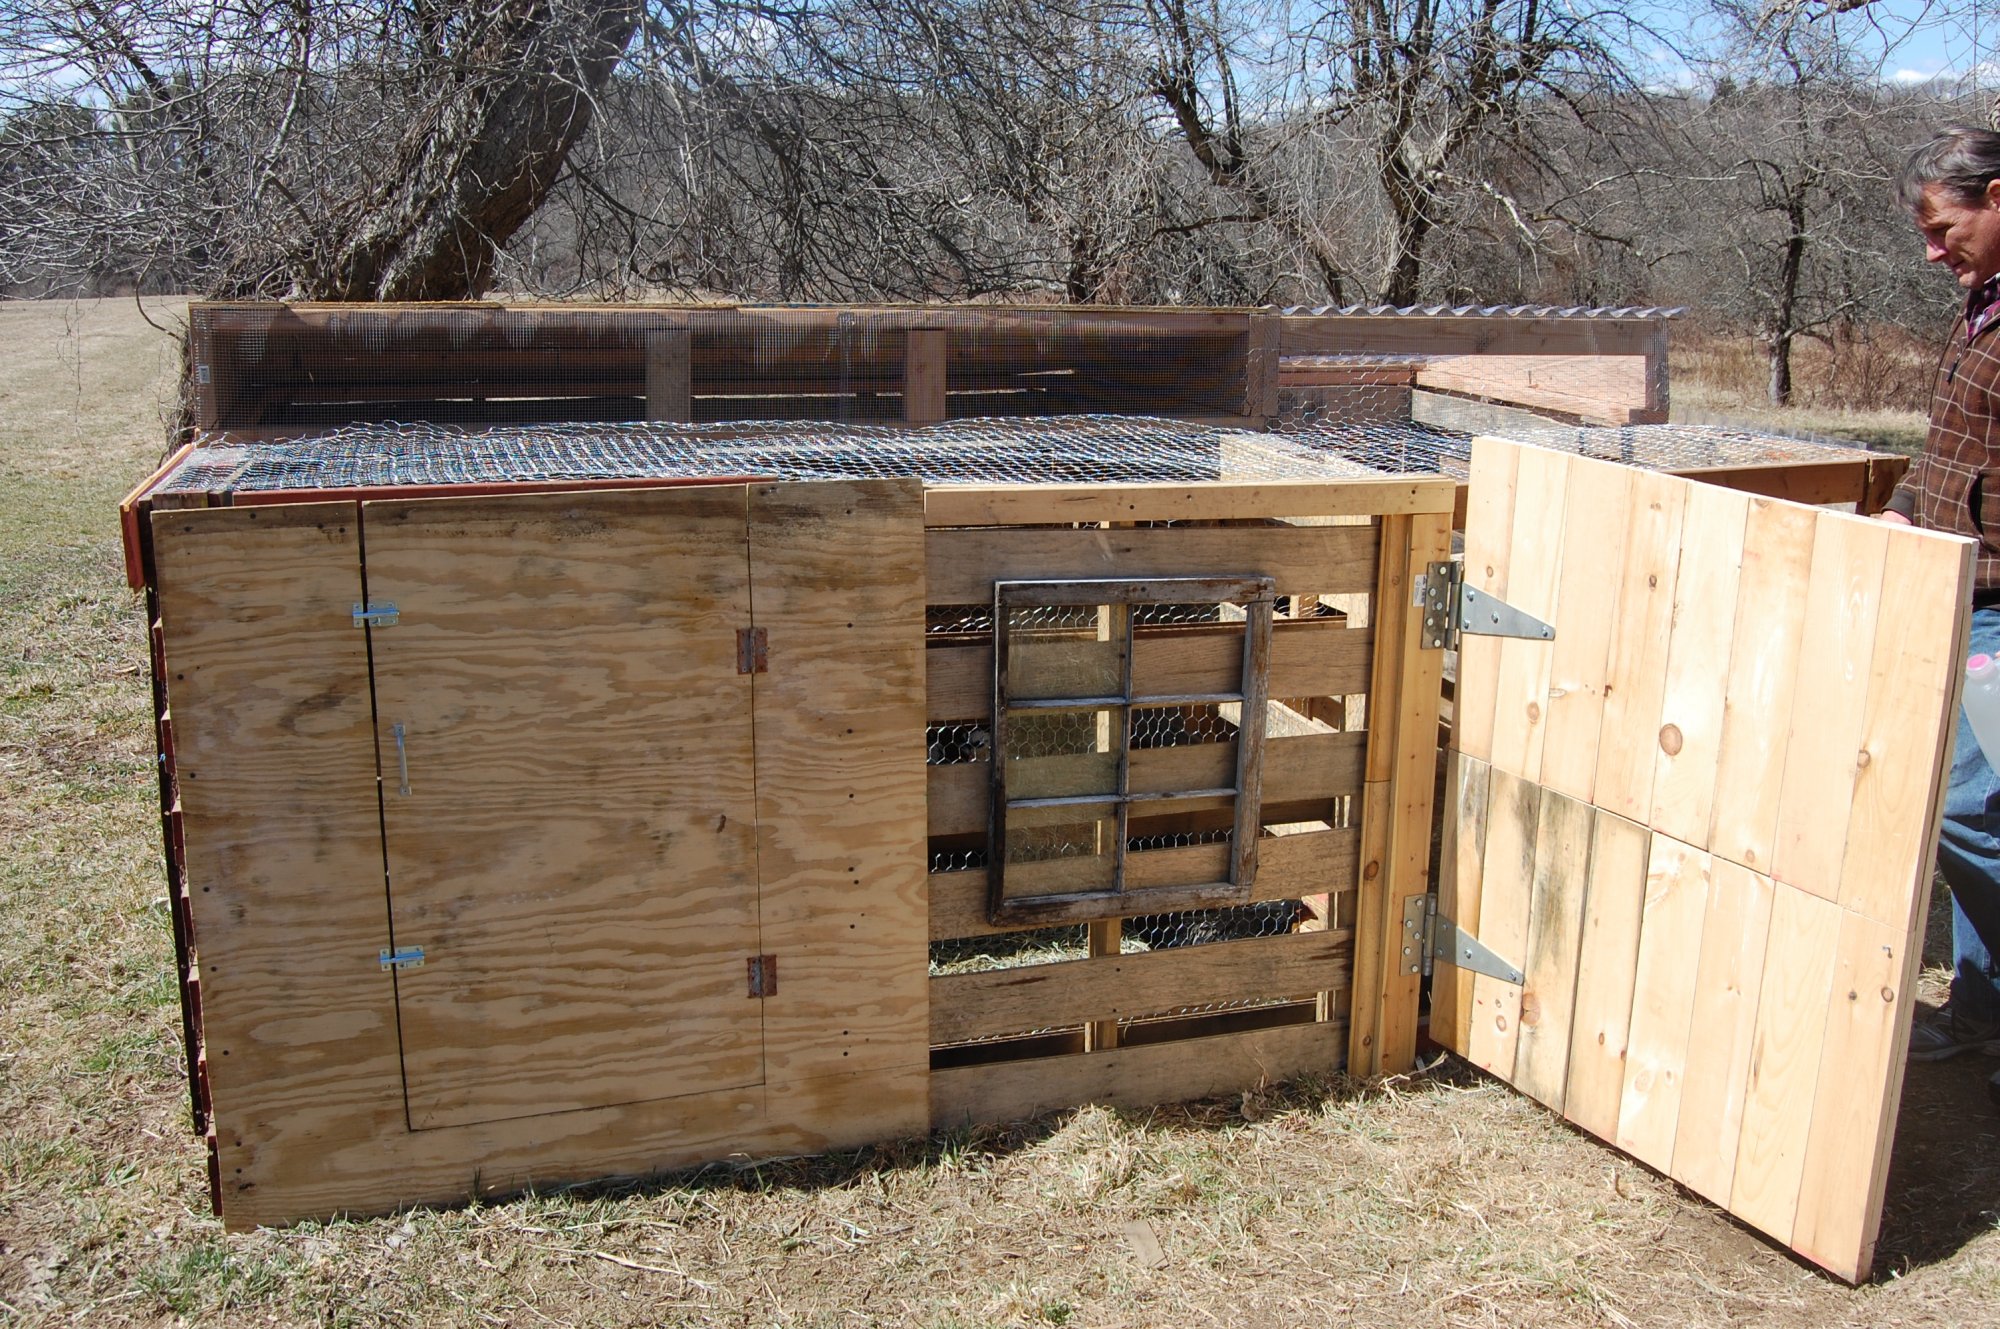
Predator resistance: where coops fail
Predators do not care if your coop is adorable. They care if a latch is weak, a gap is big enough for a paw, or the run is wrapped in chicken wire that can be torn open like a snack bag.
Prefab predator protection
Many prefab kits are designed for mild predator pressure. If you live where raccoons, foxes, coyotes, dogs, weasels, or rats are common, expect to reinforce a kit. Common upgrade list:
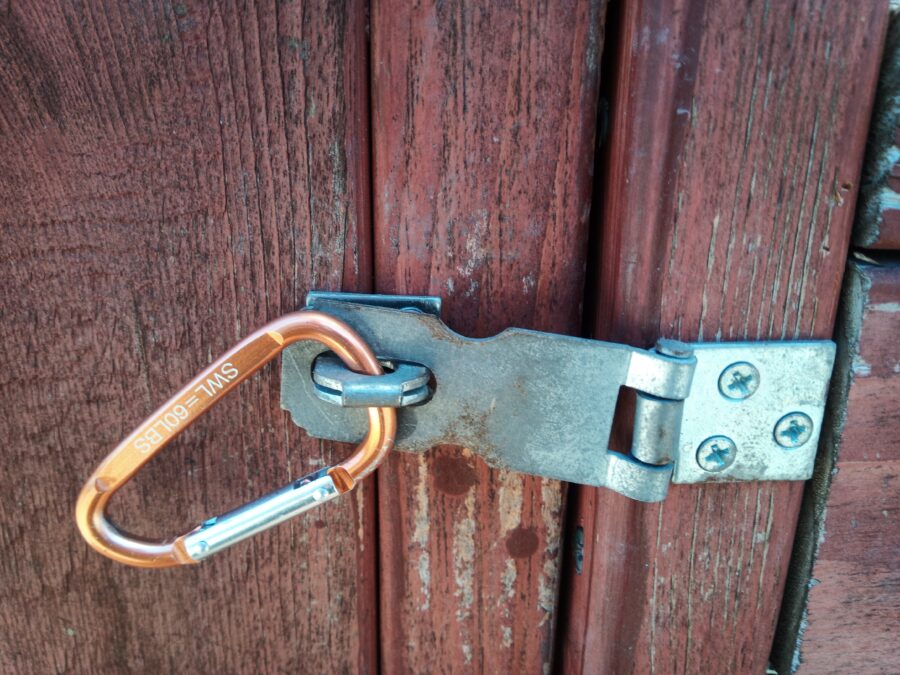
- Replace turn-buttons with raccoon-resistant latches (two-step latches or carabiners through eye bolts).
- Upgrade run wire to 1/2 inch hardware cloth, secured with screws and washers (not just staples).
- Cover windows and vents with hardware cloth from the inside.
- Seal gaps around nest boxes, roofs, and doors.
DIY predator protection
DIY is where you can build predator-proofing in from day one:
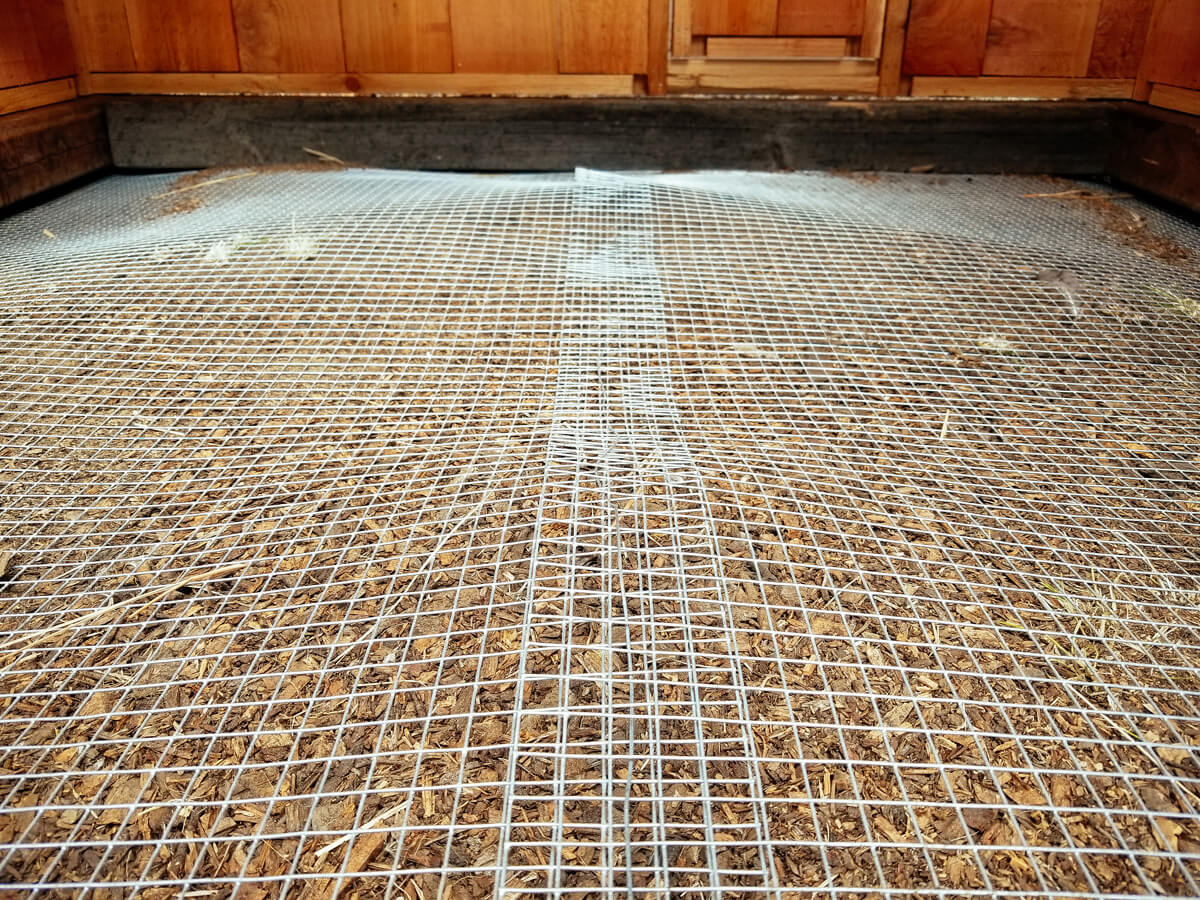
- Hardware cloth everywhere it matters: vents, windows, run walls, and openings that a rat or weasel could exploit. In higher-risk areas, many keepers treat 1/2 inch as the default maximum opening size.
- Dig protection: a buried skirt goes down along the run wall like an underground fence; an outward apron lays flat on the ground around the perimeter to stop digging at the edge.
- Solid framing and tight doors that do not rack or sag.
- Smart locks: if a raccoon can twist it, you should assume it will.
If predator resistance is your top priority, DIY has the highest ceiling. A prefab can still be safe, but you may need to treat it like a base model that requires upgrades.
Time and effort: the part nobody lists
Prefab time commitment
Prefab is the fastest route to a coop in the yard. But “assembly time” is not the full story. Plan for:
- Assembly: often a few hours to a weekend, depending on the model and your experience.
- Sealing and weatherproofing: an extra afternoon that pays off, especially on edges and roof seams.
- Reinforcing: latches, wire, and anchoring if you have predators or high winds.
If you want chickens soon or you are juggling a packed schedule, prefab is often the sane choice.
DIY time commitment
DIY time is not just building. It is also:
- Planning: design, measurements, local rules, and figuring out where everything goes.
- Sourcing: multiple store trips, plus the “I forgot the right screws” trip.
- Building: framing, roofing, doors, windows, paint, drying time.
- Debugging: the first rainstorm reveals the leak you did not know existed.
If you enjoy projects and have evenings or weekends to dedicate, DIY can be genuinely fun and satisfying. If you hate half-finished projects staring at you for weeks, a kit may protect your peace.
Comfort and function: daily life
Cleaning access
Cleaning is where many prefab coops lose points. Small doors and awkward layouts turn a 10-minute refresh into a 40-minute yoga class. With DIY, you can design:
- Full-size clean-out doors
- Droppings boards under roosts
- Removable roost bars
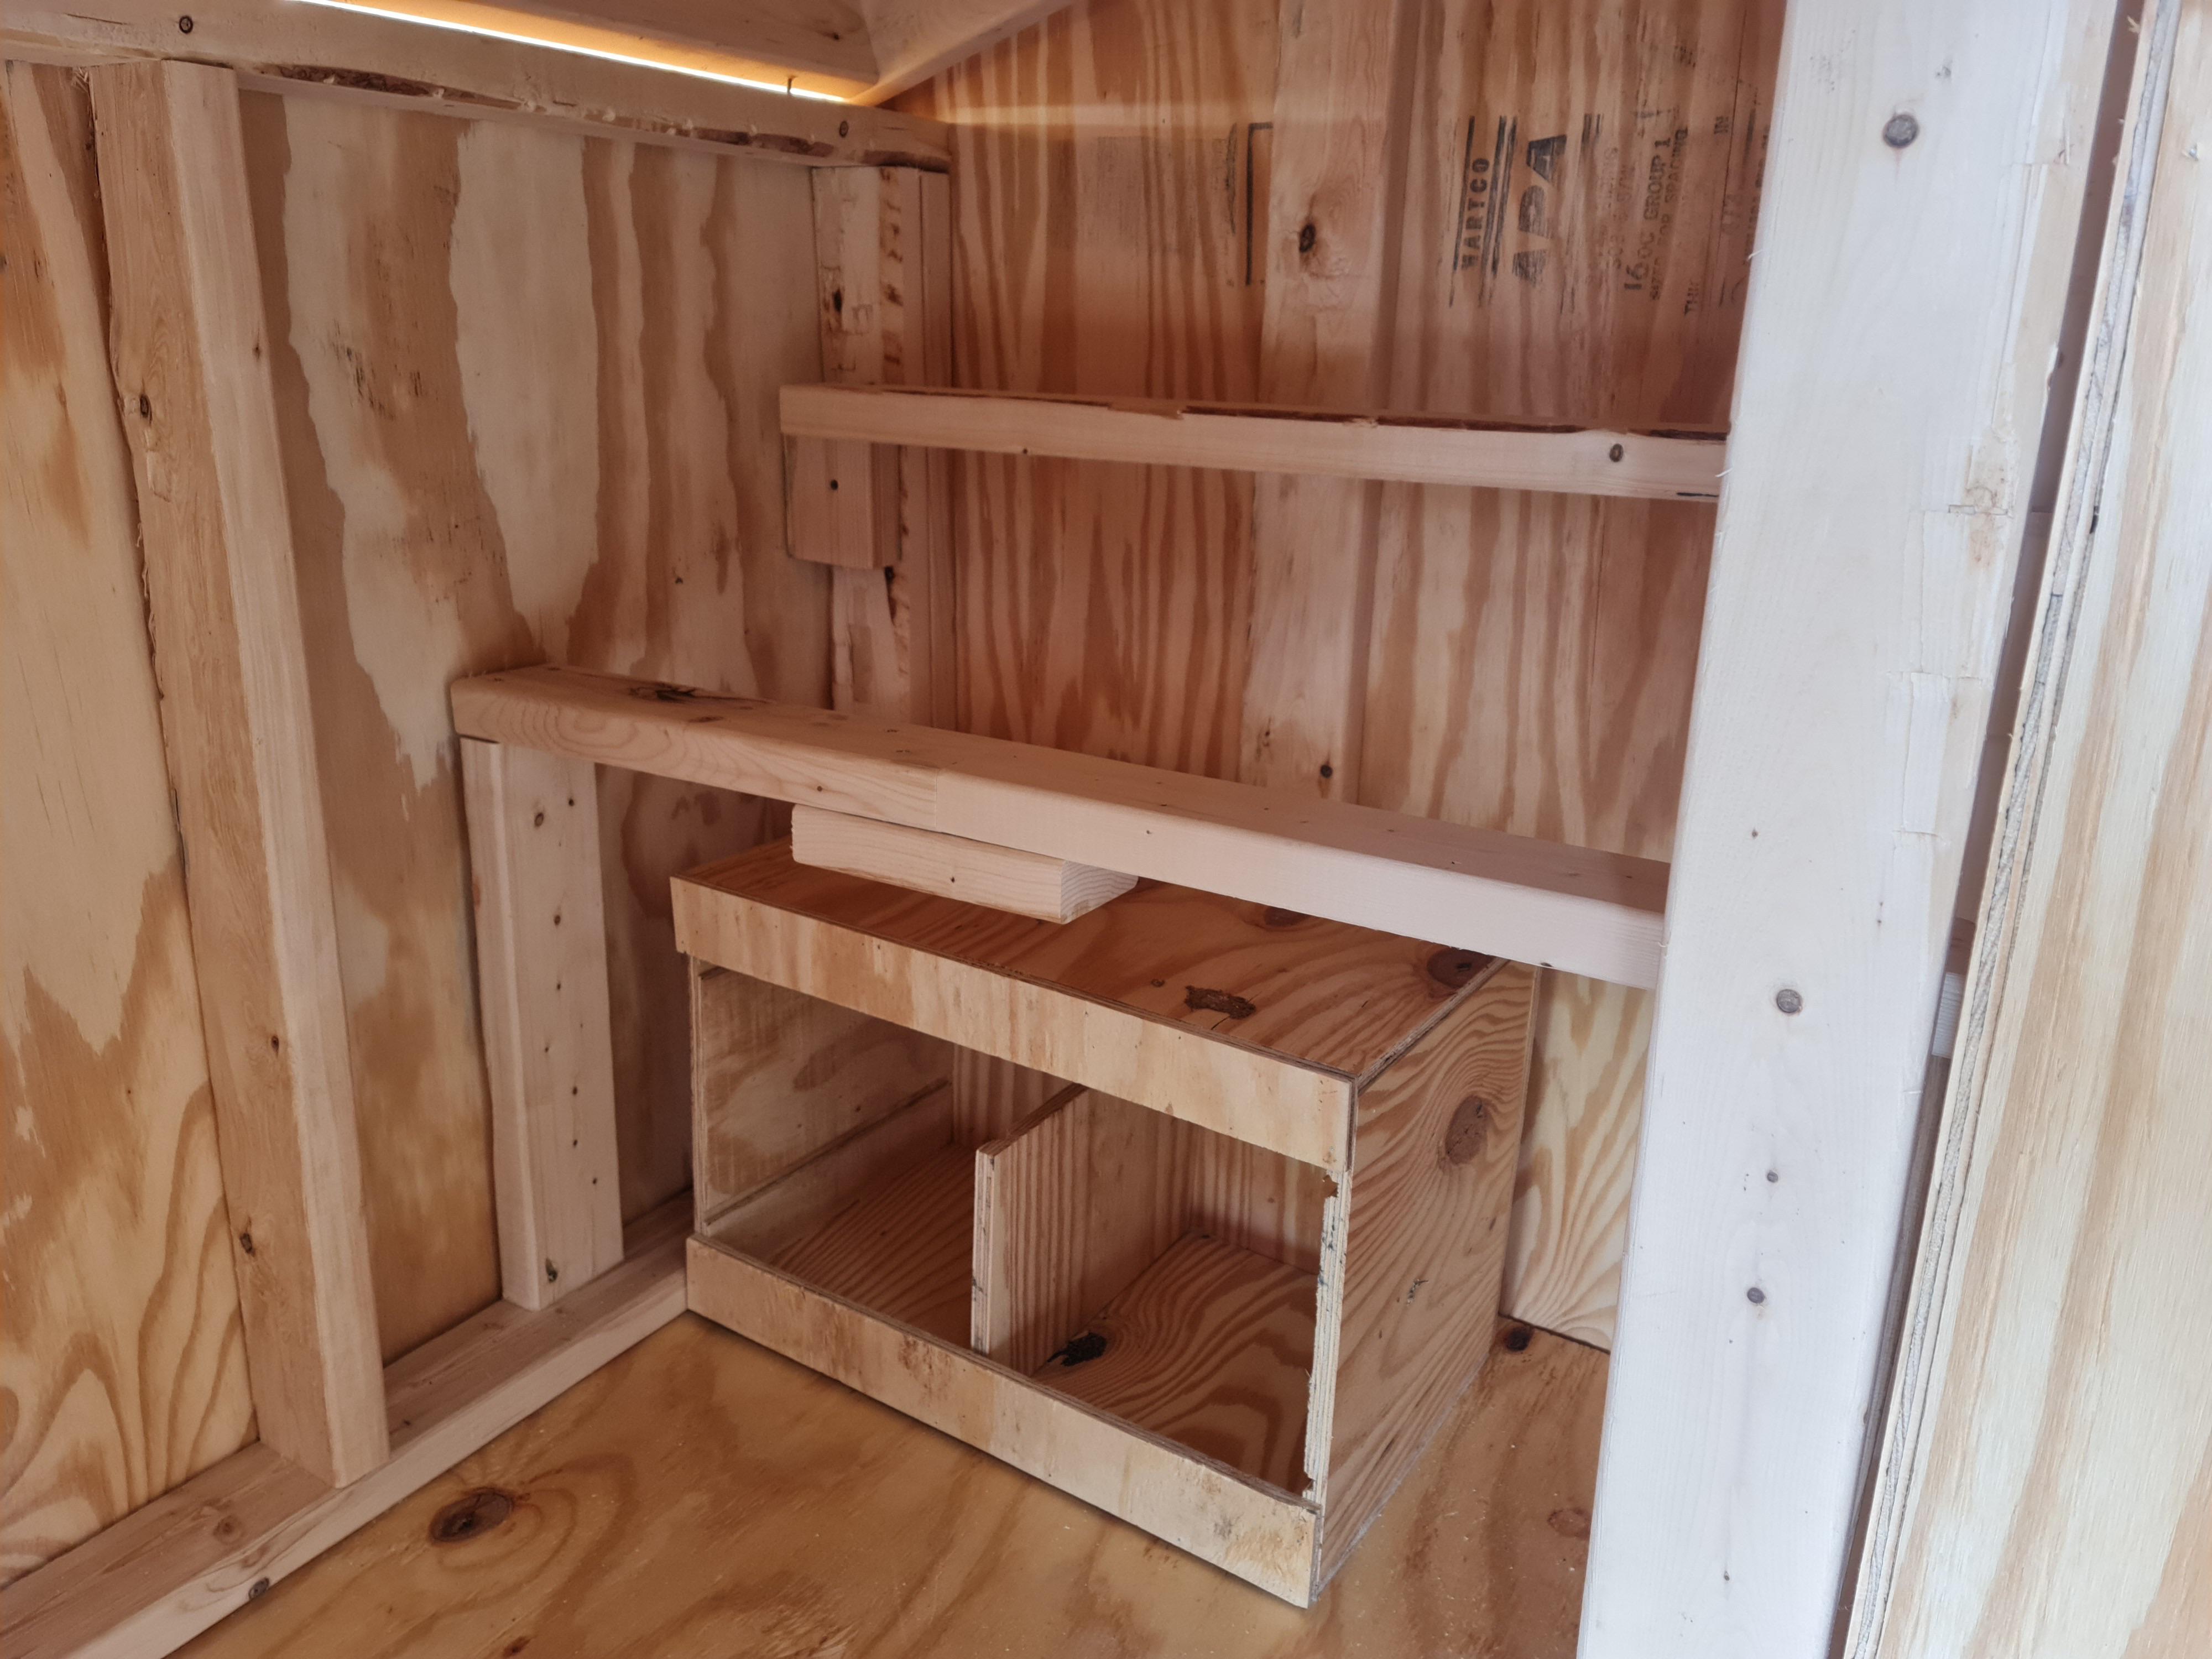
- Nest boxes you can reach without contorting
Ventilation that works
Prefab coops sometimes rely on tiny vents. DIY lets you build high vents under the eaves, cover them with hardware cloth, and keep airflow consistent in every season. Remember: ventilation is not the same as a draft. You want air exchange up high, not a cold wind on sleeping birds.
Climate and weather reality
Your climate should steer the decision more than the paint color:
- Snow and ice: a roof that can handle snow load, a pitch that sheds, and framing that is not decorative.
- Heat and humidity: shade, bigger vents, and airflow you can control. Light-colored roofing and a covered run can help keep birds from baking.
- Wet ground: a raised coop, drainage, and a base that does not wick moisture (gravel pad and good grading go a long way).
- Wind and storms: anchor the structure. Ground anchors, auger-style tie-downs, or anchoring skids to posts can keep a surprise gust from turning your coop into a kite.
Flock growth and flexibility
Almost everyone says, “I am only getting three.” I said it too. Then I met buff Orpingtons and lost my resolve.
If you might expand your flock, DIY makes it easier to:
- Add a second run panel
- Increase roost length
- Build a bigger pop door
- Create a separate space for quarantines or introductions
So which is right for you?
Choose a prefab kit if you want:
- Speed: chickens soon, coop now.
- Predictability: a defined price and known footprint.
- Lower tool burden: minimal tools and no cutting list.
- A starter setup: while you learn what you like and dislike.
My prefab advice: buy the most solid build you can reasonably afford, then budget time and money for latch upgrades, hardware cloth, weatherproofing, and anchoring.
Choose DIY custom if you want:
- Maximum durability with thicker materials and stronger framing.
- Serious predator-proofing from the ground up.
- A coop that fits your yard: slopes, shade, odd corners, local weather.
- Better long-term value for a larger flock and run.
My DIY advice: keep the design simple, overbuild doors and latches, and spend your money on the unsexy stuff that keeps chickens alive: hardware cloth, framing, and a good roof.
A practical middle path
If you are torn, here is a compromise I see working well: buy a decent prefab coop (the enclosed sleeping area) and build your own run.
Why it works:
- The coop gives you speed and a tidy finished look.
- The run is where most predator failures happen, so you control wire choice, dig protection, roof coverage, and anchors.
- You can size the run for your flock instead of settling for the kit’s “postage stamp” run.
Mini checklist before you decide
- How many adult chickens are you planning for in 12 months, not today?
- What predators are common in your area, day and night?
- How wet is your yard in spring and after storms?
- How hot are your summers and how humid is your winter coop air?
- How much time do you truly have in the next two weekends?
- Do you have tools and the desire to learn, or does that sound like misery?
- What do your local rules say: ordinances, HOA restrictions, setbacks, and permit requirements can decide the coop size and location before you pick DIY or prefab.
FAQ
Are prefab coops always overpriced?
No. You are paying for convenience, pre-cut parts, and a finished look. The issue is that many entry-level kits are priced like “real coops” but built like lightweight garden structures. If you buy prefab, prioritize thicker lumber, strong doors, and a roof that will not curl after one season.
Can I predator-proof a prefab kit?
Often, yes. Plan to upgrade latches, add hardware cloth over every opening, reinforce or replace run wire, and address gaps. If the wood itself is too flimsy or already warping, it may never become truly secure.
What is the number one DIY mistake?
Underestimating ventilation and overcomplicating the build. Keep the structure simple, make cleaning access generous, and design airflow on purpose.
What is the number one prefab mistake?
Believing the box capacity. Kits labeled for 6 to 8 birds are often comfortable for fewer, especially during bad weather when chickens spend more time inside. Use square footage benchmarks and your climate, not the marketing number.