A backyard keeper’s guide to when to use chick starter, move to grower, and switch to layer feed, plus safe timing, typical protein ranges, calcium, and comm...
The Cluck Loom
Fermented Chicken Feed
Learn how to lacto-ferment chicken feed at home to potentially support digestion, reduce waste, and stretch your feed budget. Includes exact steps, timing, pH guidance, and safety checks.

Maggie Harper
Maggie Harper is a passionate backyard chicken keeper with over a decade of hands-on experience raising mixed flocks. Through CluckLoom, she shares practical advice on coop building, flock health, and egg production to help beginners and seasoned enthusiasts alike raise happy, healthy chickens.
Published
October 22, 2026
Last updated
October 22, 2026
I started fermenting feed for the same reason most of us try anything new in the coop: I was tired of watching perfectly good pellets turn into soggy, stomped mud around the feeder. Fermented feed is one of those old-school chicken keeping tricks that sounds a little crunchy until you see how well many flocks do on it. Done correctly, lacto-fermenting may support gut comfort, may improve how birds utilize certain nutrients, and it can help you stretch a bag of feed further, mostly by cutting waste.
This is a step-by-step, beginner-friendly way to ferment commercial chicken feed in a backyard setting, using the same basic process people use to make sauerkraut. No fancy cultures required, just time, water, and a clean container.
What it is (and is not)
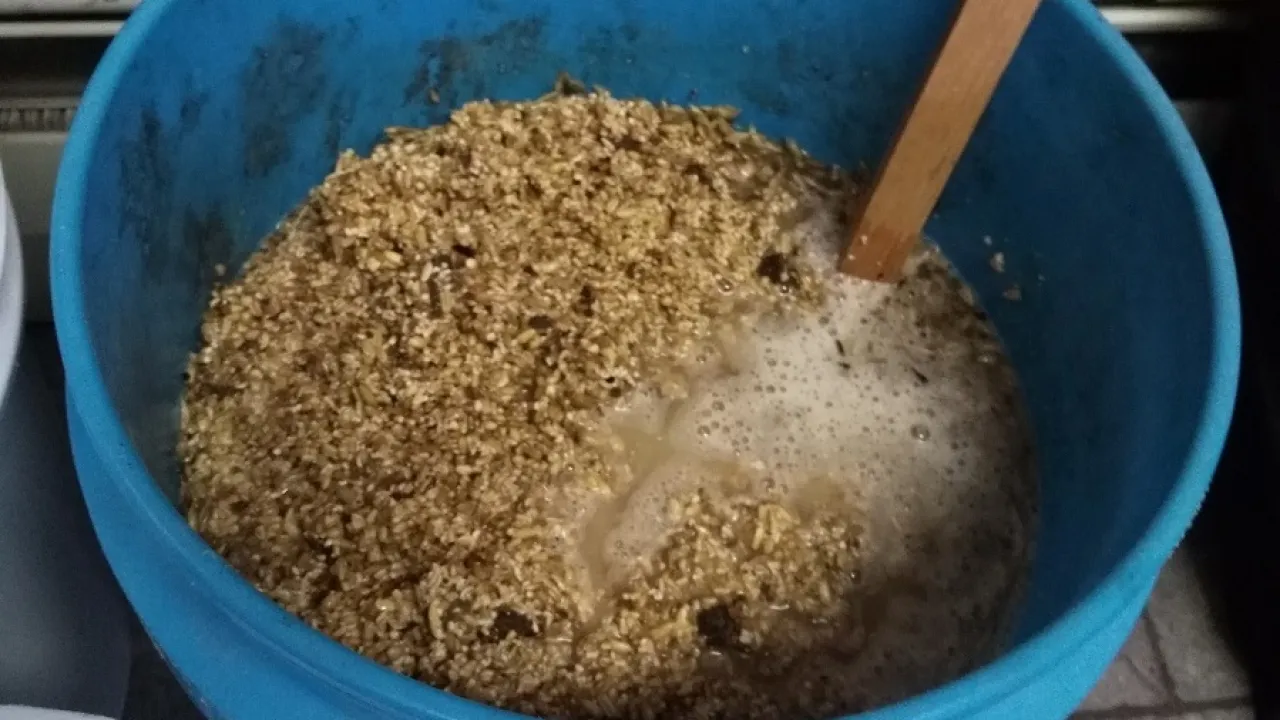
Fermented chicken feed is regular poultry feed that has been soaked long enough for naturally occurring lactic acid bacteria to multiply and acidify the mixture. That lower pH can help it hold for a short period and discourages many unwanted microbes.
It is not the same thing as “soaked feed.” If you just wet feed for a couple hours, you mostly get swollen grains. Fermentation takes longer and has signs you can recognize: a pleasantly sour smell, small bubbles, and a tangy, yogurt-like scent.
Why people ferment feed
- Gut support: Lacto-fermentation creates an acidic environment and introduces live-ferment microbes. Many keepers report firmer droppings and less funky coop smell, but results can vary by flock, feed, and conditions.
- Nutrient availability: Fermentation may make some nutrients easier to access and reduce certain anti-nutrients in grains. The science is mixed depending on what is being fermented and how, so treat this as a possible bonus, not a promise.
- Less waste: Fermented feed is heavier and clumps. Chickens often fling it less than dry crumble, especially in windy runs.
- Feed can go further: Because it absorbs water and some birds seem to eat it more efficiently, many people notice they go through bags more slowly.
Quick reality check: Fermenting does not replace a balanced ration. Use a complete commercial feed appropriate for your birds (starter, grower, layer, all-flock) as your base.
What you need
Supplies
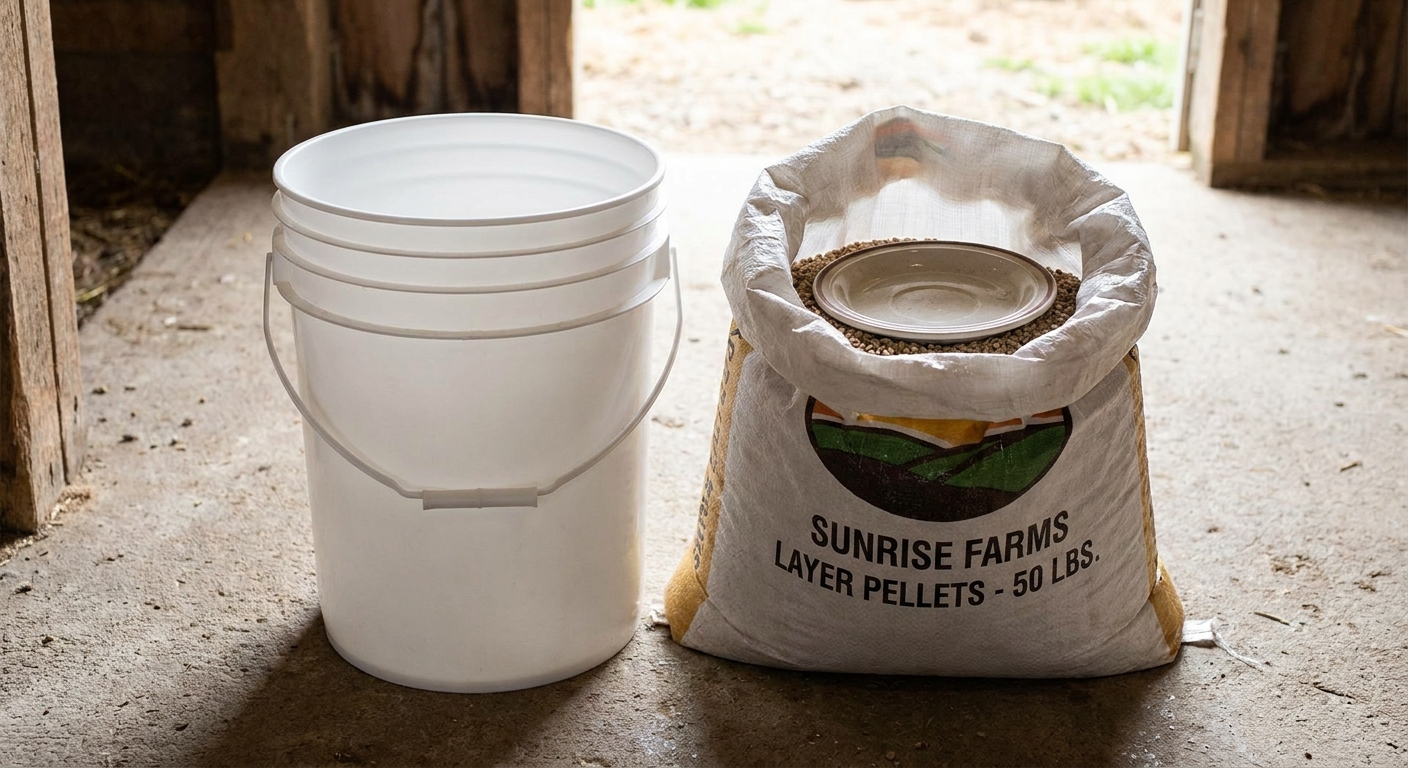
- Commercial chicken feed (pellets, crumble, or mash). Crumble and mash ferment fastest.
- A food-safe container with a lid: a 1 to 3 gallon food-grade bucket, a large glass jar, or a crock.
- A stirring utensil (wooden spoon or silicone spatula).
- A weight to keep feed submerged: a small plate, a clean jar filled with water, or a fermentation weight.
- Clean water (room temp). If your tap water is heavily chlorinated, let it sit out overnight first.
Optional but helpful
- A second container so you can run a simple rotation.
- pH strips if you love extra reassurance. Smell and visual cues matter, but pH gives you a concrete number to sanity-check your ferment.
A few ingredient caveats
- Medicated feed: If your feed contains medication (like amprolium or other additives), skip fermenting it unless the manufacturer or your vet explicitly says it is fine. Fermentation, time, and acidity can affect how some additives behave.
- High-fat feeds or oily add-ins: Fats can go rancid. If your ration is noticeably oily or you are tempted to add oil, nuts, or fatty kitchen scraps, keep fermentation shorter, keep it cooler, and trust your nose.
- Water treatment note: Letting water sit overnight helps chlorine off-gas, but chloramine does not reliably off-gas. If your city uses chloramine, a carbon filter helps, or you can simply allow a little extra time for the ferment to get going.
How to ferment feed
Step 1: Add feed
Start small the first week. I like 2 to 4 cups of dry feed for a test batch. It expands as it hydrates, and you will learn quickly how much your flock eats in a day.
Step 2: Add water
Pour in enough water to cover the feed by 1 to 2 inches. Pellets and crumble absorb water aggressively.
Tip from my “oops” file: If you add just enough water to make it look wet, you will come back to a thick paste with dry spots. Dry pockets are where you can get mold. Err on the side of wetter and stir well.
Step 3: Stir and scrape
Stir until everything is evenly wet. Scrape any feed stuck to the sides down below the water line.
Step 4: Keep solids submerged
Place your weight on top so the feed stays under the surface. You are not trying to create a perfect lab-grade anaerobic environment in an open bucket, but you are trying to limit oxygen exposure and keep the solids from drying out.
Step 5: Leave headspace (this prevents mess)
Do not fill your container to the brim. Leave a few inches of headspace for expansion and bubbling, especially with pellets. A too-full bucket is a quick way to earn yourself a sour, sticky cleanup.
Step 6: Cover loosely and let it work
Put the lid on loosely or use a cloth secured with a rubber band. You want to keep bugs out but allow gases to escape.
Temperature and timing:
- Warm kitchen (70 to 78 F): usually ready in 2 to 3 days.
- Cool garage (55 to 65 F): usually 3 to 5 days.
Step 7: Stir daily and check the signs
Once a day, stir and re-submerge. You are looking for:
- Bubbles or a faint fizz
- A tangy, sour smell (think sourdough starter, yogurt, or pickles)
- Softened feed that looks swollen and evenly hydrated
Step 8: Feed it (and keep the liquid)
Scoop out what you need for that feeding. Let excess liquid drip back into the bucket, but you do not need to strain it like pasta. That fermented liquid helps inoculate the next round.
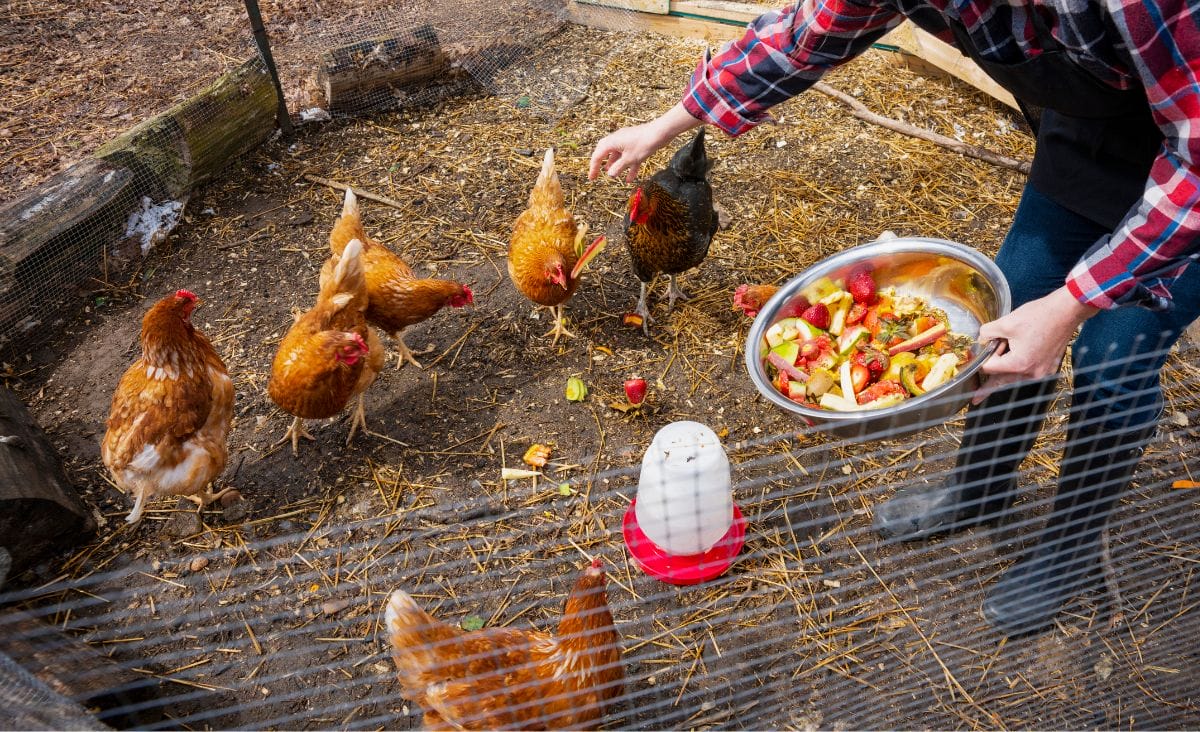
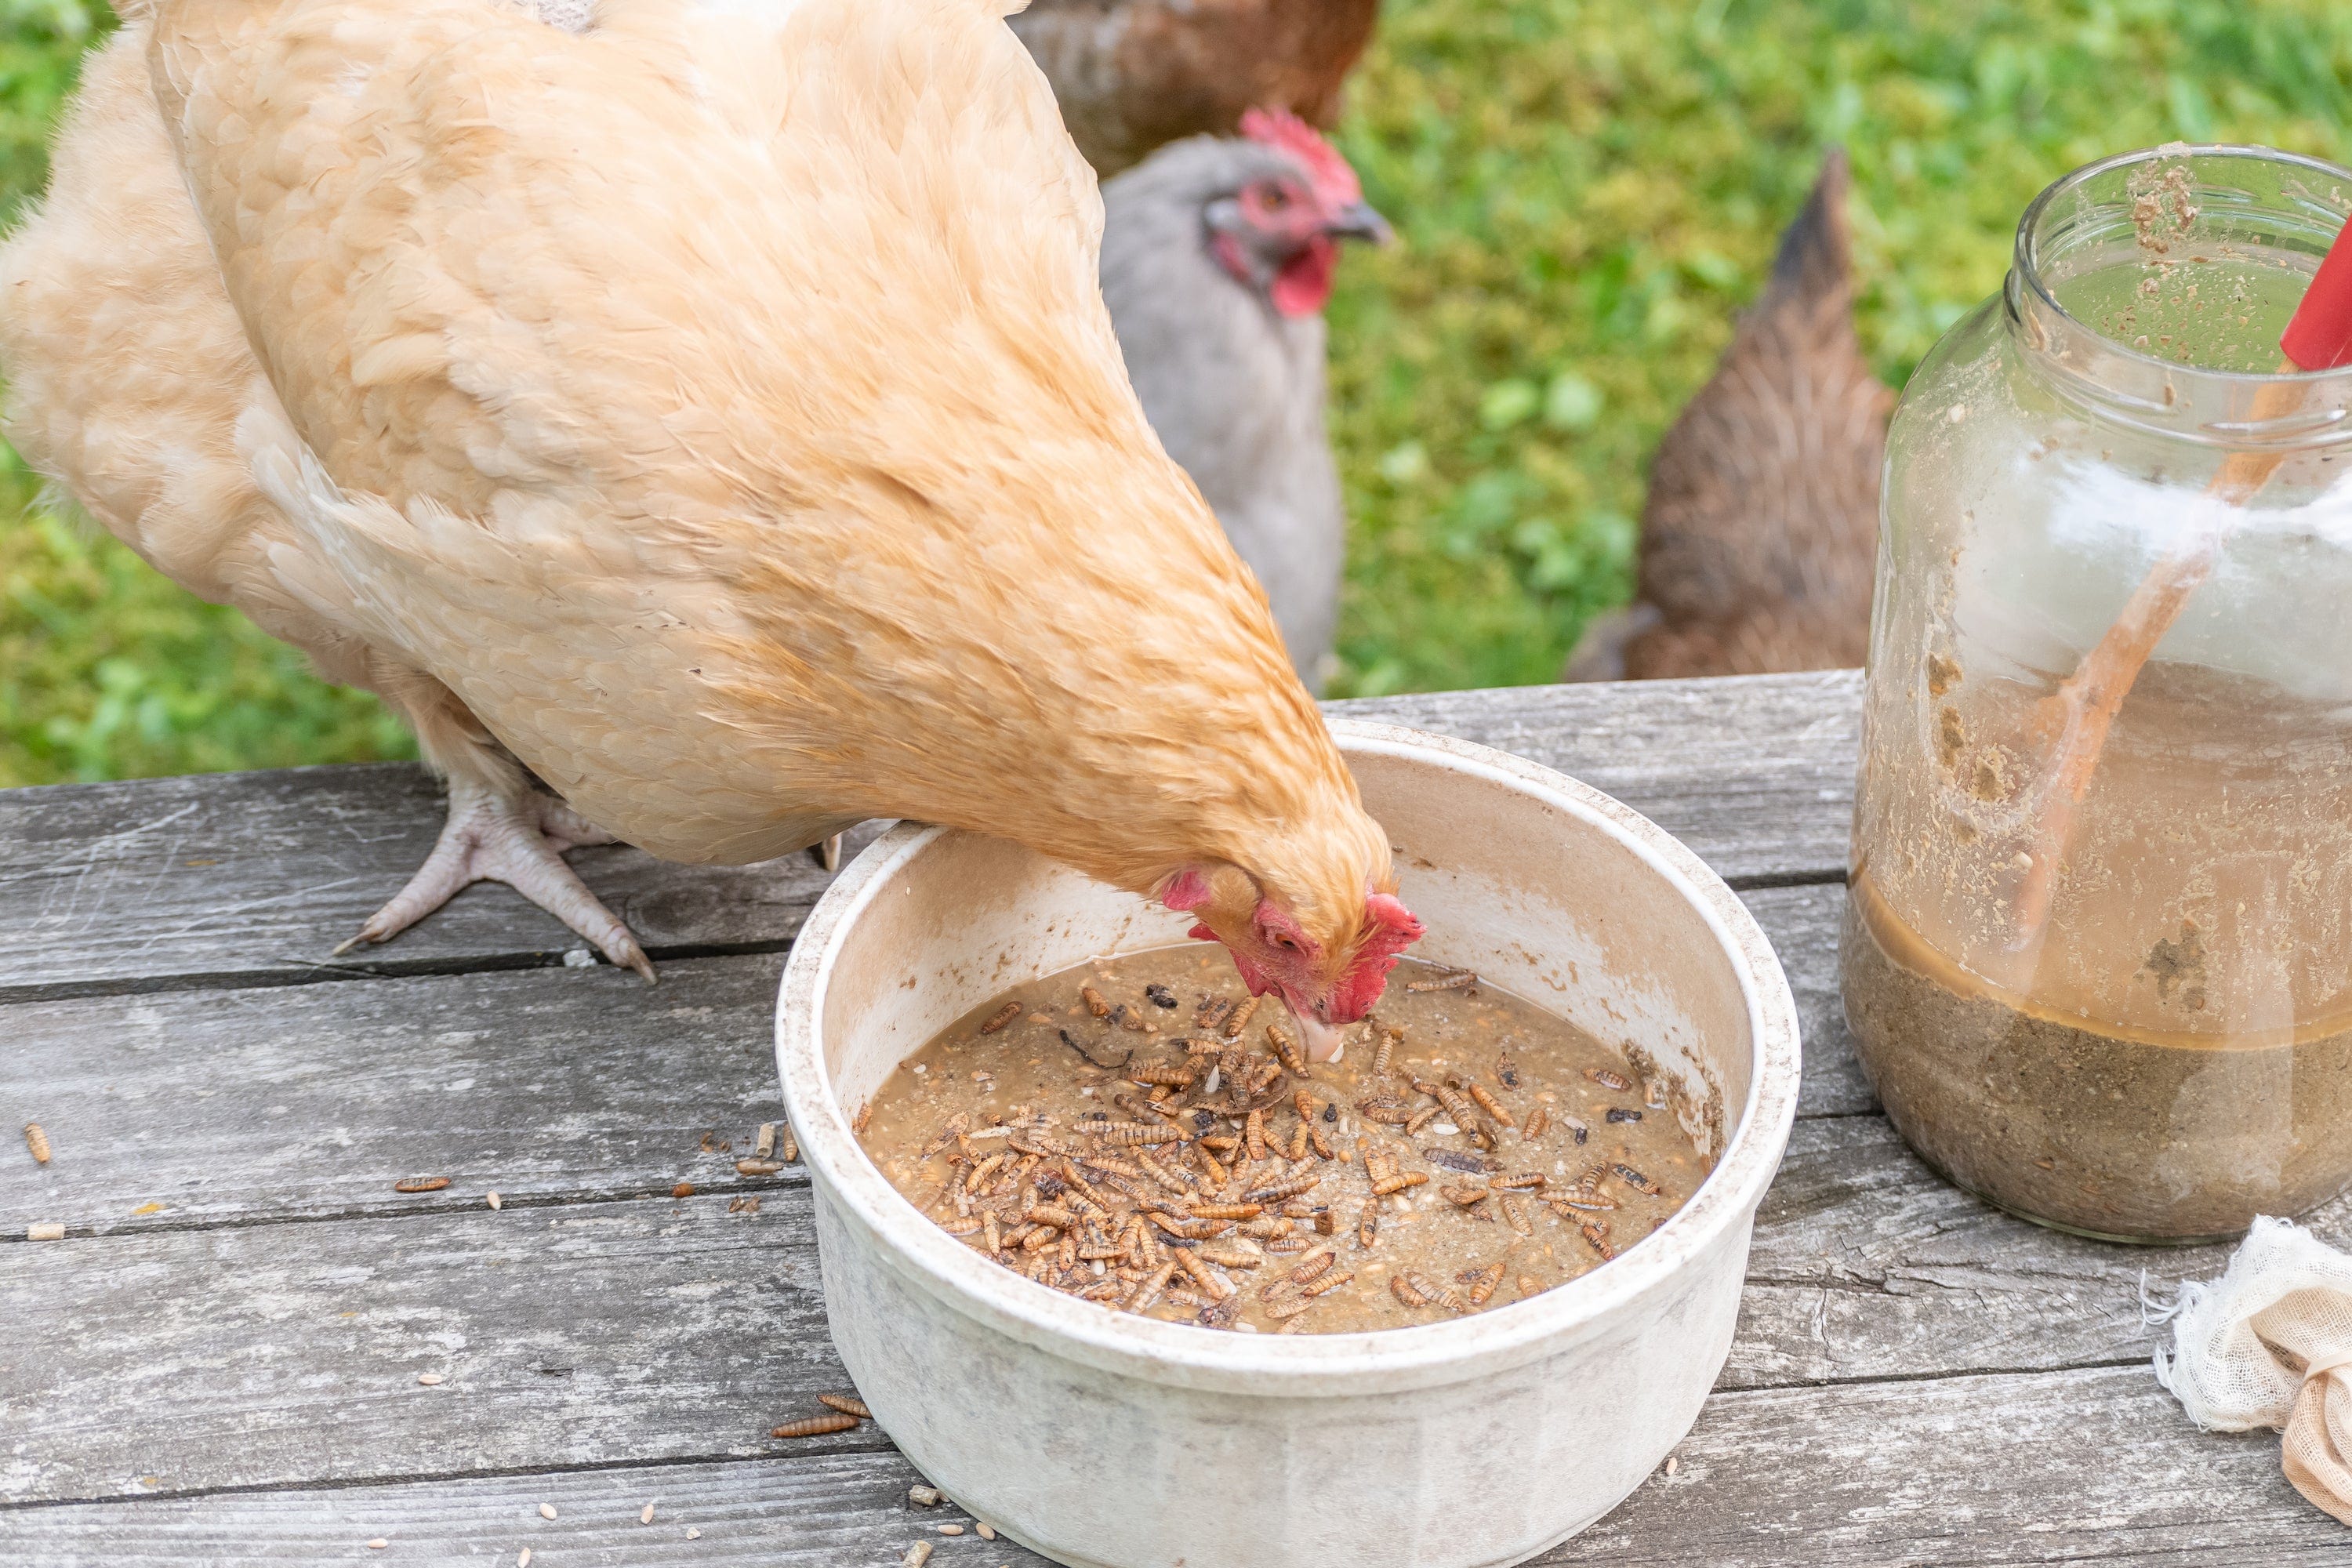
Serve in a trough, rubber pan, or a hanging feeder tray your birds cannot stand in. Fermented feed is wonderful, but it is also a magnet for bedding, dirt, and tiny chicken footprints.
An easy rotation
If you want fermented feed to feel effortless, set up a two-bucket rhythm:
- Bucket A is fermenting.
- Bucket B is what you are feeding from.
- Each day, you scoop from Bucket B. When it gets low, you start Bucket A again and swap roles.
Once you find your flock’s daily amount, this becomes a 2-minute chore that fits right between refilling waterers and arguing with a hen about whose turn it is in the nesting box.
How much to make
There is no single magic number because consumption depends on breed, season, free-ranging, and life stage. The simplest rule is: ferment only what your flock will eat in about 24 hours (or less during heat waves).
- Small flock example (6 hens): Start with 2 to 4 cups dry feed and see what disappears in one feeding window. Adjust from there.
- Medium flock example (12 to 15 hens): Try 6 to 10 cups dry feed to start, then dial in your routine.
How to transition: Start by replacing one feeding per day with fermented feed while keeping free-choice oyster shell for layers. Watch body condition, egg production, and droppings for a week. If all looks good, you can increase to most or all of their ration fermented.
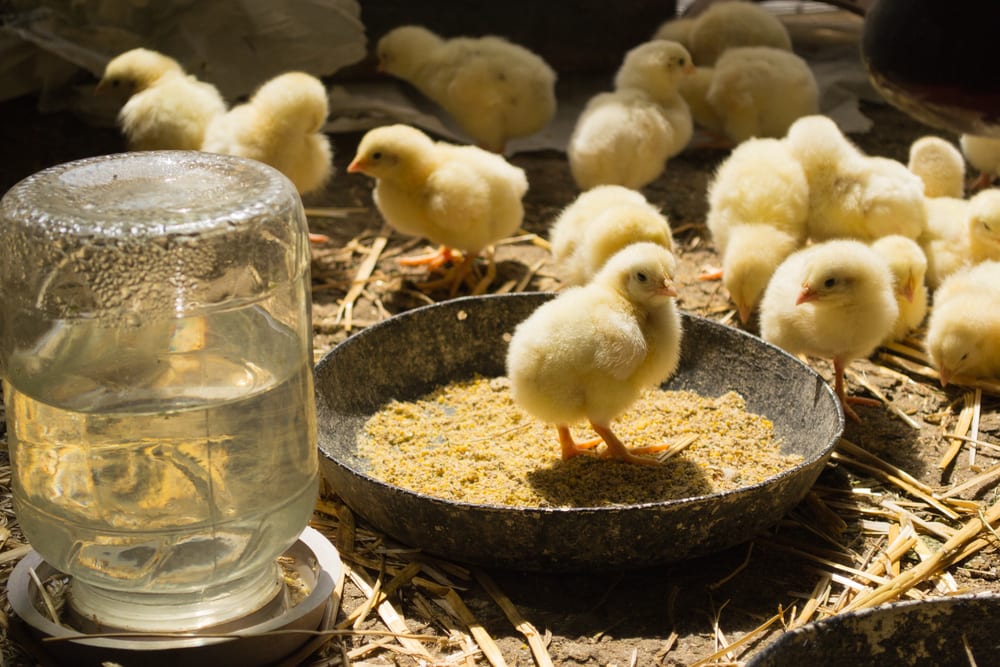
Young birds note: Many keepers avoid fermented feed for very young chicks and stick with a clean, fresh starter ration. If you want to use fermented feed with growing birds, consider waiting until they are older and well established, then introduce it gradually. When in doubt, follow hatchery guidance or ask an avian vet.
Safety checks
Smell and look (useful, but not perfect)
Good fermented feed should smell pleasantly sour, like pickles, sourdough, yogurt, or mild vinegar. “Tangy” is the word you want.
That said, smell and bubbles are not a lab test. If you want a more concrete checkpoint, use pH strips.
A helpful pH guideline
Many people aim for a finished ferment that is clearly acidic, commonly below about pH 4.5. pH is only one factor, but it is a solid extra layer of reassurance when you are learning your process.
Red flags (toss it and scrub)
- Fuzzy mold of any color, especially green, black, or white fuzz
- Rotten, putrid, or fecal odors
- Pink or orange slime (treat this as a discard rule, period)
- Dry islands of feed above the water line that look questionable
If you are not sure, trust your eyes and your gut. Chickens are not compost bins for experimental science projects.
My cleanup rule
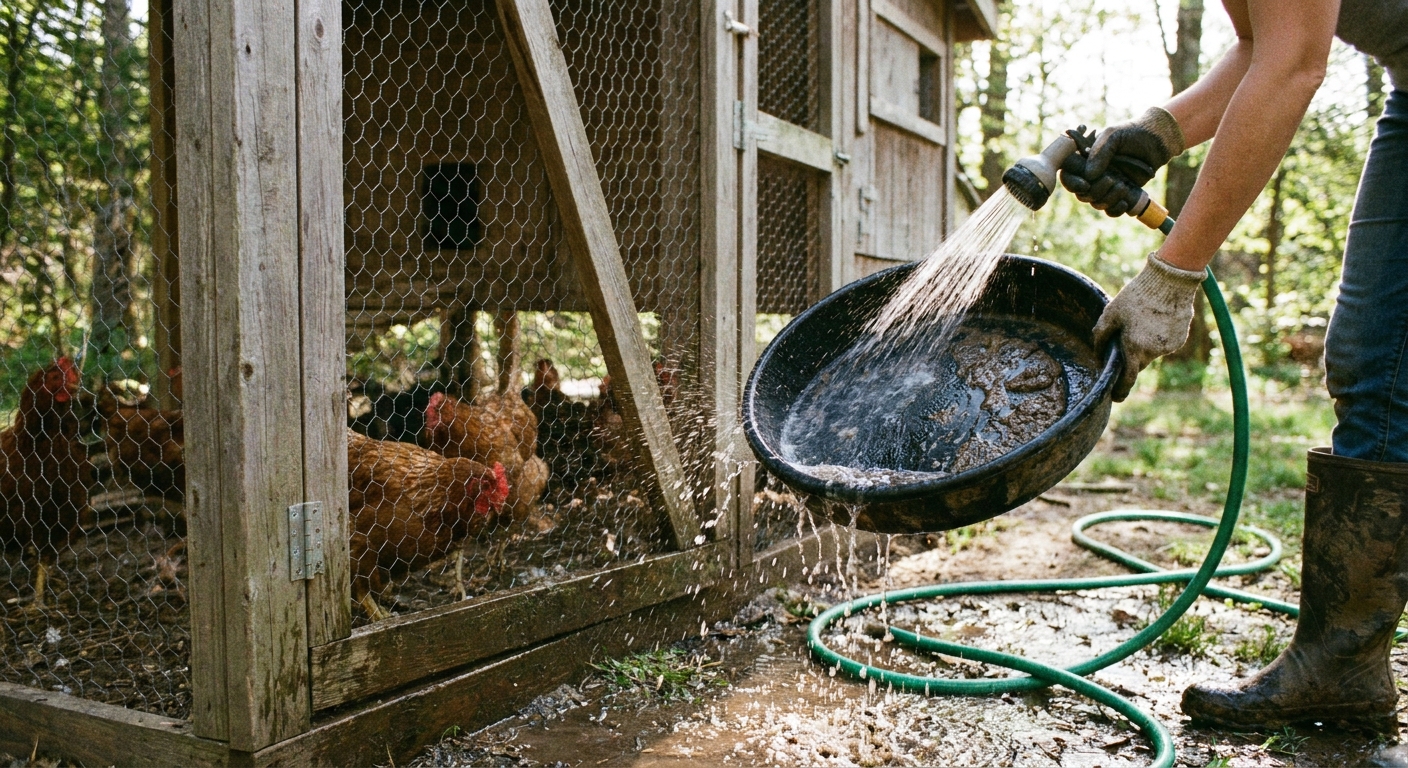
Rinse the container and give it a good scrub regularly. I do a full wash every few batches, and immediately if anything smells off. Wash feeding pans promptly too, because fermented leftovers get funky fast.
Will it lower my feed bill?
Often, yes, but not because fermentation creates calories out of thin air. Savings usually come from:
- Less waste at the feeder
- Better utilization of what they eat (in some flocks)
- More consistent appetite during stressful weather swings (in some flocks)
My best advice is to measure it like a coop nerd for two weeks: track how fast you go through a bag before and after fermenting, while keeping treats and free-range time similar. That will tell you quickly if it makes sense for your setup.
Questions and troubleshooting
My feed is not bubbling. Did I fail?
Not necessarily. Some batches are subtle, especially in cooler temps. If it smells lightly sour after 2 to 4 days and there is no mold, you are likely fine. Give it another day in a warmer spot and stir well.
Can I use apple cider vinegar?
You can add a small splash, but you do not need it. I prefer to let the lacto-fermentation develop naturally. If you do add it, keep it modest. You are encouraging the right microbes, not making salad dressing.
Pellets turned into mush. Is that normal?
Yes. Pellets break down. Many birds love the porridge texture. If yours prefer it chunkier, switch to crumble or reduce fermentation time slightly.
It smells like alcohol or yeast
A little yeasty scent can happen, but a strong boozy smell means conditions may be favoring yeast too much. Stir more often, keep solids submerged, and ferment in a slightly cooler place. If it smells truly alcoholic or unpleasant, toss it and restart.
Can I ferment scratch instead of complete feed?
Scratch is a treat, not a balanced diet. You can ferment grains, but your flock still needs a complete ration as their nutritional foundation.
How long can it sit once it is ready?
In warm weather, treat it like perishable food. Feed what you scoop out promptly and do not leave it in the run all day. In the bucket, as long as it stays submerged, acidic, and smells right, it can hold for several days. If it starts to look or smell off, do not push your luck.
Serving tips
- Use a dedicated pan that is easy to wash.
- Offer smaller portions more often if your birds smear it around.
- Keep it out of bedding to avoid turning it into a pine shaving casserole.
- Pick up leftovers after 20 to 30 minutes, especially in summer.
My starter batch
If you want the simplest possible starting point, here it is:
- 3 cups layer crumble
- Water to cover by 1 to 2 inches
- Stir, submerge, cover loosely
- Ferment 2 to 4 days, stirring daily
Once you see how much your flock eats, scale up. The process stays the same.
Bottom line
Fermenting chicken feed is not magic, but it can be a genuinely useful tool. If you want less wasted feed and a routine that feels a bit more old-fashioned and satisfying, lacto-fermenting is worth a try. Start small, keep solids submerged, use pH strips if you want that extra safety check, and your chickens will let you know pretty quickly if they approve.