Fresh air matters year-round. Here’s how to vent your coop to prevent ammonia and moisture while keeping roosting chickens out of winter drafts.
The Cluck Loom
Winterize Your Chicken Coop Without Heat Lamps
Keep your flock cozy and safe all winter without risky heat lamps. Draft control, ventilation, insulation, deep dry bedding, and practical ways to prevent frozen waterers.

Maggie Harper
Maggie Harper is a passionate backyard chicken keeper with over a decade of hands-on experience raising mixed flocks. Through CluckLoom, she shares practical advice on coop building, flock health, and egg production to help beginners and seasoned enthusiasts alike raise happy, healthy chickens.
Published
October 22, 2026
Last updated
October 22, 2026
The first winter I kept chickens, I thought I needed to turn my coop into a tiny tropical resort. Then I learned the hard way that most “warmth” problems in winter coops are really dampness, drafts, and poor setup problems. Chickens wear built-in down coats. Our job is to give them a dry, draft-free place to roost at night, plus water that is not a solid ice sculpture by sunrise.
And yes, we can do it without heat lamps. I know they feel like the obvious answer. But between fire risk, melted cords, knocked-over fixtures, and the risk of a sudden temperature drop if power fails during extreme cold, I treat heat lamps like a last-ditch tool for emergencies only, not a winter plan.
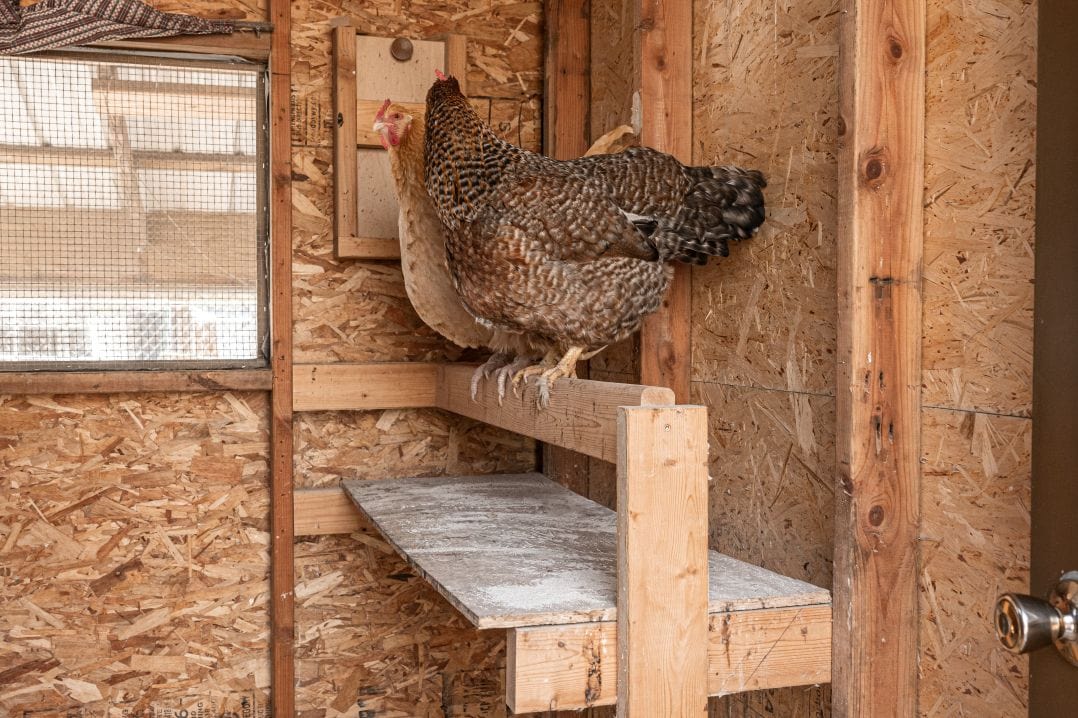
Start with the goal: dry, draft-free, and well ventilated
It sounds backwards, but the secret to a warmer-feeling coop is often better ventilation. Moist air from chicken breath and droppings rises, hits a cold roof, and condenses. That dampness steals heat fast and can lead to frostbite on combs and toes.
Your winter target looks like this:
- No direct drafts at roost level (wind blowing on sleeping birds is the real enemy).
- Ventilation up high (moist air exits above the birds’ heads).
- Dry bedding (ammonia and dampness make cold feel colder).
- A smaller, tighter sleeping space (not a huge empty barn of a coop).
Quick flock note: Most healthy adult chickens do great with this setup, but bantams, silkies, frizzles, and big-combed Mediterranean breeds can need extra attention to wind, humidity, and frostbite risk. Older birds and birds recovering from illness also deserve a closer eye.
Skip the heat lamp: why it is risky
I am not here to scold anyone who has used one. Plenty of folks have, and many got through winter just fine. The issue is that the failure mode is severe.
- Fire risk: Heat lamps run hot, bulbs can shatter, fixtures can fall, dust and feathers can ignite, cords get damaged.
- Outage and cold snap risk: If birds have been getting supplemental heat and it suddenly shuts off during extreme cold, the abrupt temperature change can be hard on them.
- False sense of security: Heat does not fix wet bedding, poor ventilation, or drafts. It can mask the real problems.
If you are dealing with a genuinely vulnerable bird (very young chicks, a freshly injured hen, or a bird in shock), the safer move is often bringing the bird into a garage, mudroom, or bathroom “hospital” setup temporarily rather than turning the coop into a fire hazard.
Step 1: Weatherproof the coop shell (without sealing it shut)
Find and block drafts at chicken height
On a windy day, go out with a flashlight, or even better, a stick of incense if you have it. Move it around cracks near the roost and watch for smoke movement. Drafts usually come from:
- Gaps around doors and pop doors
- Loose hardware cloth windows
- Warped plywood edges
- Floor-level gaps where walls meet the base
Fixes that work well:
- Exterior-grade weatherstripping around doors and pop doors
- Latch upgrades so doors close tight (a surprising amount of “cold” is just a floppy door)
- Wood trim to cover big gaps
- Caulk on stationary seams (not on vents)
Keep ventilation high and open
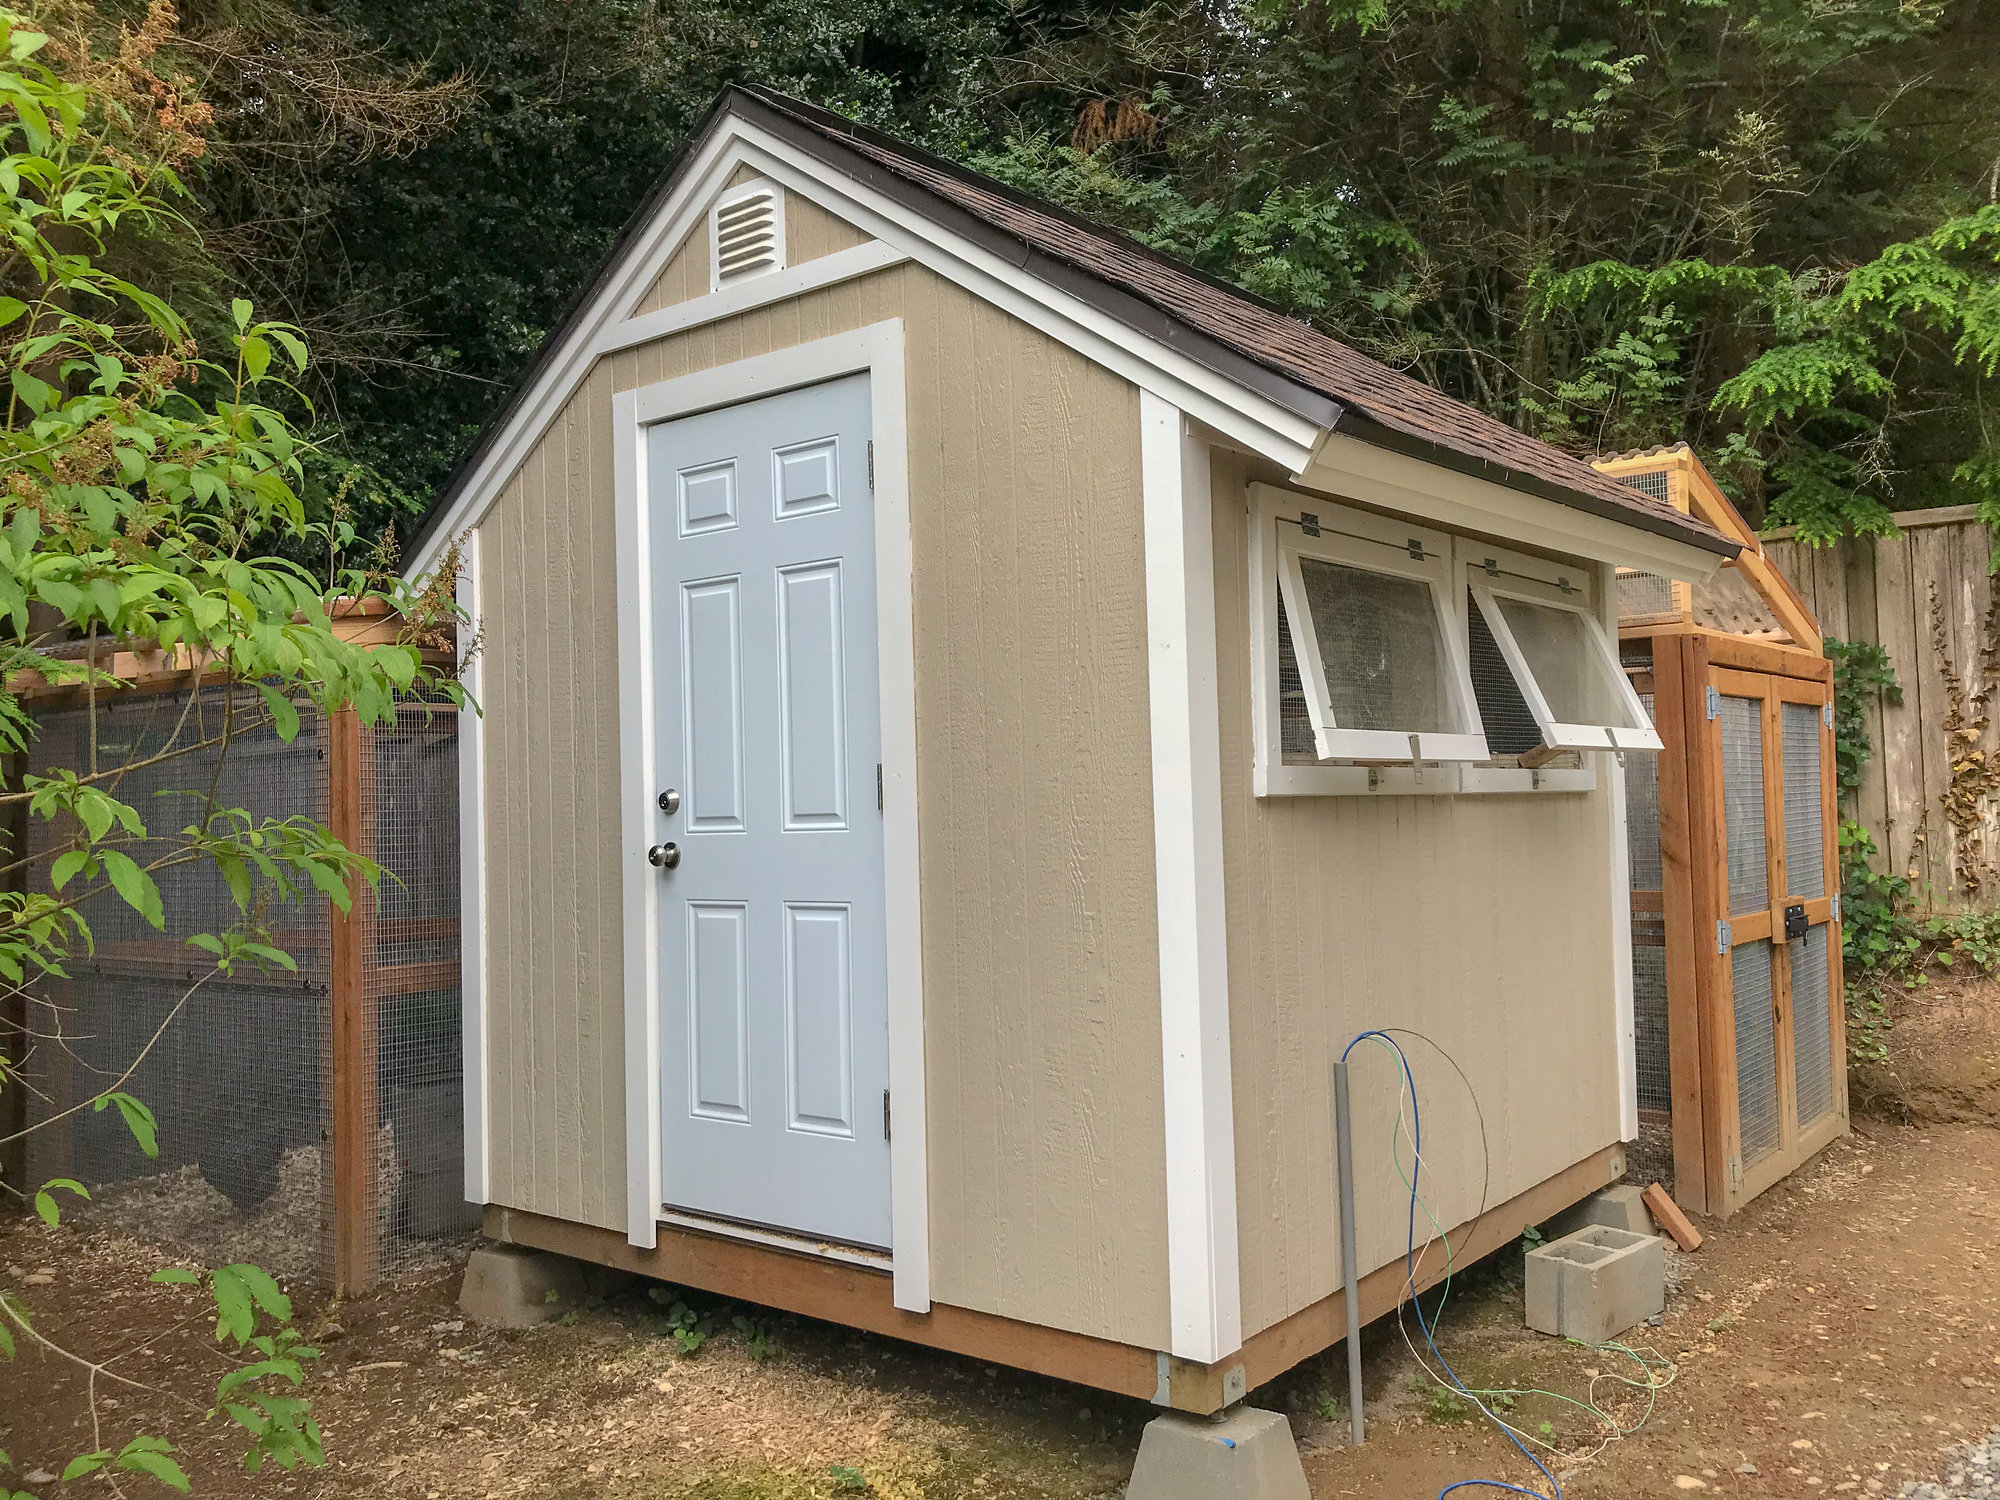
Ventilation is not the same as a draft. You want openings near the roofline, ideally on more than one wall, covered with hardware cloth. In winter, I prefer leaving those vents open and instead tightening everything lower down.
If your coop only has low windows, consider adding a simple upper vent: a cutout near the top with hardware cloth and a little rain cover. That one change can make the coop feel dramatically less “icy,” because dry air reduces heat loss and frostbite risk.
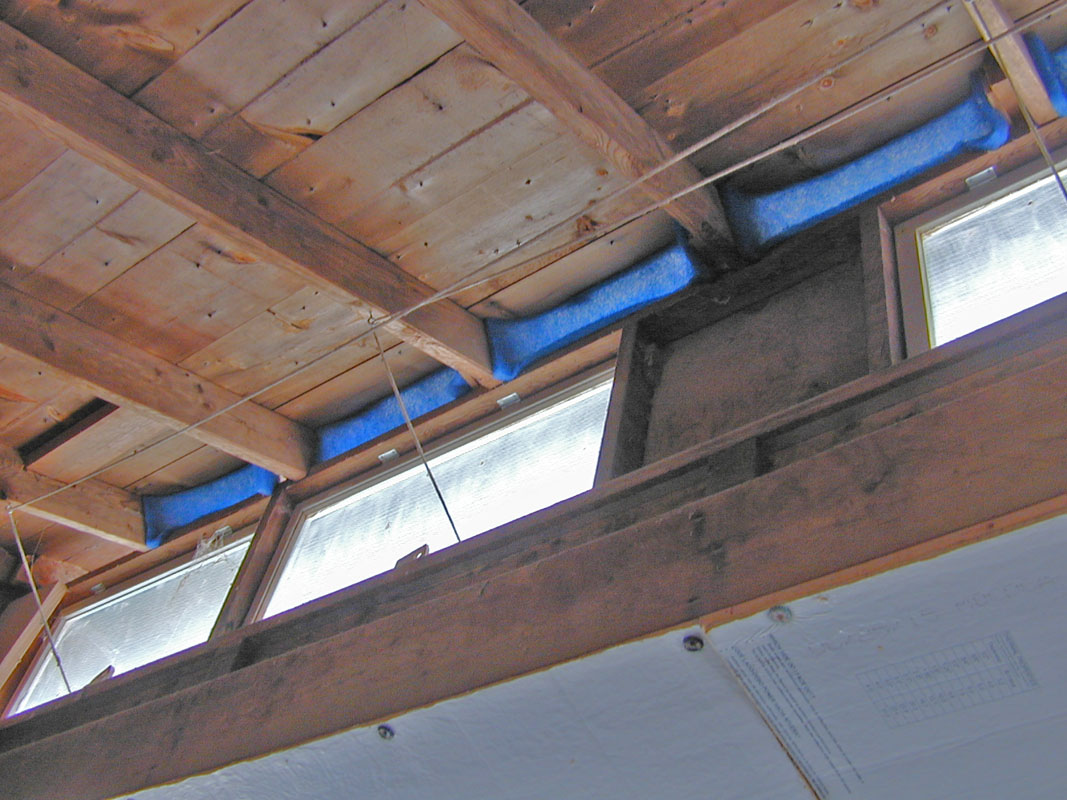
Step 2: Insulate smartly (and safely)
Insulation can help, but only if you keep it dry and inaccessible to pecking. Chickens will peck exposed foam like it is a hobby.
Good insulation options
- Rigid foam board sandwiched behind plywood or paneling (never left exposed)
- Reflective bubble insulation behind a solid barrier (useful as a supplemental layer)
- Solid wall panels that create an air gap (air gaps insulate)
What I avoid
- Fiberglass batting where birds can access it (it can irritate skin and lungs, and it loses insulating value if damp)
- Loose fabrics and blankets inside the coop (they hold moisture and can become dusty, moldy, and pecked)
- Sealing the coop airtight (traps moisture and ammonia)
If your coop is already built and you cannot open walls easily, focus your effort on draft control, bedding depth, and windbreaks outside. Those give you a big return without remodeling.
Step 3: Make the roost the warmest seat in the house
At night, chickens should be on a roost, not sleeping in nesting boxes or on the floor. Roosting keeps them dry, cleaner, and safer. It also lets them fluff and settle properly.
Roost bar size and material
- Use wide roosts: A 2x4 set flat (wide side up) lets birds cover their toes with belly feathers, which helps prevent frostbite.
- Skip metal: Metal roosts get painfully cold.
- Provide enough space: Aim for about 8 to 12 inches per standard hen (less for bantams, more for big breeds). Crowding can lead to pecking, but some cozy contact is normal and helpful in winter.
Roost placement
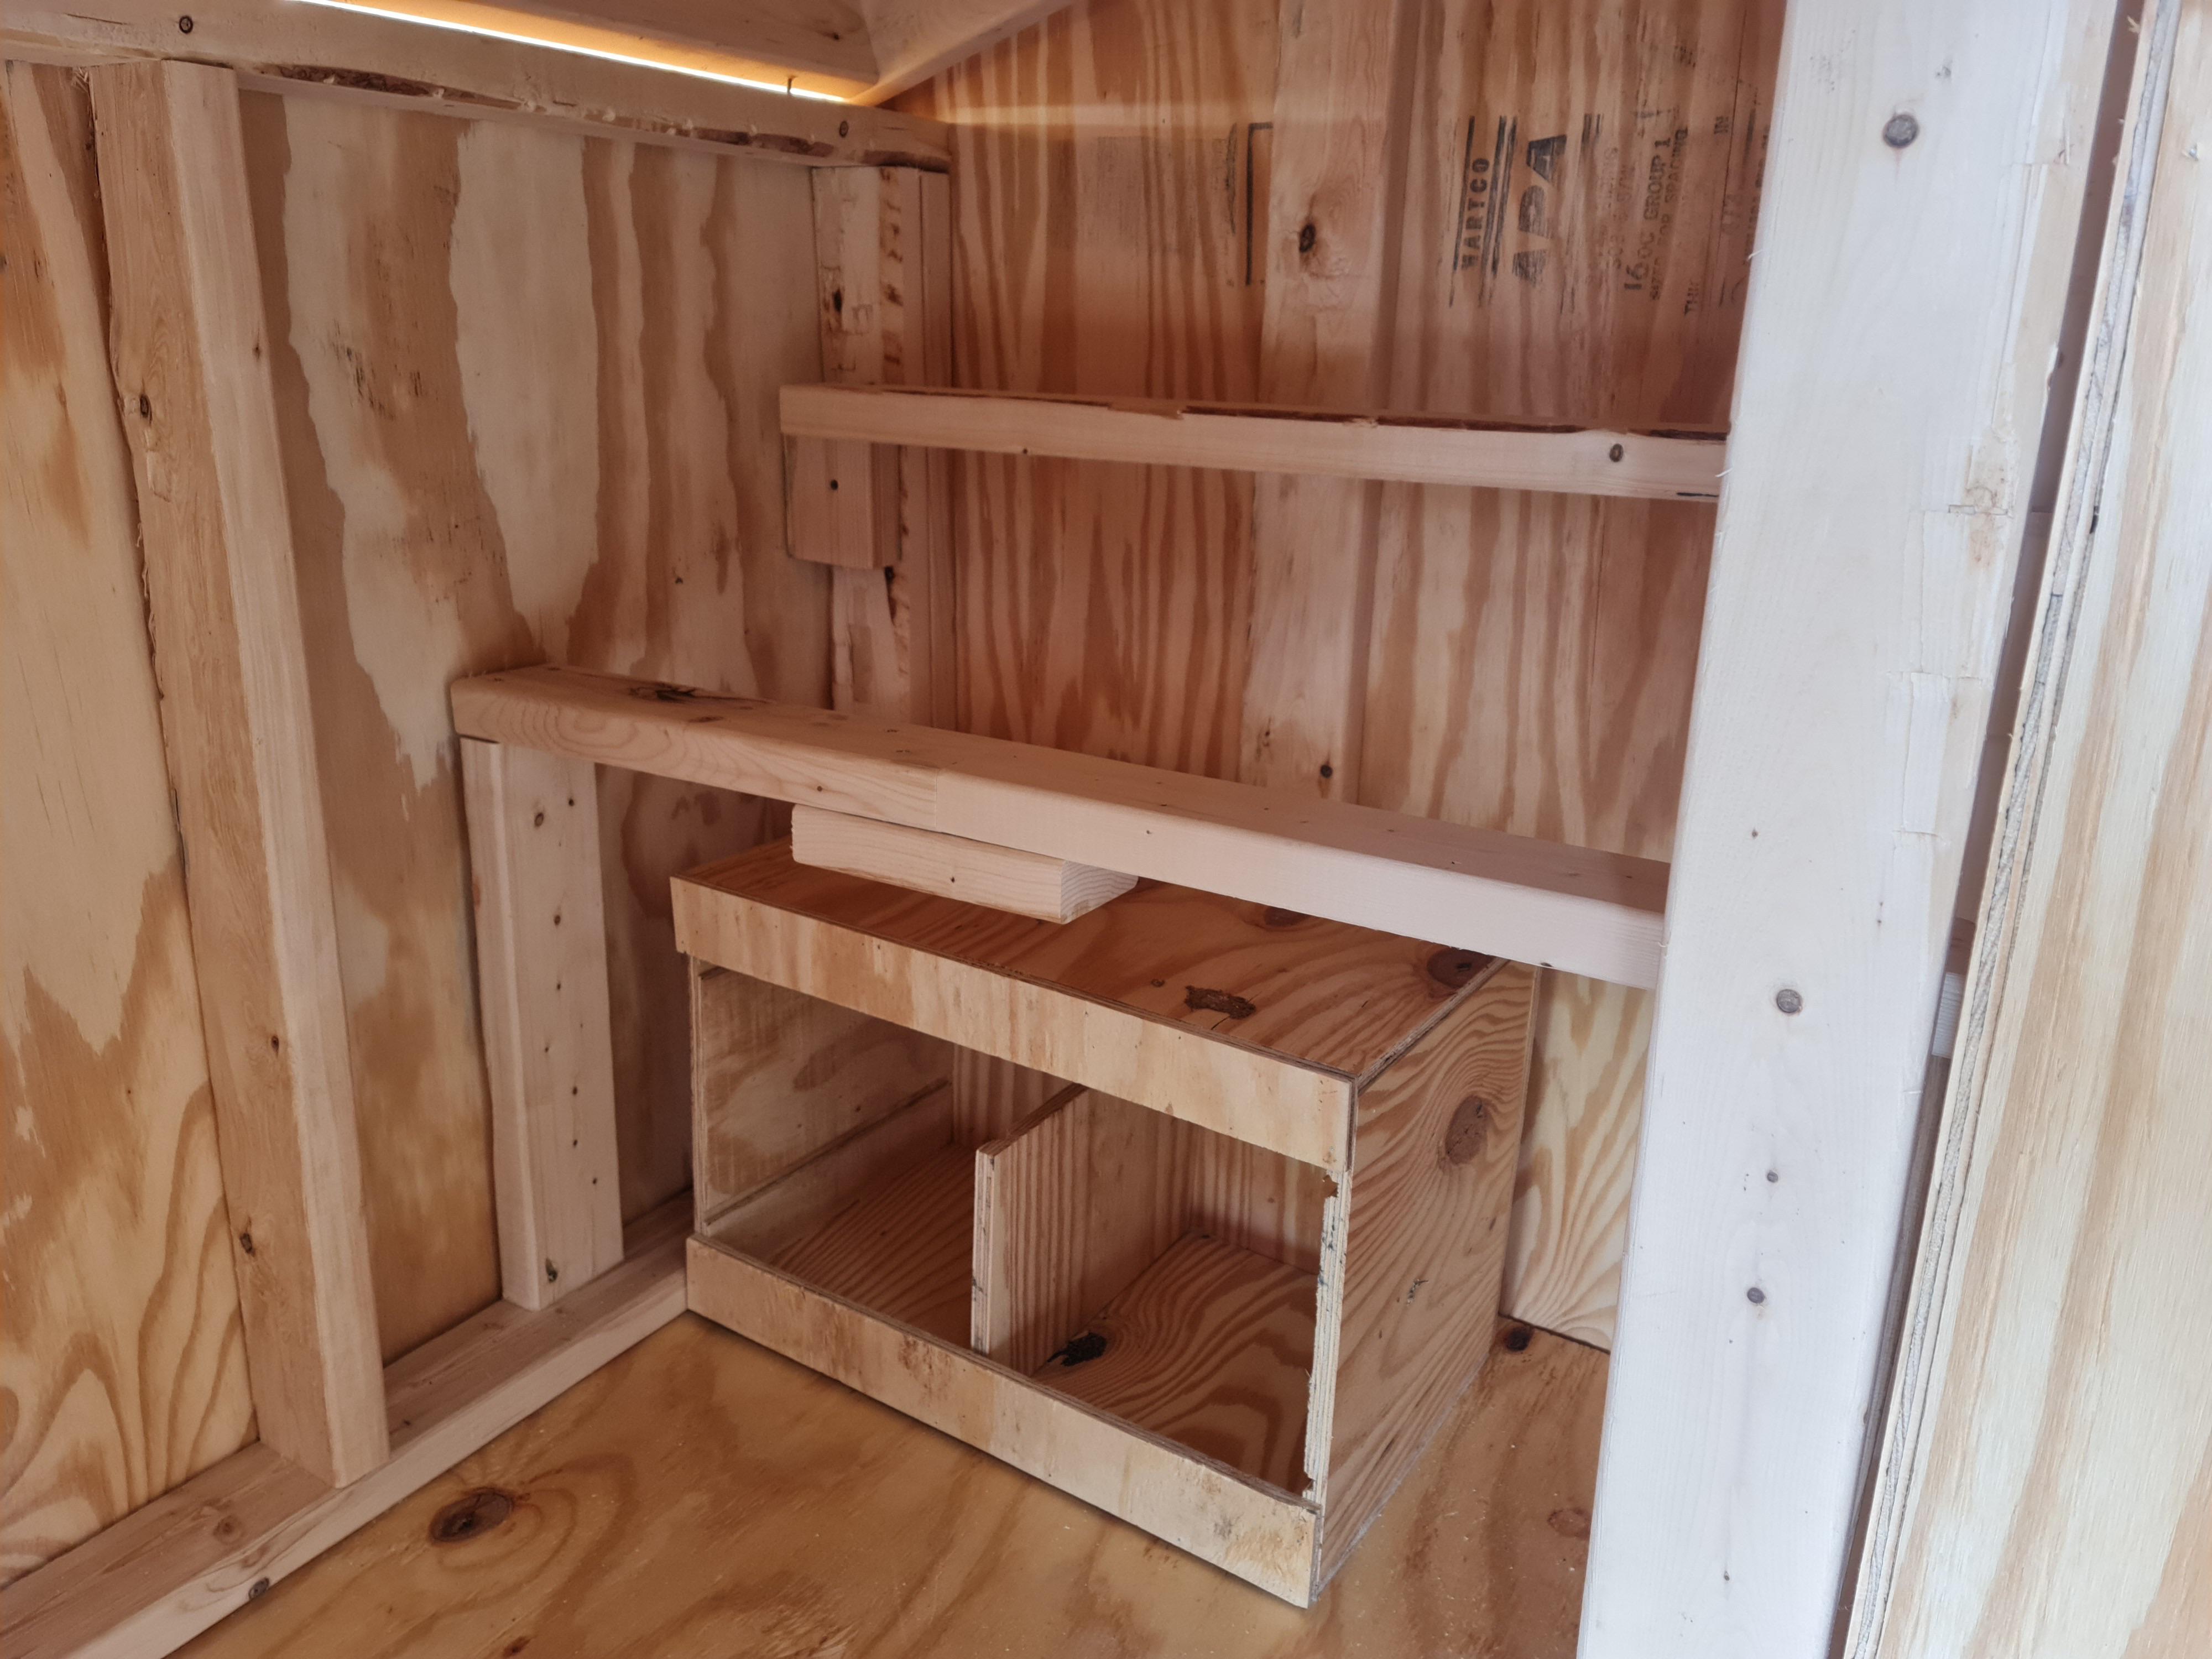
- Keep roosts higher than the nesting boxes so they choose the roost.
- Keep roosts away from direct airflow from windows, cracks, or vents.
- Keep them below the highest vent opening so moist air can rise above the birds and exit.
Step 4: Deep, dry bedding is your winter workhorse
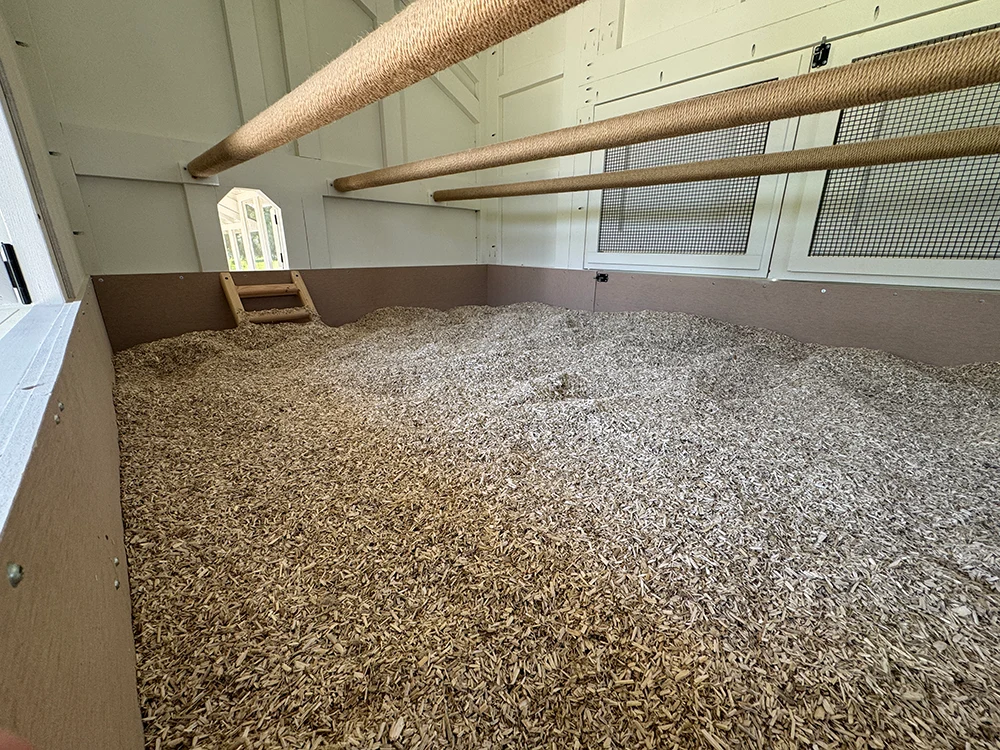
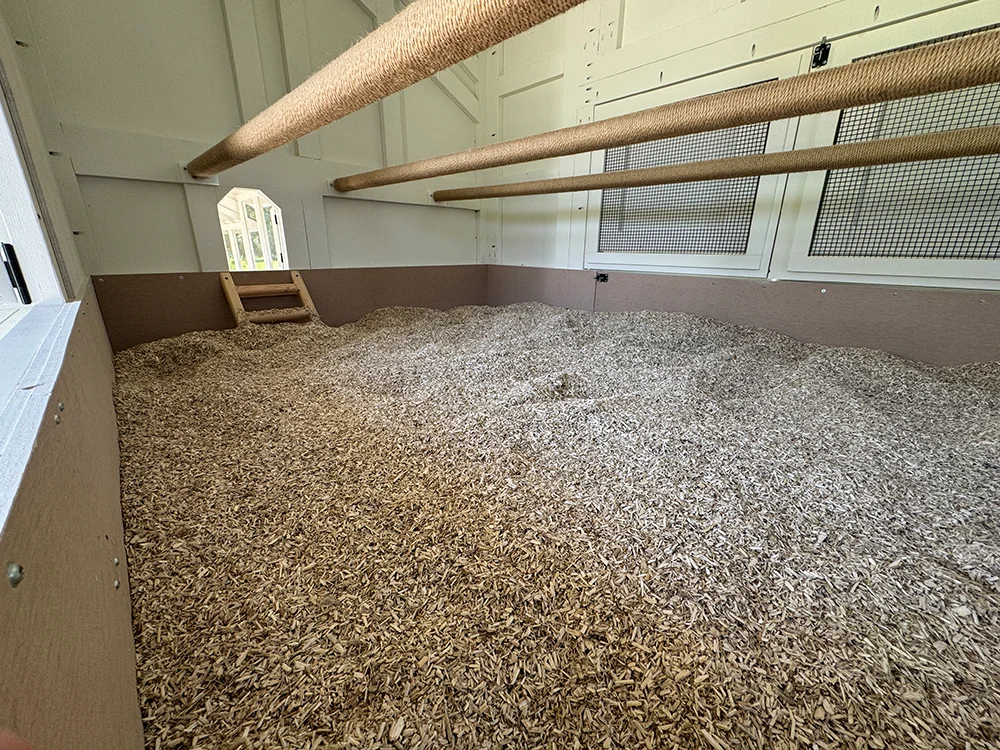
If I could pick one winter upgrade that helps almost everyone, it is bedding management. Deep bedding increases insulation and helps keep the coop drier between cleanouts.
Deep bedding (simple version)
You do not need to overthink it. Here is the backyard-friendly approach:
- Start with a clean, dry floor.
- Add 4 to 8 inches of pine shavings (or chopped straw if you manage it carefully).
- Each week, stir the top layer and add a fresh sprinkle where it is damp.
- Remove any wet clumps right away, especially under the roost.
This is not the same thing as a fully managed composting deep-litter system with a dialed-in carbon and nitrogen balance. It is simply deep bedding done cleanly, which is plenty for most backyard coops.
I also like a droppings board under the roost in winter. Scrape it each morning and your bedding stays dramatically drier and less stinky.
Step 5: Prevent frozen water without turning the coop into a fire hazard
Frozen water is usually the hardest daily problem, and it is the one that makes people reach for heat lamps out of frustration. You have a few safer options.
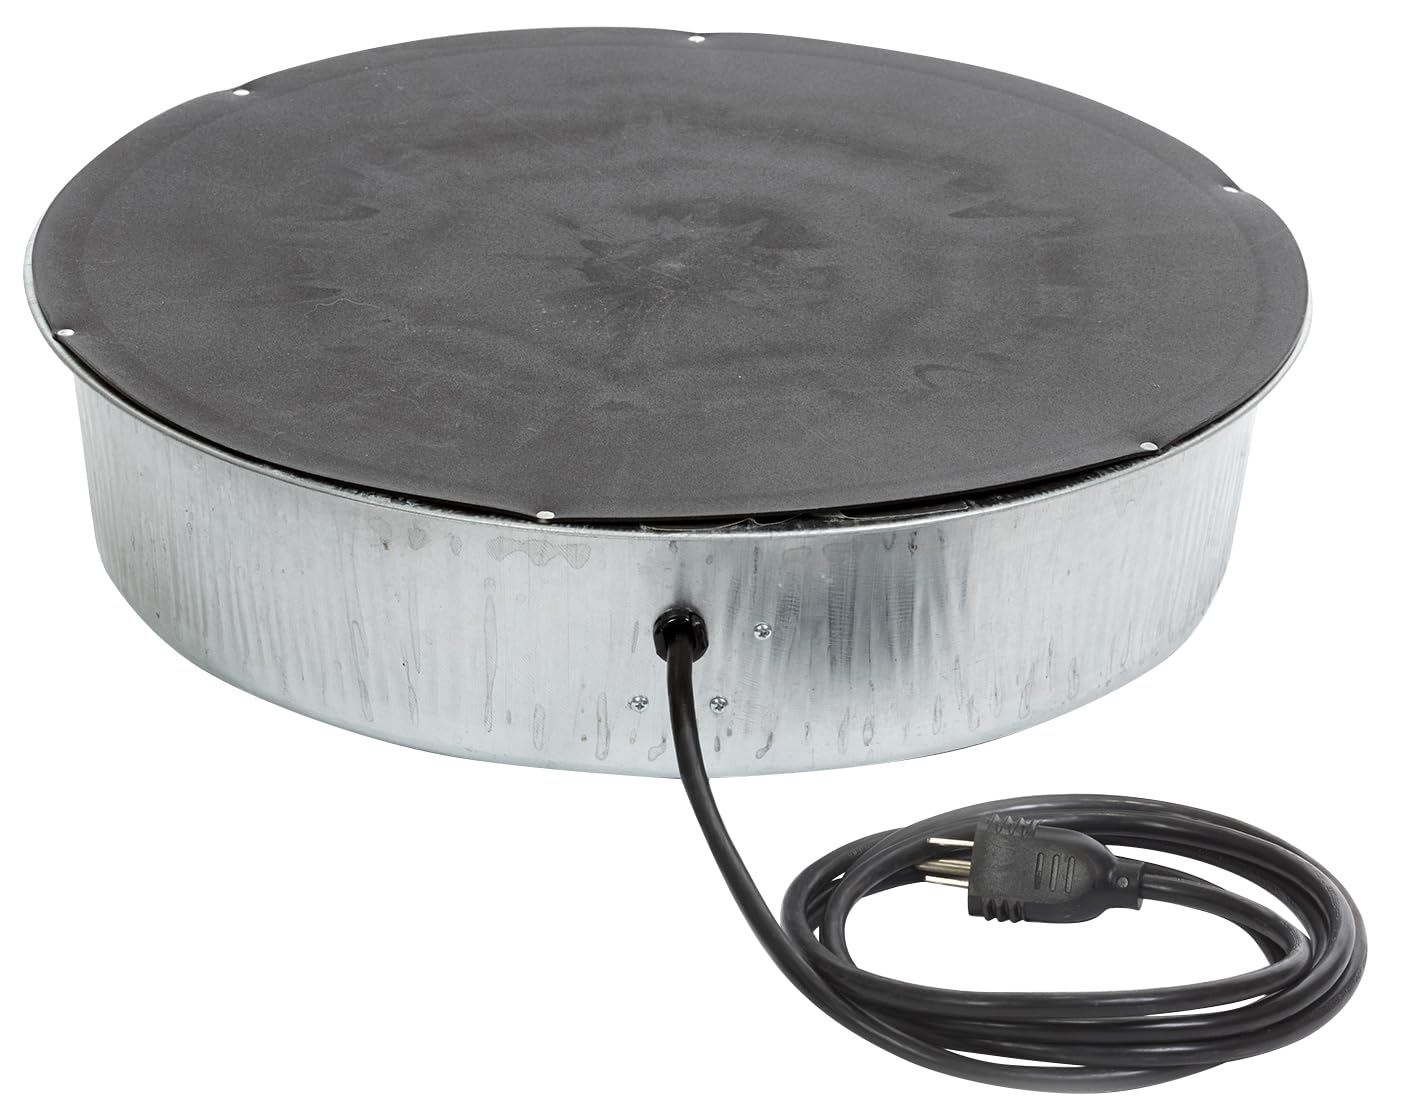
Option A: Heated base or heated waterer (corded, purpose-built)
If you have electricity available, a purpose-built heated poultry waterer or heated base is generally far safer than a heat lamp. Still, it needs smart setup:
- Use a GFCI outlet and a heavy-duty outdoor-rated extension cord if needed.
- Choose equipment that is UL-listed or ETL-listed when possible.
- Keep cords out of pecking range and away from bedding.
- Mount or route cords so there is strain relief (no tight bends, no tripping hazards).
- Place the waterer on a stable surface so it cannot tip into bedding.
Option B: The two-waterer rotation (no electricity)
This is my go-to when we have a cold snap and I do not feel like running cords:
- Keep two identical waterers.
- Bring one in at night or mid-day to thaw and refill, then swap.
- Use rubber bowls for daytime runs. Ice pops out easier than in rigid plastic.
Option C: Insulate and elevate the water
- Set the waterer on a cinder block or stand to keep it off frozen ground and out of bedding.
- Use a small covered water station inside the run to block wind (wind speeds freezing).
A quick note about water inside the coop: If your coop ventilation is not great, water inside can add humidity. I often prefer water in a covered section of the run, as long as it stays accessible and not snowed in.
Step 6: Manage the run so your birds actually go outside
Chickens do better when they can move around, even in winter. The trick is making the run less miserable.
Block wind, not airflow
Adding windbreaks can raise the “feels like” temperature a lot.
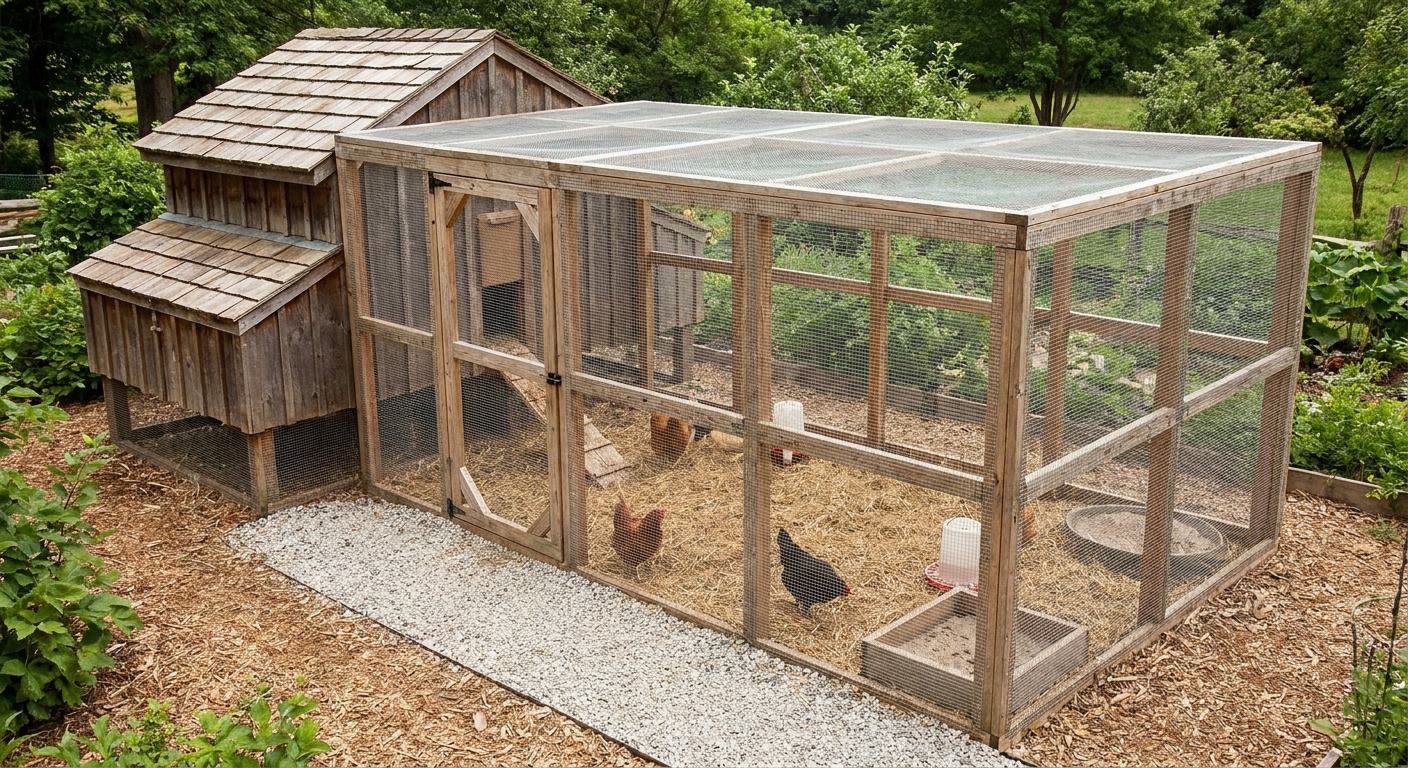
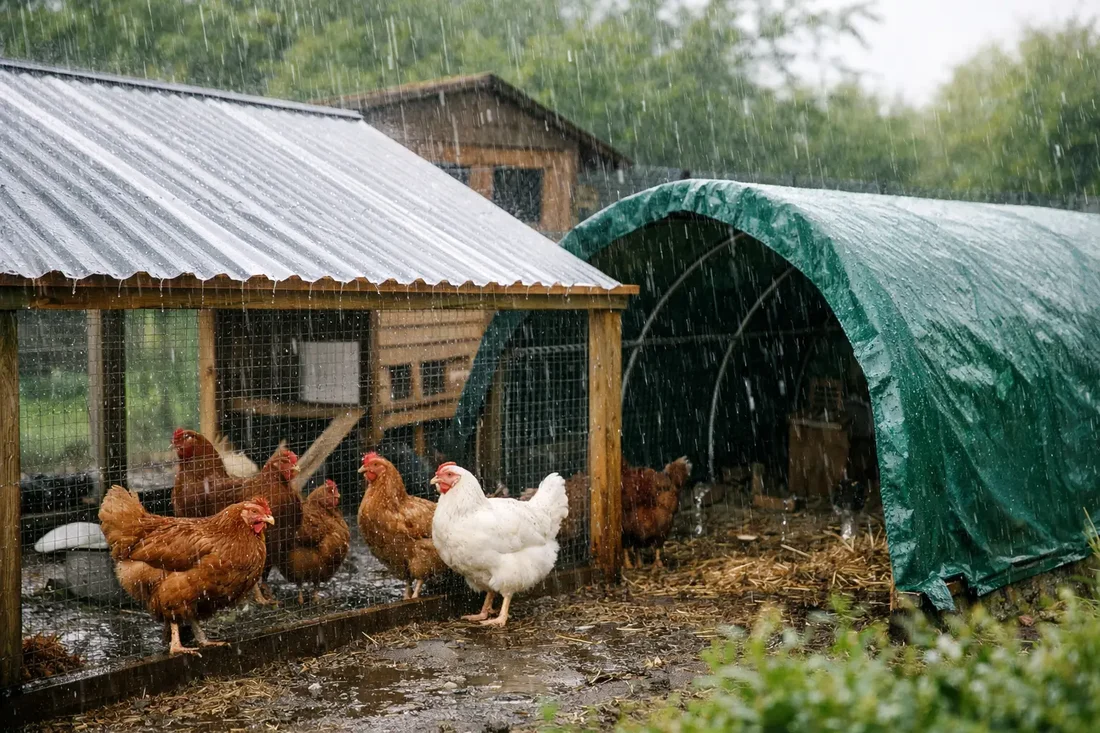
- Attach clear corrugated roofing panels or heavy tarps to the windward side of the run.
- Leave openings so air can still exchange and moisture does not get trapped.
- Secure everything tightly so it does not flap, which can stress birds.
Keep a dry surface underfoot
- Lay down straw, wood chips, or sand in high-traffic areas.
- Shovel paths after snow so they have somewhere to scratch.
- Consider a roofed section over part of the run if you can. A dry run is a happy run.
Winter predator and hardware check
- Snowdrifts can create handy little ramps to roofs and run tops. After storms, do a quick walk-around and knock down anything that helps a predator climb.
- Latches can freeze or get crusted with ice. Make sure everything still closes tight at dusk.
Feed and flock care that helps in cold weather
Let them eat a little more
Chickens burn more calories staying warm. Most flocks will naturally eat more in winter. Keep feed available and dry.
Offer warm treats the safe way
If you want to be the cozy neighbor, a warm mash is fine:
- Mix their regular feed with warm water until oatmeal-like.
- Serve in a shallow pan, then remove leftovers so it does not freeze into a hockey puck.
Watch for frostbite early
Frostbite risk is more about humidity than temperature. Watch for:
- Condensation on windows or walls
- A strong ammonia smell
- Wet bedding under the roost
- Pale, gray, or blackened tips on combs and wattles
If you see moisture signs, increase ventilation up high and clean wet areas. If you see early frostbite signs, get the bird somewhere dry and out of the wind and consider checking in with an experienced poultry keeper or vet if tissue looks damaged. Do not “solve” frostbite risk by sealing the coop tighter.
What about extra heat at all?
Most healthy adult chickens can handle cold just fine with the setup above, even well below freezing, as long as they are dry and out of drafts.
There are situations where I consider supplemental heat, but I still skip lamps:
- Deep cold with high humidity plus birds with large combs (some breeds are more prone to frostbite)
- Older birds or birds recovering from illness
- Sudden temperature drops before the flock has acclimated
If you decide to add heat, look into flat-panel radiant heaters designed for coops that mount securely to a wall and do not get red-hot. Even then, use manufacturer instructions, keep clearance around it, and protect cords. In many backyards, the better plan is still improving the coop environment rather than heating it.
Quick winterizing checklist
- Seal drafts at roost height (weatherstripping, latches, trim)
- Confirm upper vents are open and protected with hardware cloth
- Switch to wide wooden roosts (2x4 flat) if needed
- Confirm roost space is adequate (about 8 to 12 inches per standard hen)
- Add or refresh deep dry bedding
- Add a droppings board or increase under-roost cleaning
- Set up a frozen-water plan (heated base or rotation system)
- Install run windbreaks and create a dry area underfoot
- After snow, check for drift “ramps” and confirm latches still close
- Do a nightly headcount so you notice problems early
Common winter mistakes (and fixes)
“My coop is colder after I winterized it.”
Usually this is trapped moisture. Open ventilation up high and focus on blocking drafts lower down.
“My chickens will not go outside.”
They hate wind and wet feet. Add a windbreak and a dry patch of straw or wood chips. Shovel a path so they can scratch.
“They are sleeping in the nesting boxes.”
Raise the roost higher than the boxes, block off boxes at night for a few days, and make sure the roost is comfortable and not drafty.
“Water freezes no matter what.”
Try moving water out of direct wind, elevating it off the ground, and using rubber bowls for easier ice removal. If you have power, a heated base is a safer upgrade than a lamp.
FAQ
How cold is too cold for chickens without a heat lamp?
Healthy adult chickens are surprisingly cold-hardy when they are dry, out of drafts, and able to roost together. Problems usually show up first as frostbite risk (humidity-driven) or in birds that are sick, very old, or poorly feathered. Breed matters too, especially for bantams and large-combed birds.
Should I cover my coop run with plastic in winter?
Covering one or two sides as a windbreak can be great. Just avoid sealing the whole run tight. You want less wind, not a damp greenhouse.
Is it okay to insulate the coop with straw bales?
As an exterior windbreak, straw bales can help. Inside the coop, straw can become a moisture trap unless you manage it carefully. I prefer pine shavings indoors for winter bedding.
What is the safest way to use electricity in the coop area?
Use a GFCI outlet, outdoor-rated cords, and equipment designed for poultry. Look for UL-listed or ETL-listed products when possible. Keep cords protected from pecking and away from bedding. If cords or plugs look damaged, replace them, no exceptions.
If you want one sentence to remember: ventilate up high, block drafts down low, and keep everything dry. Your chickens will do the rest, while you sleep a whole lot better not worrying about a heat lamp turning your coop into a bonfire.