A backyard keeper’s guide to when to use chick starter, move to grower, and switch to layer feed, plus safe timing, typical protein ranges, calcium, and comm...
The Cluck Loom
How to Choose Healthy Baby Chicks
Learn how to spot strong, healthy day-old chicks at the farm store or hatchery. Simple checks for eyes, vents, legs, behavior, and red flags to avoid.

Maggie Harper
Maggie Harper is a passionate backyard chicken keeper with over a decade of hands-on experience raising mixed flocks. Through CluckLoom, she shares practical advice on coop building, flock health, and egg production to help beginners and seasoned enthusiasts alike raise happy, healthy chickens.
Published
October 22, 2026
Last updated
October 22, 2026
I still remember my very first chick purchase: three Rhode Island Reds in a little farm store bin, peeping like they had a lot to say about my life choices. I had brought the wrong kind of box, asked approximately 400 nervous questions, and left convinced I had chosen “the good ones” purely because they seemed to look at me with confidence.
These days I’m a lot pickier, and for good reason. The first few minutes you spend observing and handling chicks (gently) can save you weeks of stress later. Healthy chicks are typically bright, active, clean, and steady on their feet. The ones struggling early may keep struggling, although some common issues (like mild shipping stress or a fixable leg problem) can improve with good care.
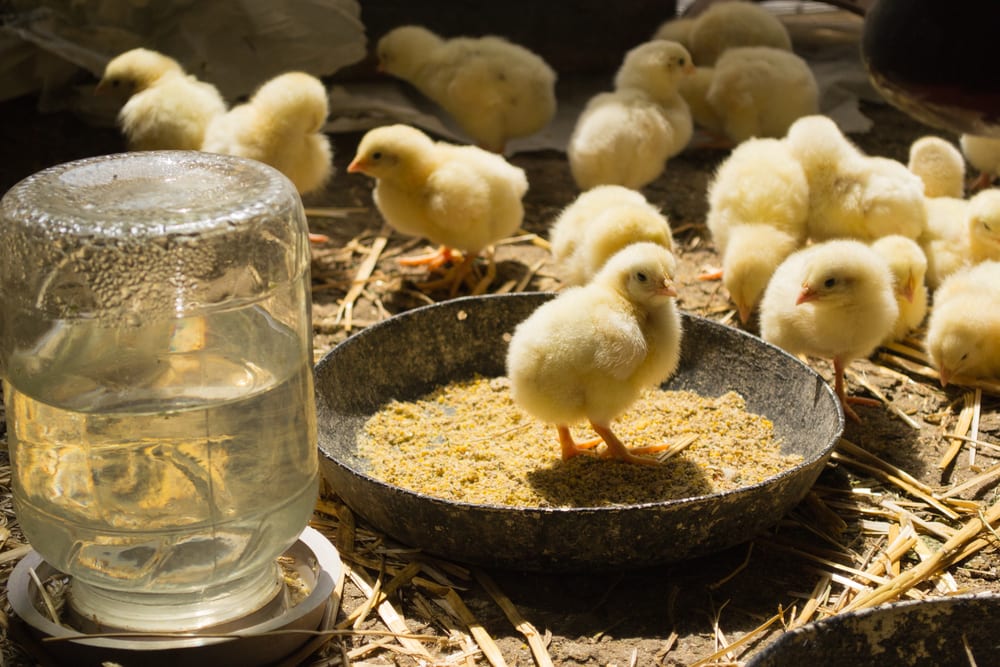
Below is my practical, real-world checklist for choosing healthy baby chicks, whether you are buying from a farm store brooder bin or picking up a hatchery order.
Before you pick one up, watch the group
Resist the urge to immediately grab the cutest fluff ball. Stand there for a full minute and watch.
What you want to see
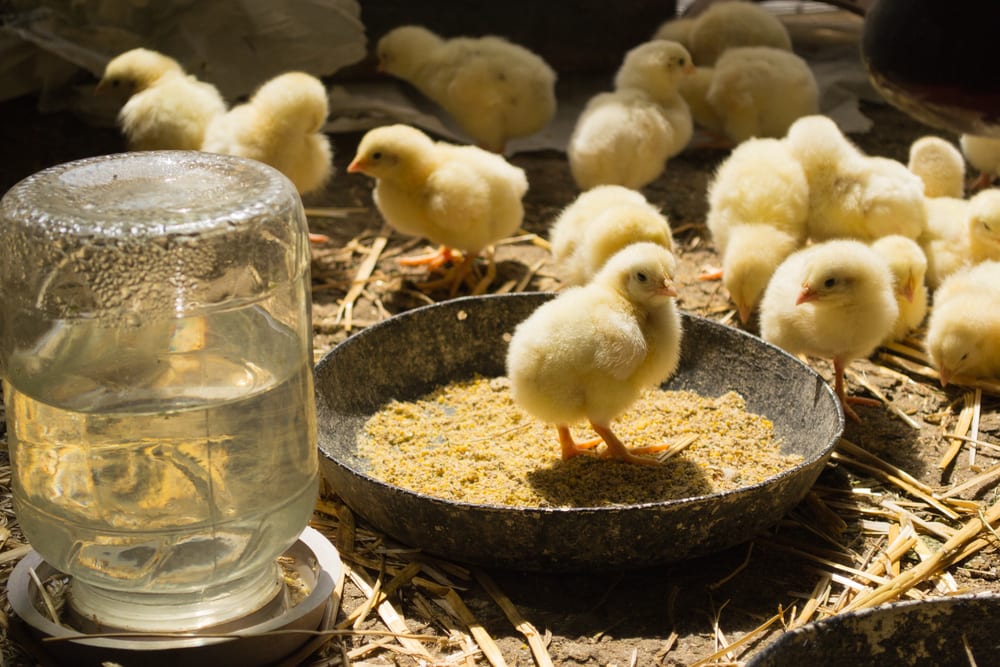
- Even activity: A mix of chicks eating, drinking, peeping, exploring, and napping.
- Good brooder conditions: Warmth, clean bedding, fresh water, and feeder access. If the brooder is filthy or crowded, even a healthy chick can go downhill fast.
- Chicks spread out: If they are all piled in one tight clump, they may be cold, stressed, or unwell. If they are crowding away from the heat and pressing toward the edges while panting or breathing with open beaks, they may be overheating.
Red flags in the bin
- Multiple chicks with pasty vents (more on that below)
- Wheezing, gurgling, or repeated sneezing
- Wet, matted-down fluff on several chicks
- Lots of lethargic “sleepy” chicks while others are active
- Any noticeable ammonia odor from dirty bedding
If the overall bin looks rough, I either choose from a different batch or I walk away. It is not you being picky. It is you protecting your future flock.
The quick health checklist
When the group looks decent, pick up individual chicks to check a few key areas. Handle them calmly, keep them warm, and return them quickly. If you are checking vents, try not to bounce from obviously unwell chicks to the strongest ones. It is smart to keep a little hand sanitizer in the car and use it after handling.
Eyes, nose, and breathing
- Eyes: Bright, open, and clear. No crust, bubbles, swelling, or foamy corners.
- Nostrils: Clean and dry. No mucus or caked bedding.
- Breathing: Quiet. A healthy chick should not “click,” wheeze, or breathe with an open beak while just standing.
Fluff and skin
- Fluff: Clean and dry. Slightly scruffy is normal for day-olds, but they should not be damp or sticky.
- Body: Plump and comfortably warm to the touch (not hot), not bony or chilled.
- Odor: Chicks should not smell sour or rotten. A bad smell can point to infection or a dirty vent.
Legs, feet, and mobility
- Stance: Upright and balanced.
- Walking: Curious toddle, not stumbling or falling over repeatedly.
- Feet: Toes mostly straight, not tightly curled under. Check for string, hair, or bedding wrapped around toes.
- Legs: No obvious swelling, redness, or joints that look locked or that do not flex normally.
A chick that cannot stand well in the store can improve, but it can also turn into weeks of nursing. If you are a first-time keeper, choose the strongest walkers you can find.
The vent check
If you only learn one inspection skill, make it this one. A chick’s vent should be mostly clean and dry. Sometimes shipping stress, dehydration, temperature swings, or diet changes cause droppings to dry and glue the vent shut.
What normal looks like
- Mostly clean fluff around the vent area
- No thick crust blocking the opening
- No redness that looks angry or swollen
What to avoid at purchase time
- Hard crusted poop sealing the vent shut
- Wet, smeared droppings caked into the fluff
- Blood, raw skin, or significant swelling
Can pasty butt be fixed at home? Yes, often. But if you are seeing several chicks in the same brooder with crusted vents, that tells you something about stress and care conditions. Choose from a cleaner, healthier batch if possible.
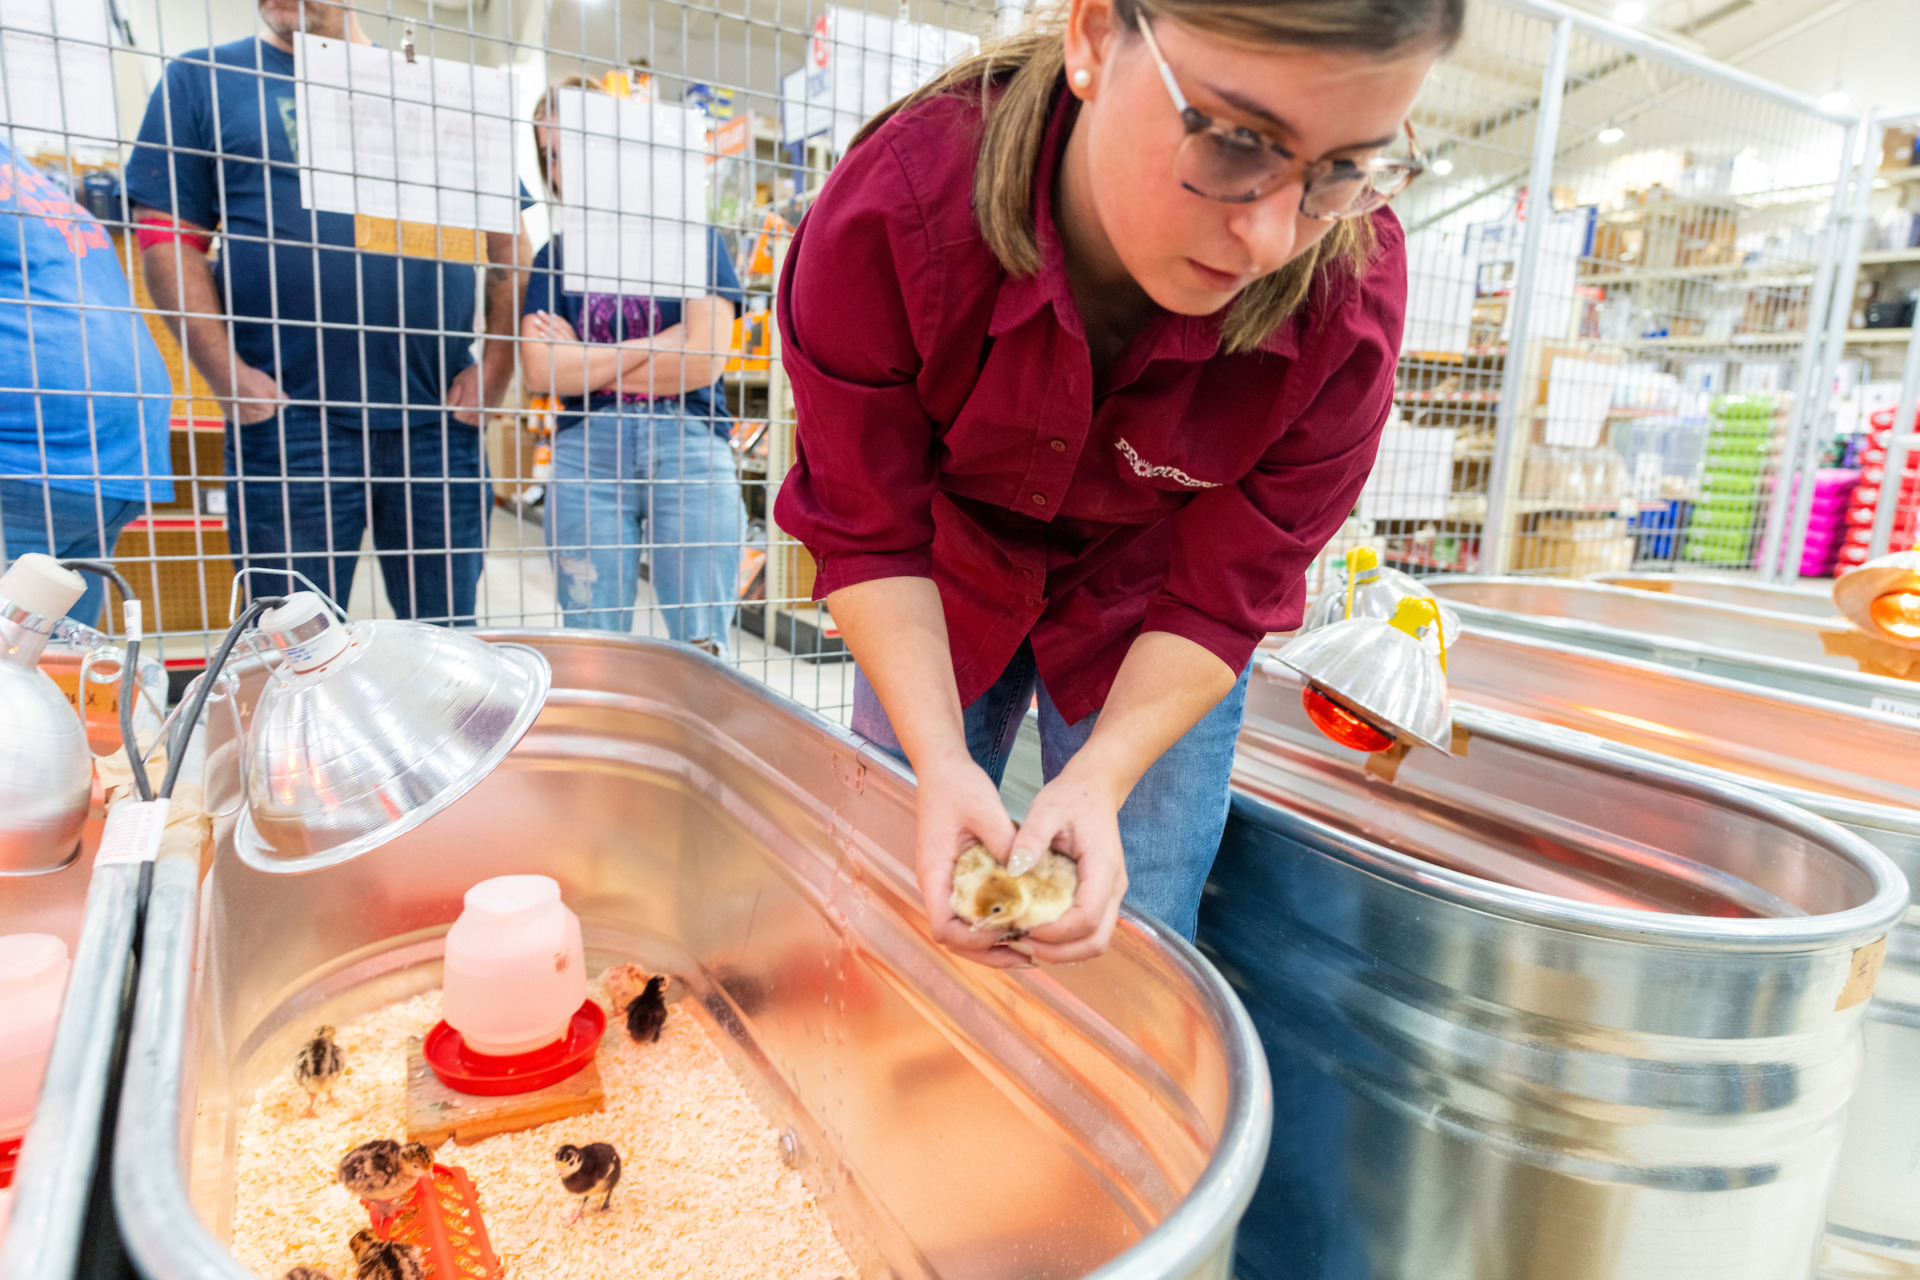
Behavior matters most
I like to think of chicks in three categories: explorers, loafers, and strugglers. Explorers are who you want.
Healthy behavior
- Alert and responsive: The chick reacts to movement and sound.
- Strong peep: Not constant distressed screaming, but a clear, normal peep.
- Curious: Looks around, steps away, tries to peck at fingers or bedding.
- Preening: A chick that preens and settles normally is often doing fine.
Concerning behavior
- Head tucked and isolated: Sitting alone with eyes closed while others bustle around.
- Constant distress peeping: Especially if it seems weak or raspy.
- Stargazing or neck twisting: Odd head posture can signal neurological issues.
- Repeated falling or spinning: Not just clumsy baby steps, but true trouble coordinating.
A quick, gentle test: place the chick back down and see if it walks away steadily. A strong chick usually does not just flop.
Check the navel on day-olds
Day-old chicks have a healing navel where the yolk sac was absorbed. Most of the time it is fine, but it is worth a glance if you can do it quickly and gently.
- Look for: Clean, dry down on the belly, no dampness.
- Avoid: A wet, open-looking navel, swelling, or a foul smell. Those can be signs of infection.
If you are picking up from a hatchery, do not be shy about asking if they have noticed any navel issues in the batch.
Questions to ask
You do not need to interrogate the staff member at the feed aisle, but a couple of simple questions can reveal a lot.
- When did these chicks arrive? Chicks that arrived today or yesterday are usually in better shape than chicks that have been sitting in a crowded bin for a week.
- What hatchery are they from? It helps you track quality over time, and it matters if you later need support.
- Are they vaccinated? Many hatcheries offer Marek’s vaccination. It is usually optional for buyers and varies by hatchery or store, but it is good to know what you are bringing home.
- Are these straight run or pullets? If you cannot keep roosters, confirm the policy and remember that even sexed “pullets” are not 100 percent guaranteed.
- What are they currently eating? Match that feed at home for the first week, then transition slowly if you plan to switch.
- Medicated or non-medicated starter? This is the coccidiosis question. Medicated starter feed (typically with amprolium) can help reduce losses from coccidia, but it is not the only approach. If you are using a coccidiosis vaccine, ask what feed is recommended so you do not work against it.
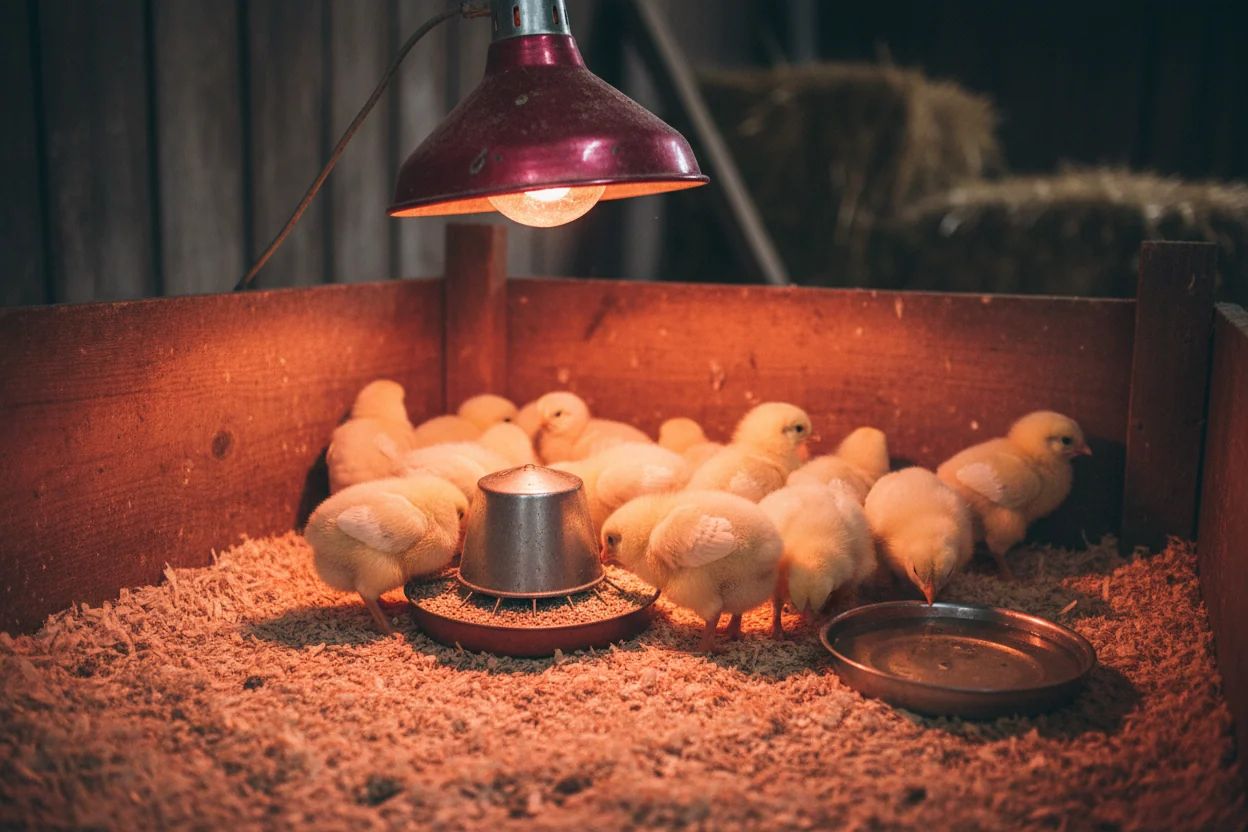
Numbers and breeds
Buy a couple extra (within reason)
It sounds harsh, but chick losses happen even when you do everything right. If your coop and local rules allow it, buying one or two extra can keep you from ending up with an awkwardly small flock later. I prefer to plan for a flock size that still works if I lose one chick.
Pick breeds for your climate and goals
- Cold climates: Heavier breeds like Orpingtons and Wyandottes generally handle winter well.
- Hot climates: Look for lighter-bodied birds and traits that shed heat more easily, like larger combs. No breed is magic in a heat wave, so plan for shade, ventilation, and cool water either way.
- Egg color fun: Ameraucanas and Easter Eggers are a joy if you want variety in the carton.
- Temperament: If you have kids or close neighbors, prioritize calm, friendly breeds.
Mixing breeds is totally doable. Just try to avoid huge size gaps in the same age group. A tiny bantam chick in with larger, pushier chicks can get outcompeted at the feeder.
What to bring
Most chick disasters start in the car ride home.
- A ventilated box or pet carrier lined with paper towels or a thin layer of shavings
- A gentle heat source if it is cold: A wrapped warm water bottle works in a pinch, placed so chicks can move away from it
- Paper towels for quick cleanup
- No errands in between. Seriously. Go straight home.
Transport safety matters, too. Keep the carrier secure so it cannot slide, and avoid blasting them with direct car-vent heat. You want warm and calm, not sweaty and stressed.
At home, have your brooder warmed and ready before you leave the house to buy chicks. Chicks do not have the patience for last-minute setup.
When to walk away
I know it is tempting to “save” the weakest chick. I have done it. Sometimes it works and you feel like a hero. Sometimes it ends with a sad lesson and a brooder full of stressed birds.
Walk away (or choose a different source) if:
- Many chicks in the bin are lethargic or have pasted vents
- You see obvious respiratory signs (wheezing, bubbling eyes, discharge)
- The brooder is overcrowded, dirty, or poorly heated
- The staff cannot answer basics like arrival date and feed type
Your best chance at a strong flock later is picking strong chicks now.
First hour at home
- Show them water: Gently dip each chick’s beak in the waterer so they learn where it is. Some figure it out without help, but this speeds things up.
- Watch for 10 minutes: You want to see drinking, pecking, and comfortable settling.
- Check warmth: Chicks should be relaxed and spread out, not piling. Adjust heat height as needed.
- Re-check vents that evening: The first 24 hours is prime time for pasty butt.
If you have other chickens at home, keep chicks fully separate with strict biosecurity. New birds can carry germs even when they look perfectly healthy.
FAQ
Is it normal for a chick to sleep a lot at the store?
Some napping is normal, especially under warmth. What worries me is a chick that cannot be “woken up” into alertness, or one that sits alone with its head tucked while the rest are active.
Should I buy the runt?
If the chick is smaller but still bright-eyed, upright, and active, it can do fine. If it is small and weak, wobbly, or chilled, I pass. Beginners are usually happier starting with the strongest chicks.
Do I need vaccinated chicks?
It depends on your risk tolerance and what diseases are common in your area. Marek’s is the big one people ask about, and it is commonly offered as an option by hatcheries. If you can choose vaccinated chicks from the start, it can be a nice layer of protection, especially if you will add birds to your flock later.
What if I already brought home a chick with a pasted vent?
Act fast. Gently soften the crust with warm water, remove it without pulling on skin, dry the chick, and make sure it is warm and drinking. Then watch that chick closely for the next day or two and check the vent a couple of times daily.