A simple, backyard-friendly tutorial for fermenting commercial chicken feed to help reduce waste and support digestion, plus pH guidance, troubleshooting, an...
The Cluck Loom
Stop Chickens from Wasting Feed
Tired of chickens scratching feed onto the floor? Learn the best feeder designs, simple DIY tweaks, and daily habits that stop waste and cut your feed bill without shorting your flock.

Maggie Harper
Maggie Harper is a passionate backyard chicken keeper with over a decade of hands-on experience raising mixed flocks. Through CluckLoom, she shares practical advice on coop building, flock health, and egg production to help beginners and seasoned enthusiasts alike raise happy, healthy chickens.
Published
October 22, 2026
Last updated
October 22, 2026
If you have ever watched a hen take a beakful of crumble, fling half of it over her shoulder, then stare at you like you did it, welcome to the club. Feed waste is one of the fastest ways to turn “fresh eggs” into “why is this hobby so expensive.” The good news is that most waste comes from a few fixable habits: open trays, feeders set too low, feeding too much at once, and letting feed get wet.
Below are feeder designs that typically cut waste in backyard coops, plus the small tweaks that often make a bigger difference than buying a fancy bag of feed ever will.
Why chickens waste feed
Chickens are built to scratch, sort, and taste-test. That is normal. Feed waste becomes a problem when we accidentally give them a setup that rewards messy behavior.
- Open access + boredom: A wide trough is basically a sandbox full of snacks. They scratch in it because they can.
- Feeder too low: If the lip is at chest height or lower, they can rake feed out with their beaks.
- Too much feed available at once: A heaping feeder invites “digging for the good bits” and spills.
- Wrong flow for your feed type: Crumbles can bridge, pellets can roll, mash can turn to paste. Feeder geometry and humidity decide how dramatic this gets.
- Wet feed: Rain, dew, and humidity turn spilled feed into a sour mess no one wants. Now you are paying to attract rodents.
- Contamination: Open feed is an open invitation for wild birds, droppings, and muddy feet. Less exposure usually means less waste and fewer health headaches.
Best feeder designs
There is no single perfect feeder, but there are some designs that tend to perform better depending on your flock size, weather, and whether rodents are part of your zip code.
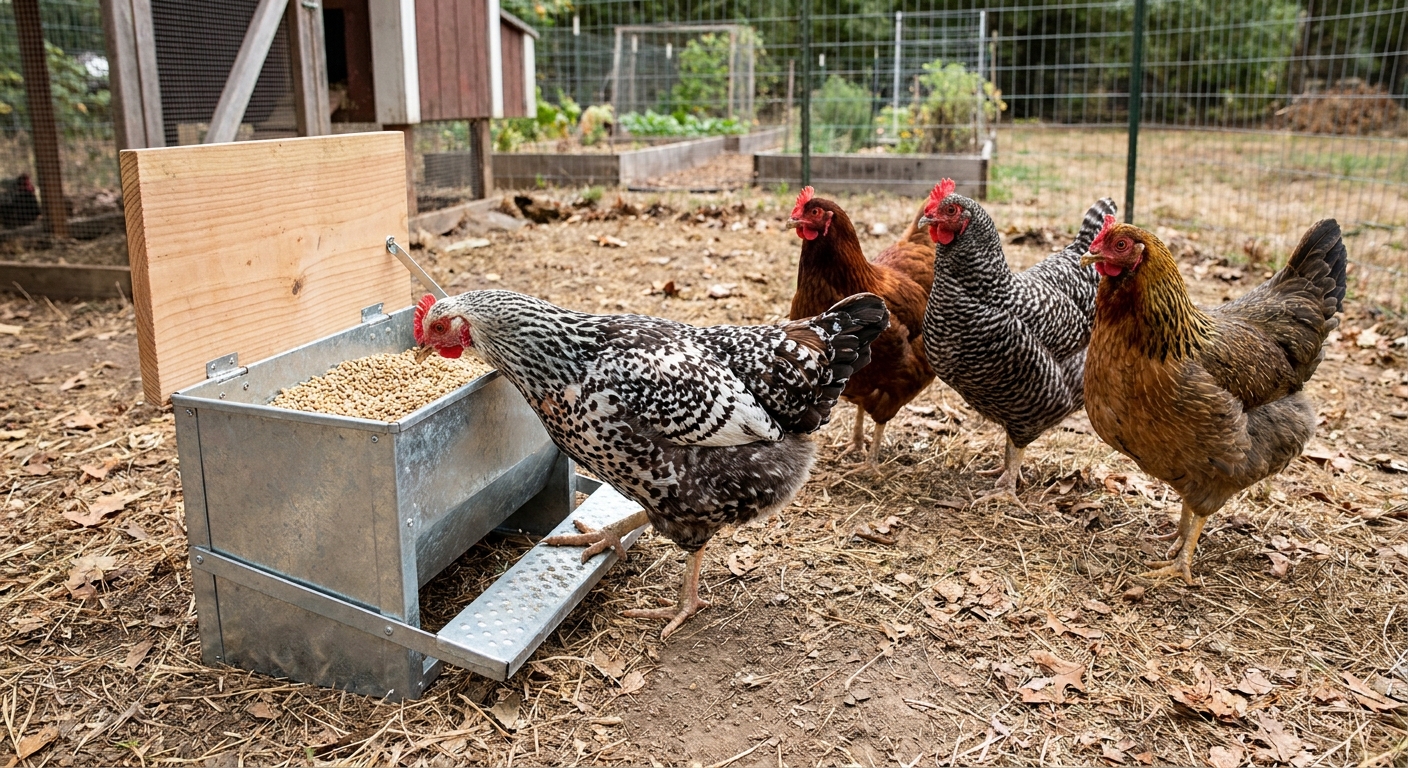
Treadle feeder (best at stopping waste)
How it works: A hen steps on a pedal, the lid lifts, and she eats. When she steps off, it closes.
Why it saves money: Chickens cannot scratch in it, and rodents cannot party in it at night if the lid seals well.
- Pros: Big waste reduction, excellent rain protection, strong rodent control.
- Cons: Costs more up front, some birds need training, very light bantams may not trigger some models unless adjusted.
- Best for: Medium to large flocks, anyone battling mice or rats, people who want the lowest daily mess.
Quick tip: Before you buy, check the feeder’s minimum weight setting (or adjustment range) if you keep bantams.
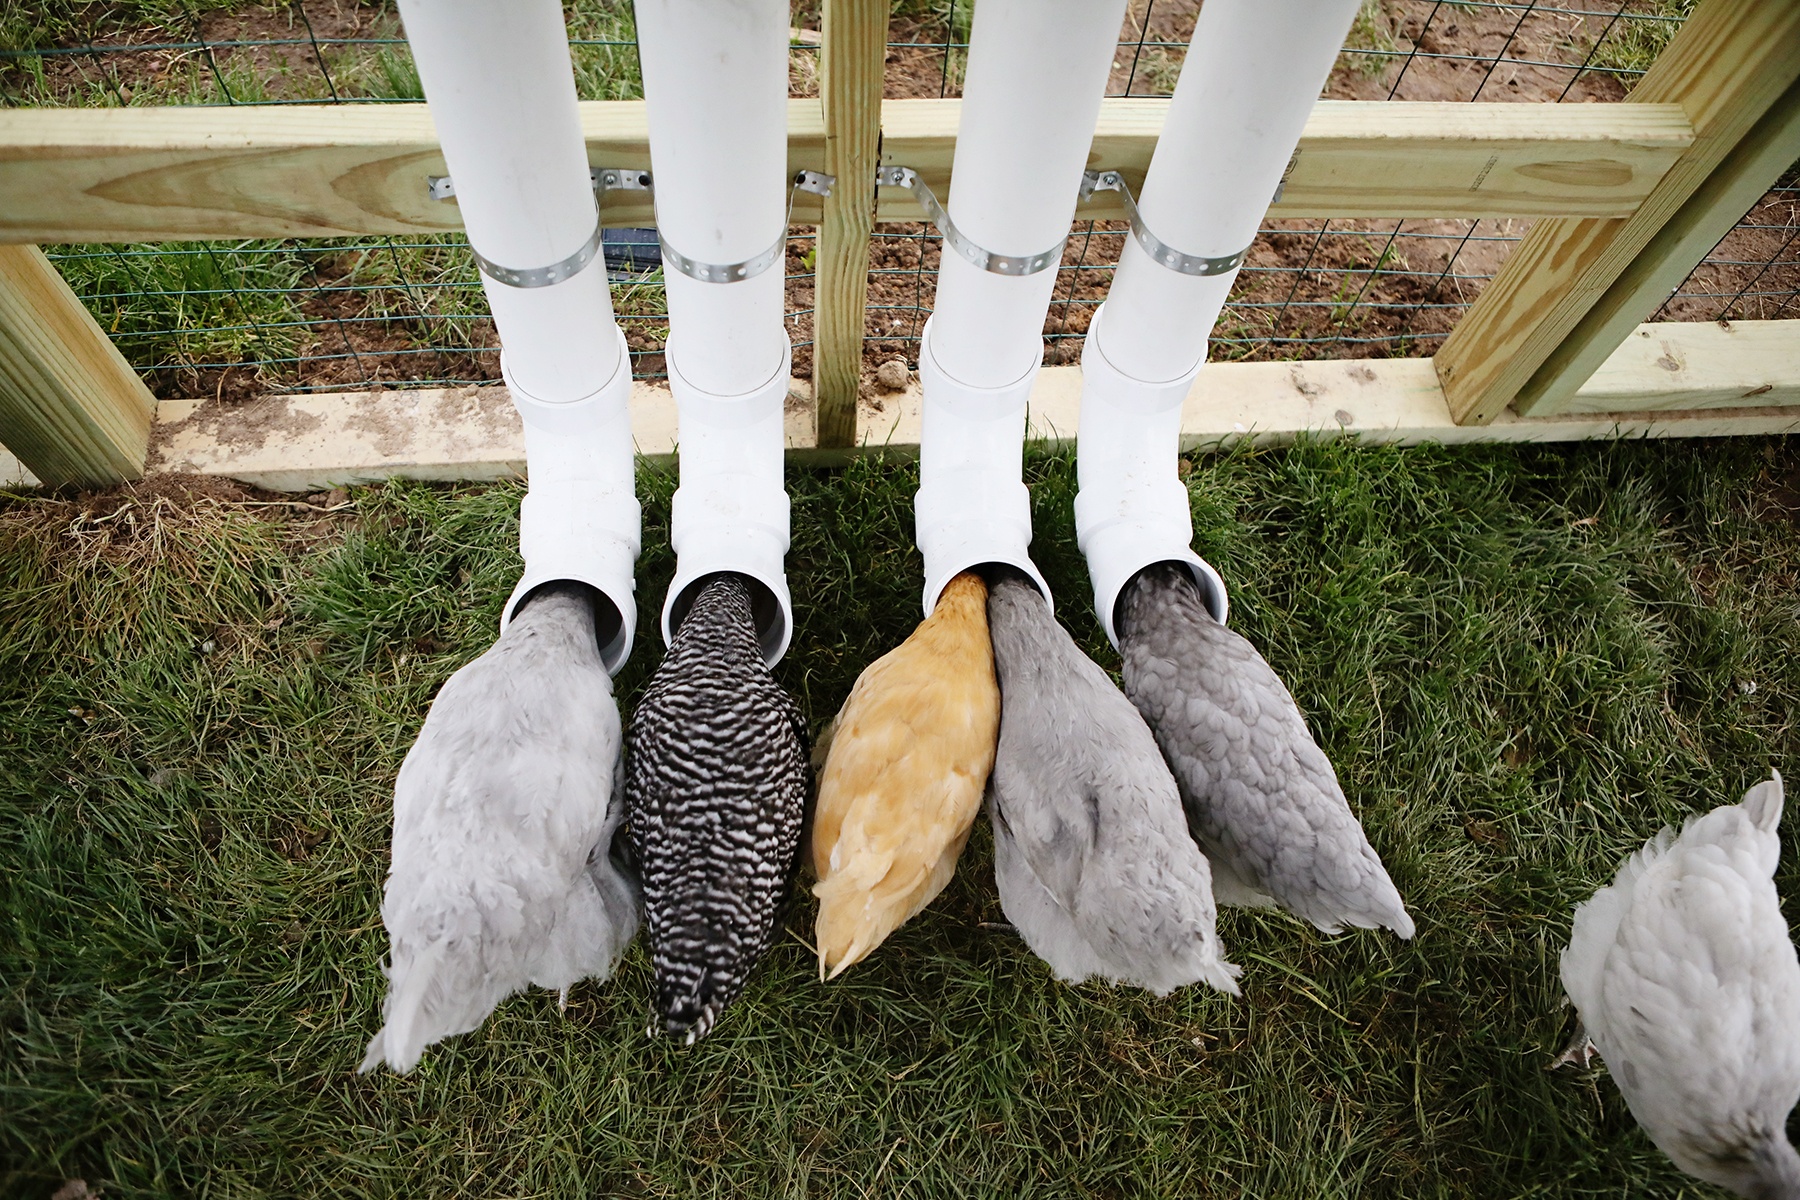
Port feeder (PVC elbow or “ports” on a bin)
How it works: Feed sits in a bucket or bin and birds reach in through round ports.
Why it saves money: The port limits head movement, so there is less flinging. The reservoir keeps feed contained and cleaner than an open trough.
- Pros: Easy DIY, inexpensive, good waste control, protects feed from droppings.
- Cons: Not automatically rodent-proof, ports can let rain blow in if exposed, can be crowded if you do not install enough ports.
- Best for: Small to medium flocks, covered runs, DIY folks.
Covered gravity feeder with narrow trough (best budget upgrade)
How it works: A hopper drops feed into a trough as birds eat.
Why it saves money: A narrow, deeper trough with a good rain cover reduces raking and keeps litter out.
- Pros: Common, affordable, low effort, works well for pellets and many crumbles.
- Cons: Still possible to flick feed out if the trough is wide or the lip is low, rodents can access at night unless you remove it or secure it.
- Best for: Beginners who want an immediate improvement over open pans.
Feeder with anti-scratch grate (good for crumbles)
How it works: A metal or plastic grid sits over the trough so birds can peck through but cannot scoop.
Why it saves money: Reduces beak-shoveling and playful tossing.
- Pros: Noticeably less waste, easy retrofit on some feeders.
- Cons: Can slow down very eager eaters, needs cleaning if feed cakes, some birds dislike it at first.
- Best for: Flocks that fling crumbles everywhere, coops where the feeder sits on litter.
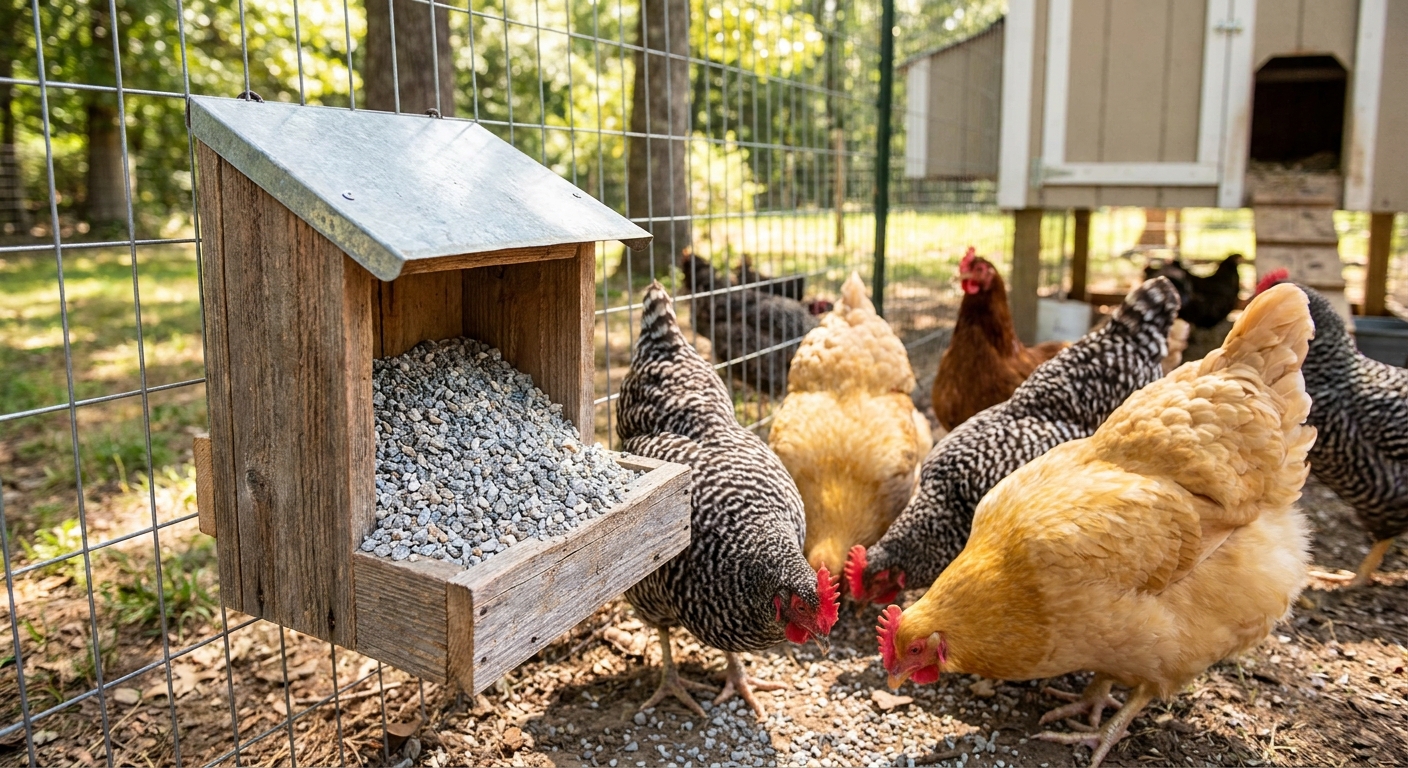
Open trough or pan (worst for waste)
I keep a shallow pan for temporary situations like mixing supplements for a few minutes or offering a small amount of wet mash under supervision. As an everyday feeder, it is basically an invitation to waste (and contamination).
Set it right checklist
The setup fixes more waste than the brand name. A perfect feeder placed badly still turns into a feed confetti cannon.
1) Raise the feeder to back height
Aim for the lip of the eating area at the birds’ back height, so they reach slightly up but are not stretching. Too low equals scratching and raking. Too high equals flinging while they strain.
My rule: If you see feed under the feeder daily, raise it one notch and watch for two days.
2) Stabilize it so it does not wobble
If the feeder sways when they hop at it, they fling feed. Hang it from a solid hook with minimal swing, or mount it to a post or wall. For bucket feeders, secure the bucket so it cannot tip during the hen version of a mosh pit.
3) Use a catch tray (only if it stays dry)
A shallow boot tray or mortar mixing tub under a feeder can catch the little bits that fall. If that tray gets wet, skip it. Wet catch trays turn into a fermented science project.
4) Keep the feeder out of traffic
Place it where birds do not land on it on the way to the roost, nesting boxes, or the run door. A feeder under a favorite hop-up route gets kicked, bumped, and sprinkled with bedding.
5) Keep supplements separate
Offer grit and oyster shell in their own containers, not mixed into the main feeder. Mixing can encourage selective eating, extra tossing, and a lot of “digging for the good bits.”
Money-saving hacks
Try timed feeding for a week
Before anyone panics: I am not saying starve your chickens. I am saying measure your feed so you can see what is being eaten versus wasted.
- Start with two servings (morning and late afternoon).
- Begin with an amount they can finish in about 20 to 30 minutes, then adjust based on what you see.
- If they empty it instantly and go hunting, increase slightly next meal.
Guardrails: Always provide clean water. Do not restrict feed for growing chicks or birds recovering from illness. If any bird is losing weight, acting lethargic, or egg production drops sharply, stop the experiment and reassess (or talk to a vet).
After a week, you will have a clearer baseline for your flock and season. Many flocks waste the most when a feeder stays full and they can casually toss it around all day.
Switch feed form if yours spills badly
- Pellets: Usually less dusty and less “snowdrift” waste, often best for port feeders and treadles.
- Crumbles: Great for younger birds and picky eaters, but easier to flick out.
- Mash: Can be economical, but it is easy to waste and can cake in humidity.
If your coop floor looks like a bakery exploded, moving from crumbles to pellets can make an immediate difference.
Offer scratch and treats like you mean it
Scatter-feeding treats trains chickens to fling their regular feed because they are “foraging” in the feeder. Keep scratch grains and treats to small amounts, offered away from the feeder, and ideally late in the day. Treats should be dessert, not dinner.
Use a “no puddles” rule around feed
Wet feed is wasted feed. Keep feed under cover and away from drinkers. If your waterer regularly spills, fix that first. A small leak can add up fast, especially when spilled feed turns into a nightly buffet for rodents and wild birds.
Store feed like you are trying to outsmart a mouse
Even if your feeder is perfect, torn bags and open bins undo everything.
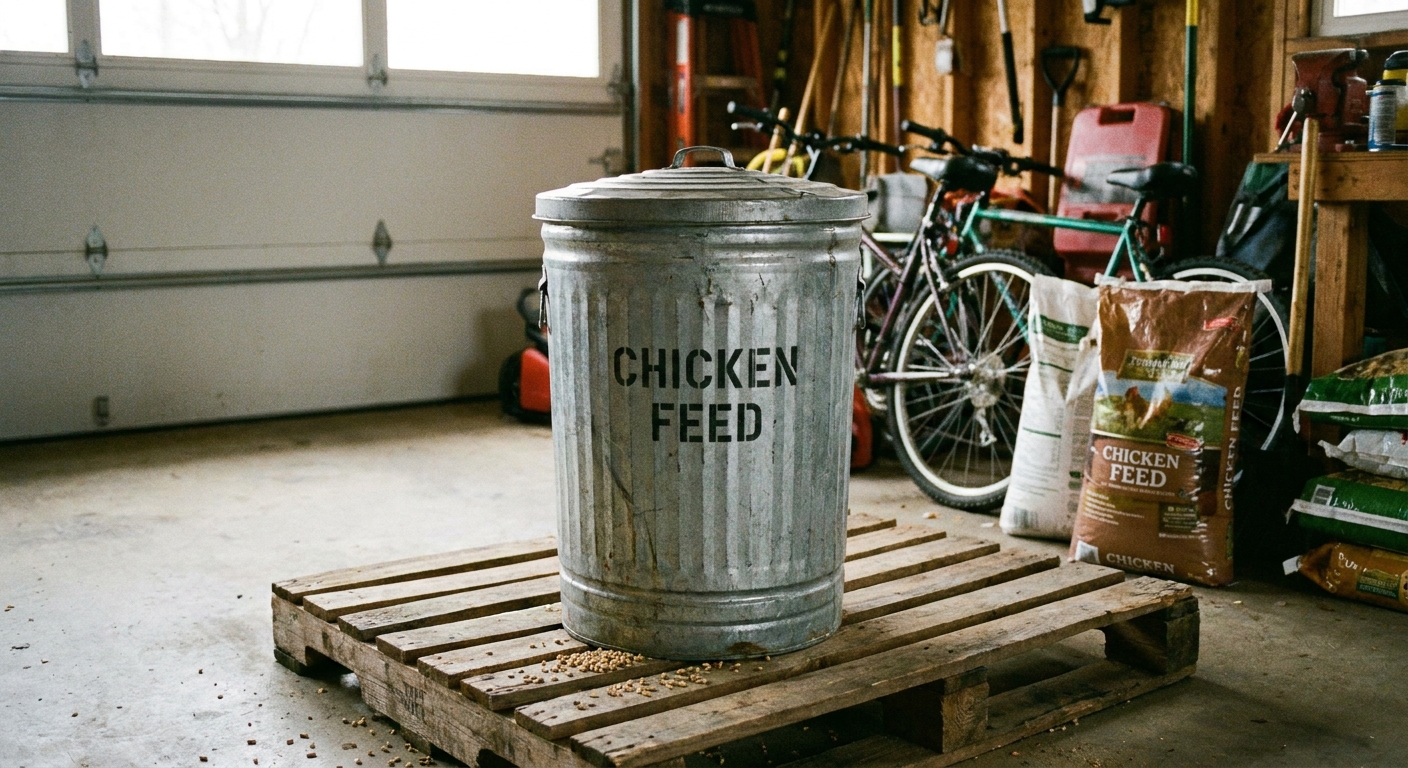
- Use a metal trash can with a tight lid, or a heavy-duty bin with locking handles.
- Keep it off the floor if rodents are common in your area.
- Only fill the feeder with a few days’ worth if you deal with humidity or raccoons.
Do the two-minute sweep
I know, I know. Nobody starts chicken keeping because they love sweeping. But a quick daily sweep around the feeder removes the “bonus snacks” that keep rodents and wild birds returning. Less rodent traffic can also mean a calmer coop at night.
DIY tweaks
Add a rain hood
If your feeder sits in an open run, add a simple roof over it. A scrap of plywood or corrugated roofing mounted above the feeder can keep rain from blowing in. The goal is dry feed, always.
Install a lip guard
On some trough-style feeders, adding a small inward lip (even a strip of sturdy plastic) reduces the “flick zone.” If your birds can hook their beaks under the feed and shovel, they will.
Make it harder to perch
If your hens are standing in the feeder, you will never win. Angle the top so it is uncomfortable to perch on, or place it where they cannot hop onto it from an adjacent platform.
Increase access points
Spills often come from crowding. If you have more birds than your feeder comfortably serves, the lower-ranking hens get shoulder-checked and feed goes flying.
Simple fix: Add a second feeder or add more ports. It is often cheaper than the feed you will waste in a season.
Clean it on purpose
Dump fines and dust from the bottom regularly, especially in humid weather. A quick scrub and dry-out every few weeks (and anytime you see damp clumps) helps prevent moldy surprises.
Common problems
“They’re tossing feed like confetti.”
- Raise the feeder.
- Switch from open trough to port or treadle.
- Try pellets instead of crumbles.
- Stop keeping the feeder overfilled.
“The feed is getting damp or moldy.”
- Move feeder under a roofed area.
- Add a rain hood.
- Separate water and feed zones.
- Clean the feeder, then refill with smaller amounts until weather improves.
- Do not “dry out” questionable feed in the run. If it smells off or looks fuzzy, toss it.
“Mice are eating more than the chickens.”
- Do not leave open feeders out overnight.
- Consider a treadle feeder with a good seal.
- Sweep spilled feed daily.
- Store feed in rodent-proof containers.
“My hens won’t use the new feeder.”
This is normal with treadles and ports. Chickens are brave about hawks and shockingly suspicious about new plastic.
- For treadles: zip-tie the lid open for a day, then partially open, then fully functional.
- For ports: sprinkle a little scratch just inside the opening to teach the “head in” motion.
- Make sure the feeder is not in a dark, cramped corner where timid birds feel trapped.
A simple setup
If you want the shortest path to less waste, here is the combo that has worked best across my own mixed flocks:
- Primary feeder: Treadle feeder (or a well-built port feeder if you prefer DIY).
- Placement: Under cover in the run, not near the waterer.
- Height: Lip at back height.
- Routine: Fill with a few days of feed, sweep daily, remove any wet feed immediately, and do a regular dump-and-clean.
Once you get your waste under control, you will notice something funny: your coop smells better, your run looks cleaner, and the rodent pressure often drops. Less mess makes everything else in chicken keeping feel easier.
FAQ
Should chickens have feed available all day?
Many backyard keepers do free-choice feeding successfully, especially with a low-waste feeder. If you are battling waste or rodents, timed feeding for a couple weeks can help you reset habits and measure real consumption. You can always go back to free-choice once the setup is fixed.
Do chicks and pullets need a different setup?
Yes, sometimes. Chicks and smaller pullets may do better with crumbles and a feeder lip set lower to match their size. The goal stays the same: comfortable reach without letting them stand in it. If you use a treadle feeder, confirm the minimum trigger weight is appropriate before relying on it for young birds.
Is spilled feed dangerous?
Dry spilled feed is mostly a money problem. Wet or moldy feed can become a health problem. If it gets damp, scoop it out and toss it. Do not try to “let it dry” in the run.
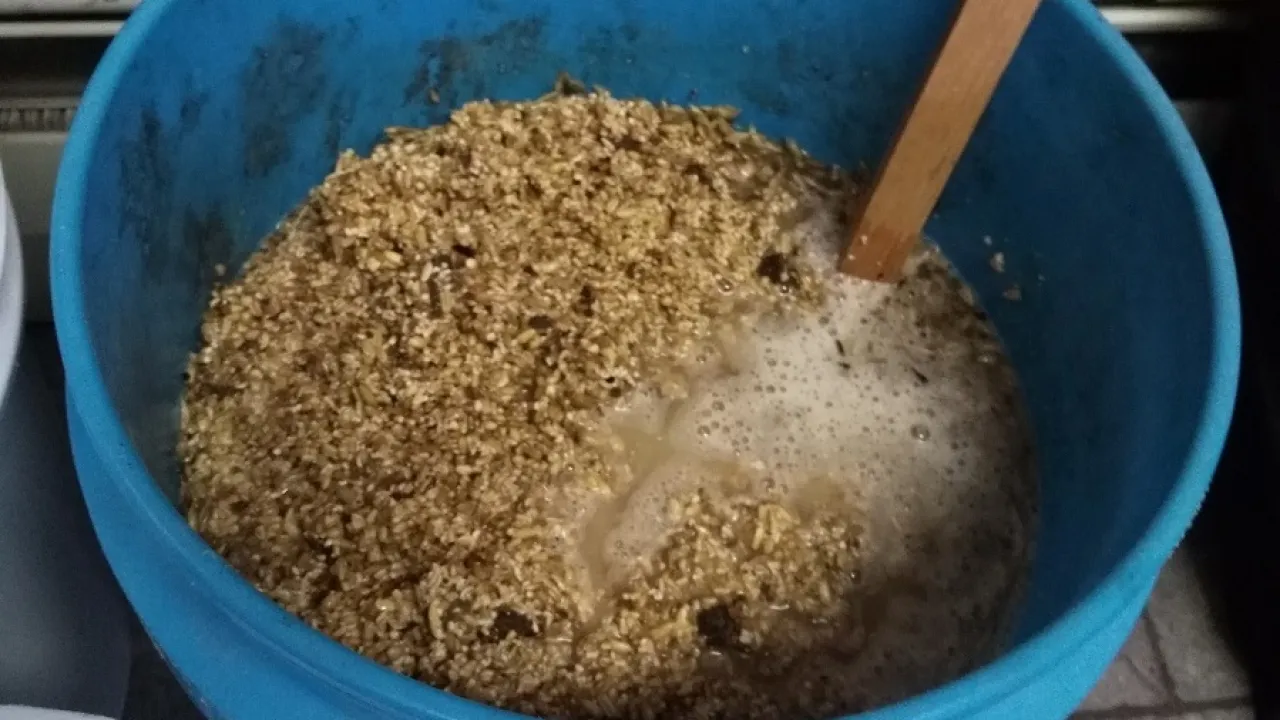
Can I ferment feed to reduce waste?
Fermented feed can reduce some tossing because it clumps, but it adds daily labor and has a learning curve. If your main issue is scratching and flinging, a better feeder design usually solves more with less work.
How many feeding ports do I need?
As a starting point, plan on one port per 3 to 4 standard hens, then adjust for port size and flock attitude. Watch body language: if birds are waiting in a tight cluster and getting bumped off, add access.